Partner Content · Survival Life earns a commission on purchases made through links on this page, at no extra cost to you.
Your canned jars have about 18 months. Then what.
Most pantries have no answer past that line. Jars need new lids, sustained heat, and something worth putting up, and a bad week can take all three at once.
So this page does two things. The 15 fixes below get every month out of the jars you already have. And for the years past them, four authors went back through the foods that fed people through sieges and depressions with no fridge and no jars at all, and put 126 of them in one book.
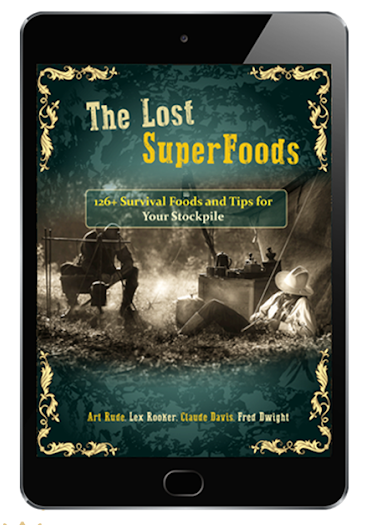
The Lost SuperFoods – 126 foods that keep without refrigeration. By Art Rude, Lex Rooker, Claude Davis and Fred Dwight.
$37. Two bonus reports. Sixty days to send it back for any reason, or none at all.
See the 126 foods that keep without a fridge →
Affiliate link. We say further down where the book falls short.
Now, the jars.
At a Glance
- Acid decides the method. High-acid foods get a water bath. Meat and low-acid vegetables need pressure canning. No shortcuts.
- Aim to eat it within 12 to 18 months. Date your jars and work through the oldest first.
- You don’t need fancy gear. A basic water-bath setup costs around $60 to $80.
- Most bad seals come down to four things: chipped rims, dirty rims, wrong headspace, or bands cranked too tight.
- Canning is one piece of the pantry. It still depends on jars, lids, power, and something worth putting up.
Almost every failed batch is a setup problem, not a recipe problem. University of Missouri Extension puts the number at 99%, citing Newell Brands, the company behind Ball and Kerr lids. One home canner described it on a preserving forum without knowing that: “I had another batch fail.. and so I obviously am getting something wrong.”
He wasn’t. His counter was.
Acidity Picks Your Canner, Not You
Get this wrong and nothing downstream saves you. High-acid foods, meaning most fruit preserves, vinegar pickles and properly acidified tomatoes, fight off the bacteria behind botulism on their own. They can go in a boiling water bath. Low-acid foods can’t.
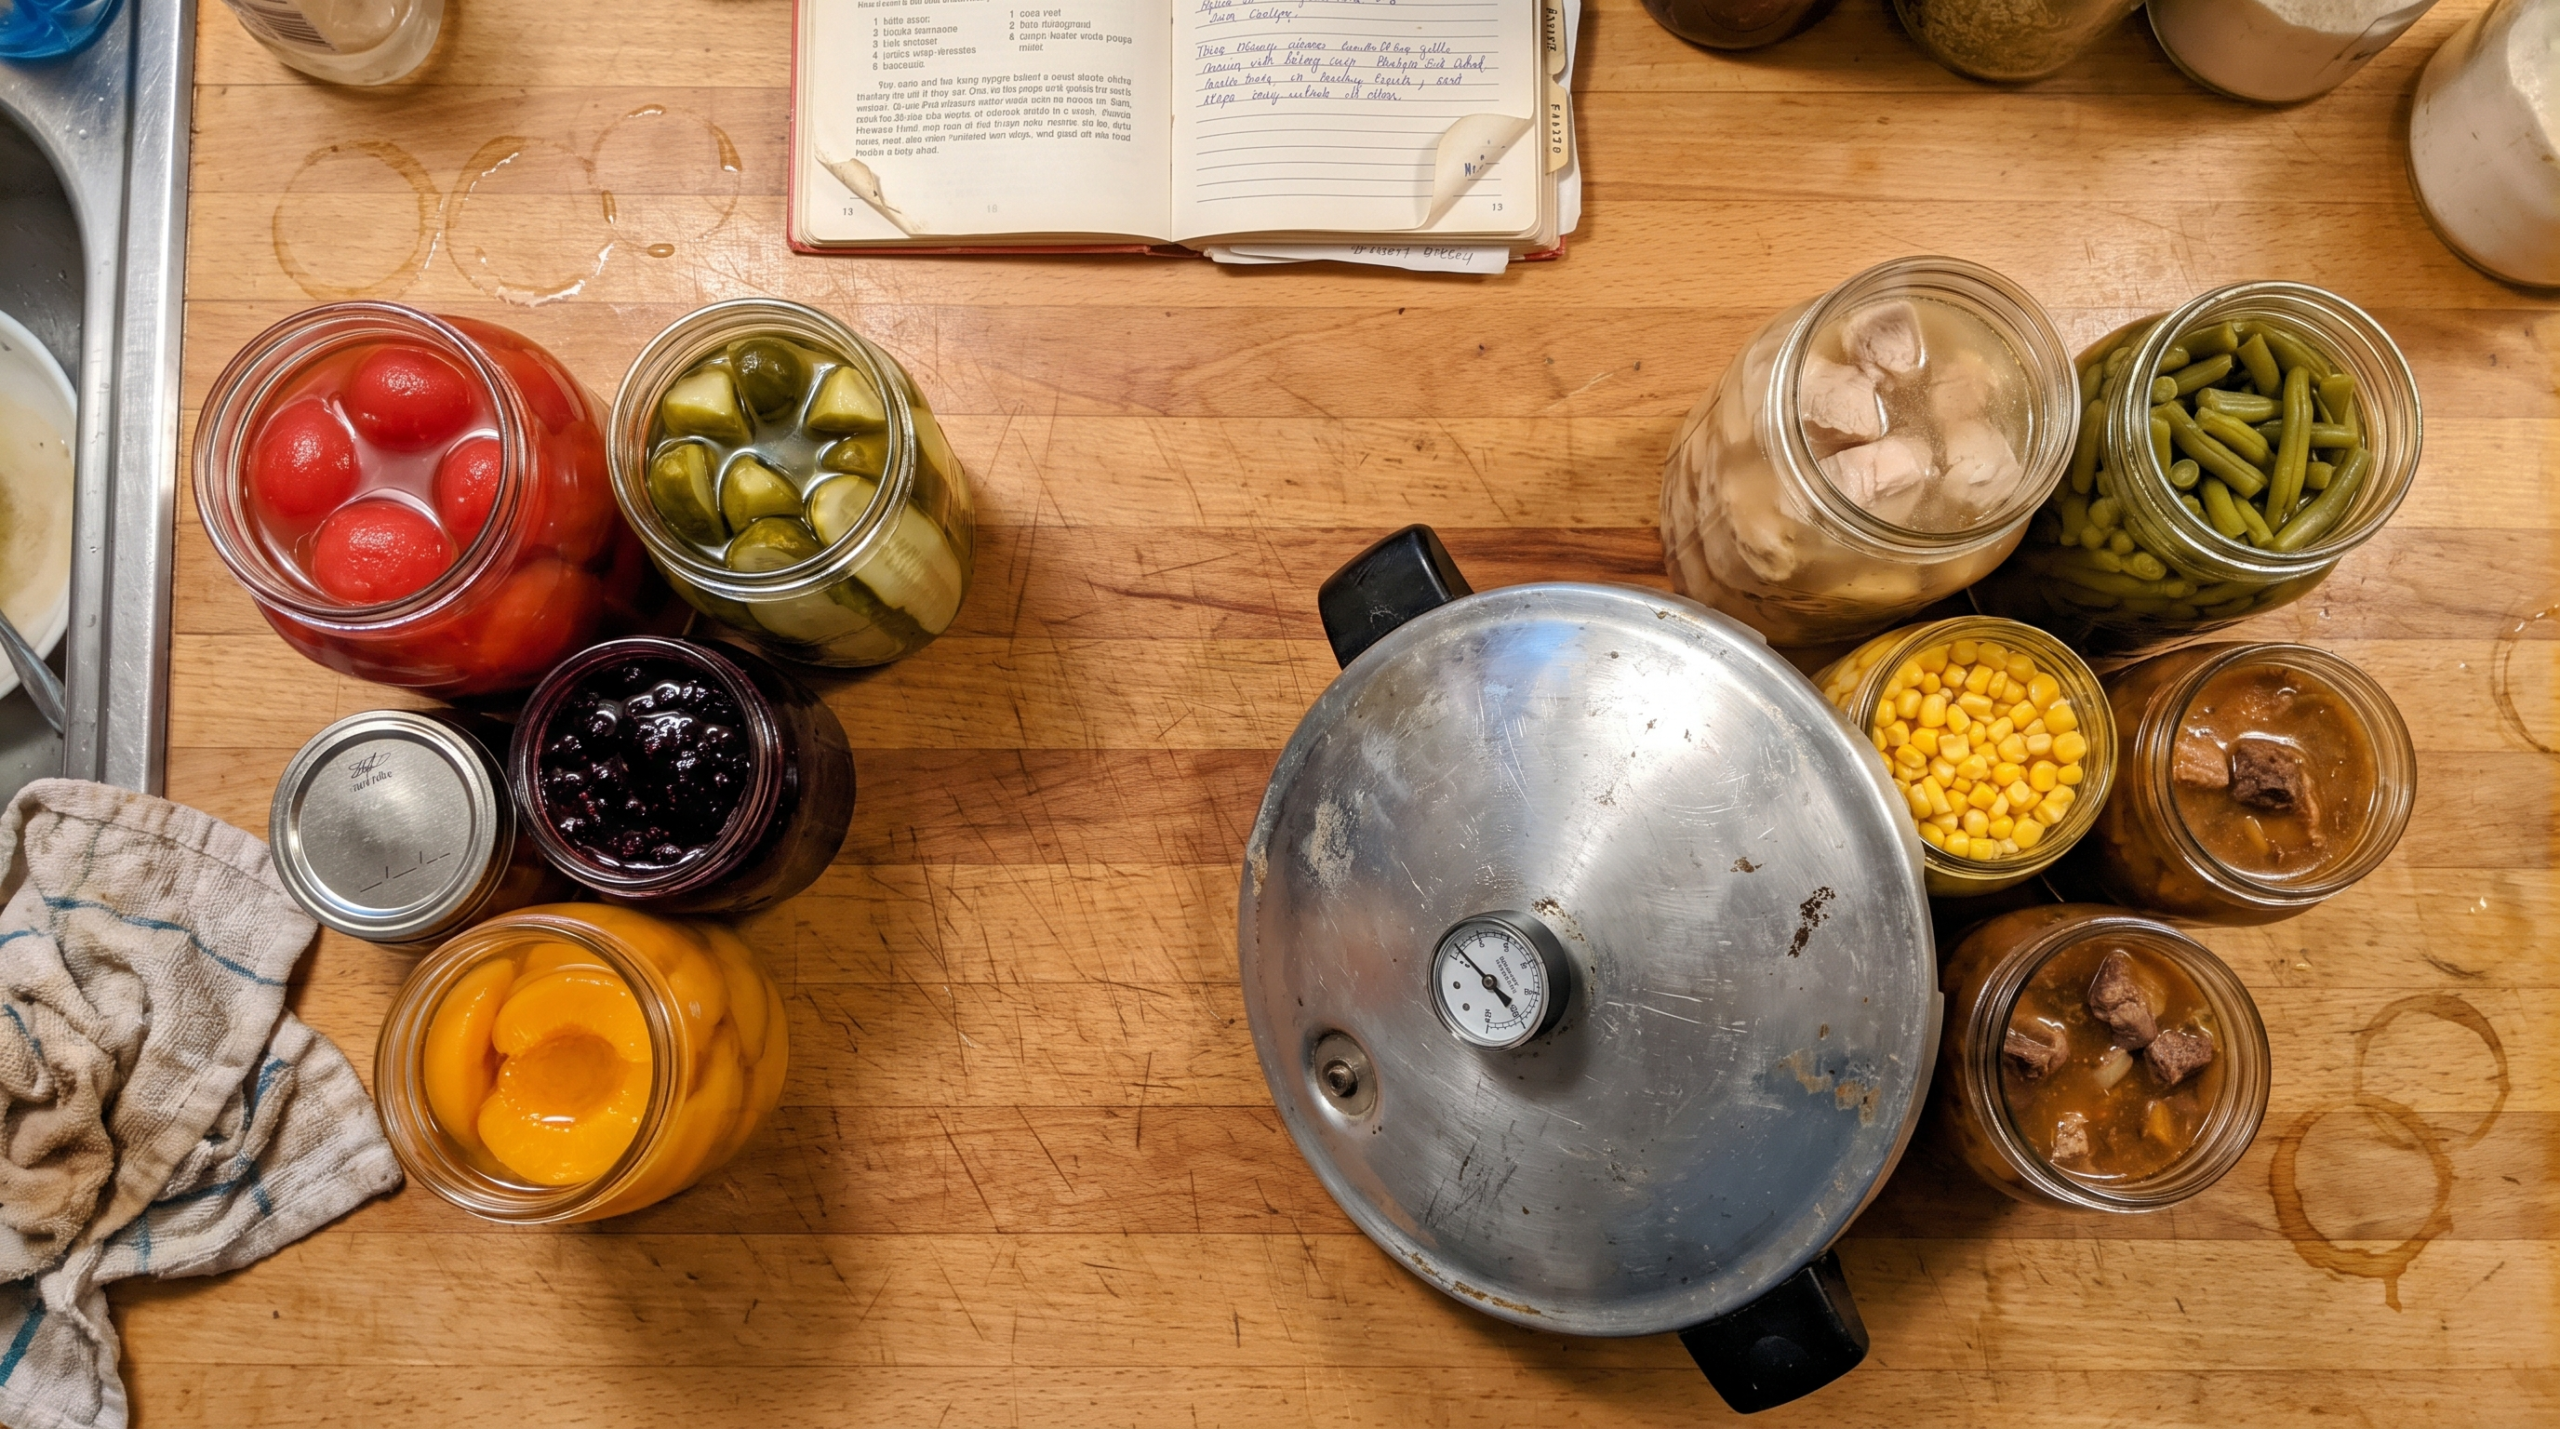
1. Sort by acidity, using a tested recipe
Don’t eyeball it. And don’t let a home pH reading talk you into an untested recipe. Pull a current tested recipe from a university extension service or a modern preserving book. The processing time in it was calculated for that exact food at that exact density. Writing your own version is the single most dangerous thing a home canner does, and people do it every August.
2. Pressure-can every meat, every vegetable, every mixture with either in it
A pressure canner clears 212°F. That’s the only home method that kills C. botulinum spores. A water bath never gets there, and adding an hour doesn’t fix it. This is the one line on the page with no exceptions.
3. Water-bath the fruits, pickles and jams
Hold the sugar, acid and pectin ratios your recipe gives you. Those ratios aren’t about texture. They’re doing safety work. Change them and you’ve written a brand new recipe that nobody tested.
4. Adjust for altitude
Water boils cooler the higher you go. Above 1,000 feet, your time or your pressure goes up, and your recipe has the chart. Skip it and you’ve under-processed a batch that looks perfect on the shelf. That’s the quiet failure, and it’s the worst kind.
The Shelf That Needs No Jar

Twelve to eighteen months for best quality. After that, flavor and nutrition start walking out the door. Safe for longer if the seal holds? Usually. Good for longer? No.
That’s a real shelf. It’s also a short one, and a lot shorter than most people picture when they use the word “stocked.”
So run your food in three layers instead of one.
Layer one is the cupboard. What you already buy and already eat, bought at normal prices, no ceremony. Three months is the target.
Layer two is what you can. Complete meals in jars, 12 to 18 months, no water and no stove needed to eat them. That’s the rest of this page.
Layer three is the one almost nobody builds. Food that keeps for years with no fridge, no jars, and no processing at all. It carried people through sieges, through the Depression, across continents on foot. Almost none of it needed equipment. It needed knowing how.
And knowing how is exactly what got lost.
It lived in grandmothers. In army quartermasters. In farm kitchens where nobody bothered writing it down because everybody already knew. Then those people died. It scattered. Most of it went quiet.
Four authors spent years hunting down what survived. What they found ended up in The Lost SuperFoods. Inside:
- The ration a government agency issued that men carried for months with no cold box, and the reason it was quietly dropped
- The single food credited with keeping people alive through a siege that starved a city, built from something most kitchens throw in the bin
- What Lewis and Clark carried across a continent on their backs, which weighs almost nothing and takes about half an hour to make
Where it falls short, so you’re not surprised. It’s a book, not food. Nothing in it feeds anyone until you actually make something. The historical framing is doing sales work as much as scholarly work, so read the stories as color and the methods as the product. And you’ll see shelf-life claims out there far longer than the 12-to-18-month figure above. That figure is for home-canned jars specifically, it’s the standard rotation window, and we’re not walking it back.
Here’s the part worth sitting with. The reason to build layer three right now is the exact same reason nobody does. Stores are open. Power’s on. Jars are stacked where you left them. That comfort is what makes the work easy, and easy is a condition, not a permanent feature of the world.
See the 126 foods that keep without a fridge →
Affiliate link. Survival Life earns a commission if you buy, at no extra cost to you. This doesn’t replace canning. Fix the jars with the rest of this page, and treat the book as what’s left when the jars run out.
The Canning Tips That Kill Seal Failures Before The Canner Heats Up

Four of the six most common failures happen before the water even moves.
5. Check the canner gaskets every season
Stretched, torn or cracked, and it can’t hold steady pressure. A drop mid-cycle under-processes the whole load and never tells you. Two minutes with your thumb beats a ruined batch.
6. Use jars built for this
Mason-style glass is tempered for the heat and the pressure. Mayonnaise and pasta-sauce jars have thinner walls. They break more, and they seal worse.
7. New sealing lids. Every batch.
Bands get reused forever. Lids don’t. The sealing compound compresses once and never comes back, so a reused lid is the most expensive two dollars anyone ever saves.
8. Run a finger around every rim before you fill
A chip you can barely feel will stop a vacuum from forming. Catch it while the jar’s still empty and you lose a jar. Catch it after and you lose the batch.
9. Wipe the rim clean
One smear of syrup. One fleck of food. That’s enough to break a seal during processing. Damp cloth, one pass, every jar, no skipping the last three because you’re tired.
Pack It So The Heat Gets Through
10. Give it the headspace the recipe asks for
Half an inch to an inch, usually. Too little and food forces out under the lid. Too much and the jar never pulls a strong vacuum. Both look fine until they don’t.
11. Work a bubble tool down the sides
Trapped air changes your real headspace and slows heat reaching the center. Use plastic or silicone. Never a metal knife, which scratches the glass and starts a crack you won’t find until it fails in the canner.
12. No pasta, rice or flour in the jar
Thick contents block heat from reaching the middle. That’s how an under-processed jar ends up looking completely normal on your shelf for a year. Can the stew thin. Add the starch when you serve it.
13. Fingertip-tight bands. That’s it.
Turn until it stops, then stop. Cranking down buckles the lid and pushes air out sideways, and it’s one of the most common reasons a seal fails on a jar that was otherwise perfect.
Run It, Store It, Rotate It
14. Full processing time, every time
Green beans need 20 minutes for pints and 25 for quarts at 11 pounds on a weighted gauge. Those numbers aren’t padded. Nobody added a safety cushion for you to shave off.
15. Cool, dark, dry, and oldest jar first
Label contents and date the day it cools, not next week. Heat, light and moisture eat both the food and the seal. Eat the oldest jar first, always, and your pantry stays a working system instead of a museum you’re afraid to touch.
What To Actually Buy
Good · start here
$60–$80
Large stockpot, rack, jar lifter, a dozen wide-mouth jars.
Jams, pickles, fruit, acidified tomatoes.
Better · where most land
$130–$160
23-quart pressure canner, dial or weighted gauge.
Meat, vegetables, complete meals in jars.
Best · buy once
$400+
Metal-to-metal pressure canner, no gasket to replace.
Volume canning, decades of service, nothing to wear out.
Check current pricing before you buy. The Good tier isn’t a placeholder, it’s a real starting point, and most households should run two full seasons there before spending more. A canner you’ve used twice is equipment. It isn’t skill.
Common Mistakes These Canning Tips Prevent
- Treating canning as the whole pantry. It’s one layer. It can’t cover a week where the power, the jars or the harvest are missing.
- “Improving” a tested recipe. Extra onions, extra peppers, a spoon of flour to thicken it. All three either dilute the acid or block the heat, and both roads end in the same place.
- Buying the gear and never running a batch. “I don’t want to keep wasting food” is what people say right before the canner goes in the garage for three years. Run three jars, not a full load.
- Reusing sealing lids. The compound seals once. That’s the whole design.
- Storing jars with the bands on. A band holds a failed lid in place and hides the failure from you. Take them off after 24 hours and check.
- Canning food nobody in the house will eat. Appetite fatigue kills more stockpiles than calorie shortages ever have.
Frequently Asked Questions
Which of these canning tips matter most for a beginner?
Three of them. Sort by acidity and use a tested recipe. Pressure-can anything low-acid. Wipe every rim before the lid goes on. The first two keep you safe. The third saves most of the batches beginners lose.
How long does home-canned food actually last?
Twelve to eighteen months for best quality. It can stay safe longer if the seal holds and storage is cool and dark, but nutrition and flavor fall off. Rotate on an 18-month cycle instead of testing the limit.
Can you reprocess a jar that didn’t seal?
Only within 24 hours, and only if you followed a current tested recipe the first time. Empty the jar, reheat the contents to boiling, refill a clean jar with a new lid, reprocess with a tested hot-pack recipe. Otherwise refrigerate it and eat it that week.
Do you need a pressure canner to start?
No. A water-bath setup handles fruit, jam and pickles for under $80. The pressure canner becomes necessary the moment you want meat, vegetables or complete meals, and that’s the one upgrade worth saving for.
Is home canning safe with young kids in the house?
Yes, with tested recipes and everything low-acid pressure canned. The danger is procedural, not built in. Keep kids clear of the canner while it’s processing and venting.
Do One Thing Today
Pull three jars off your shelf. Take the bands off. Lift the edge of each lid with your thumbnail.
If a lid moves, you just found a failure you didn’t know you had. If there’s no date on the jar, that’s the gap to close first.
And whatever the date says, it’s inside eighteen months. See what keeps for years without a jar →
More on this: the how-to guide to canning jars, the preserving equipment worth owning, and long-term emergency food kits.