Do It Yourself
Home Canning Supplies – The Equipment Essentials

Canning is a crucial part of homesteading; it’s the best way to preserve the bounty of the garden for enjoying throughout the rest of the year. Tomatoes, squash, beans and more will be pouring from your garden during growing season, faster than you can consume them, and a great way to make the most of the effort you have put into growing your own food is to make sure that it stays good for you to use throughout fall and winter.
While canning is fairly straightforward, but it requires some specialist equipment, things you likely won’t already have in your kitchen, and it’s important to follow recipe instructions carefully regarding recipe and process, to ensure that the food remains unspoiled.
There’s two kinds of canning that are confirmed safe: pressure and water bath. The image above shows the things you need for both.
* The blue pot is a waterbath canner. Waterbath canning is used for high acid foods, such as tomatoes, jellies, jams, fruits, pickles, salsas etc. I bought my waterbath canner from Walmart, and I particularly like it because it is light weight and easy to clean.
* The silver pot on the right is a pressure canner. This is used for low acid foods, such as meat, beans and other vegetables. It is important to buy a quality canner, and care must be taken each time it is used to inspect the rubber seal inside the lid. Inside the canner, there is a metal rack on which the jars are sat, to keep them off the bottom of the pot. I bought mine from Amazin, because they just happened to have one at a great price. Shop around, they don’t have to be expensive.
* The rack in front of the pressure canner goes with the waterbath canner. This is to hold the jars off the bottom of the pot, and to make it easy to lift the jars from the waterbath when they are finished processing.
* The blue funnel is used for filling jars. Using a funnel helps to keep the rim and the outside of the jars clean. Food on the rim of the jars can affect the seal of the lid.
* The book, The Ball Complete Guide to Home Preserving, is my favorite book for
canning. It has both comprehensive instructions, and lots if great recipes.
* The lower of the two blue tools on the left is a lid lifter. Traditionally, lids were heated in
a pan of hot water prior to placing them on the jars, and this made them too hot to touch, thus the lid lifter was used. However, Ball now reports that, after extensive testing, the seal works just as well at room temperature as it does after being heated, so it is said that heating the lids is no longer required.
* The tool on top is for measuring head height in the jars – different recipes require a different amount of air space left in the top of the jars before processing. This tool makes it super easy to measure, and also doubles as a way to eliminate air bubbles from the jar. Air bubbles left in the jar can cause decay of the food inside.
* The next tool is a jar lifter. Because the jars need to be added to the water when it is super hot, you need these to make sure you don’t burn your fingers. Same for lifting them out when they’re done.
* Obviously, you’ll need jars! Quart jars, pint jars, jelly jars… there’s a jar for every purpose. There’s also limited edition jars and pretty little jars for special gifts.
* Lids! New jars come with lids, but repurposed jars will need new ones. You can save and wash the screw tops after processing, but you’ll need the round seal to be replaced.
* Dissolvable labels – because you need to know what’s in our jars! And dissolvable because the cheap regular labels just don’t come off. Trust me on this one. They’re worth the extra cost!
Canning bring me double enjoyment: both the productive feeling I get from putting up my harvest, and the joy at opening a can of bright, vibrant salsa in the middle of winter.
**A brief note on canning: the type of stove you have can affect your canning. A gas stove is ideal but electric can also be used. Glass top stoves are not recommended as the weight of the canner can crack the glass. When you are placing the canner on a burner, the canner should be centralized, and should not exceed the size of the burner by more than 2″ on each side, to ensure even heating of the contents.**
Canning Like a Pro in 4 Easy Steps
8 Must-Have Canning Supplies Every Homesteader Needs
15 Canning Tips for Preppers | Self-sufficiency


-
 Do It Yourself7 months ago
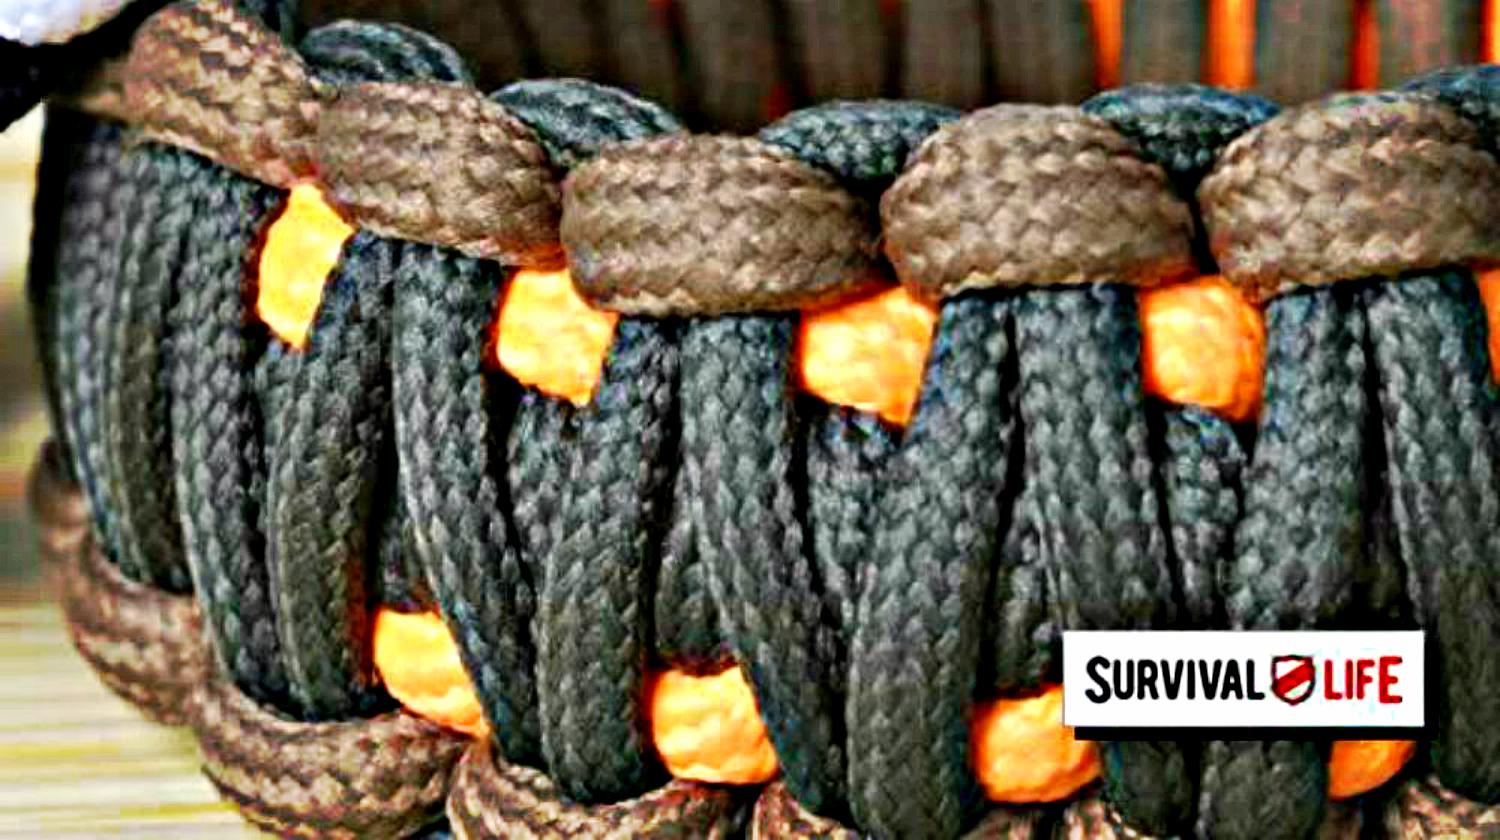
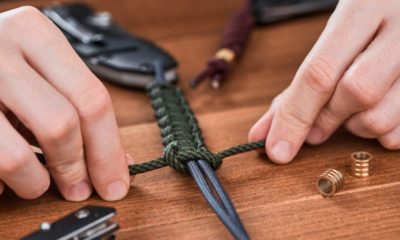
Paracord Projects | 36 Cool Paracord Ideas For Your Paracord Survival Projects
-
 Do It Yourself9 months ago
How To Make Paracord Survival Bracelets | DIY Survival Prepping
-
 Do It Yourself9 months ago
21 Home Remedies For Toothache Pain Relief
-
 Do It Yourself10 months ago
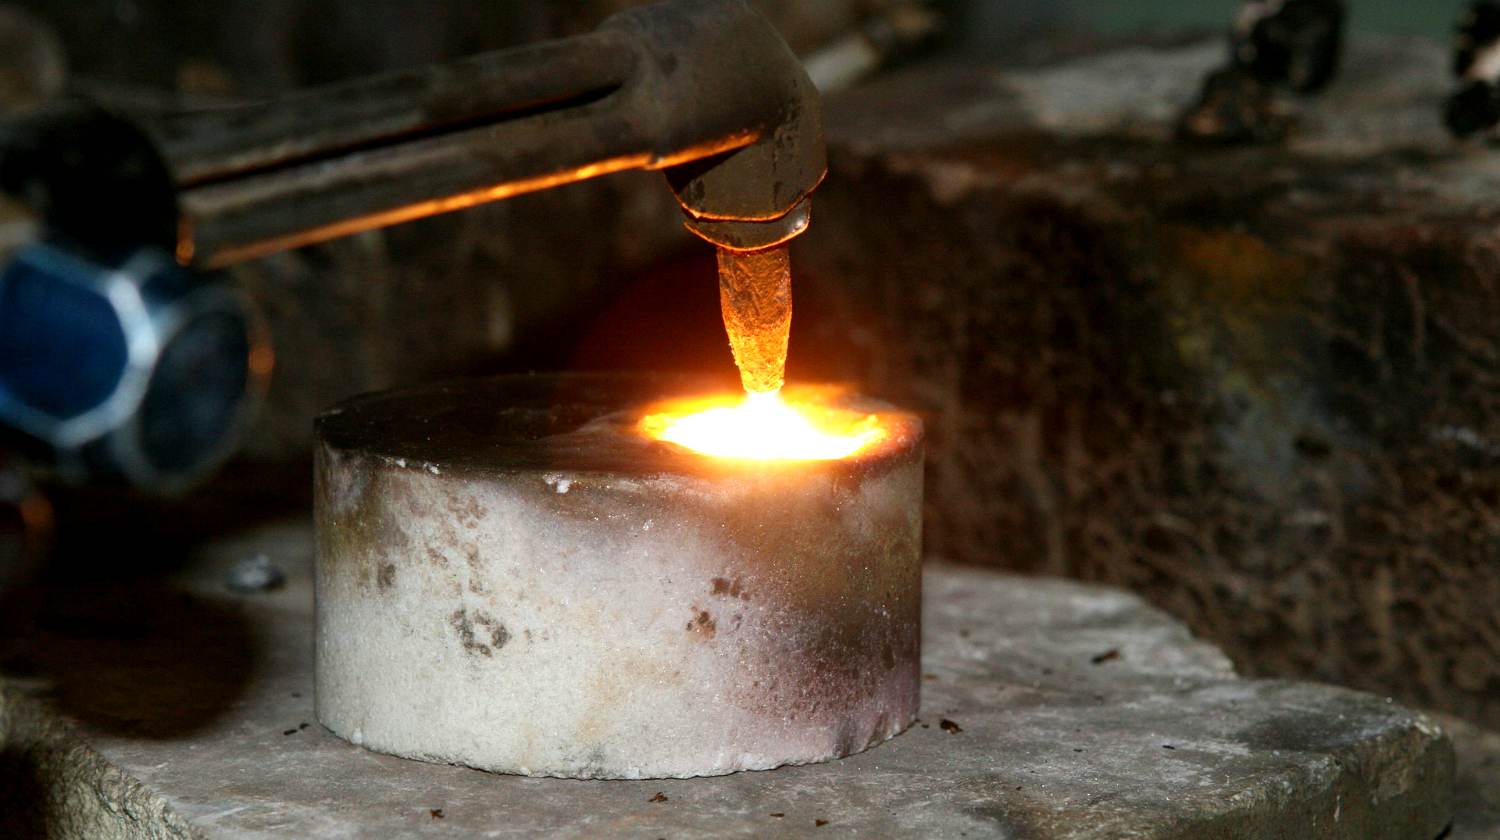
Survival DIY: How To Melt Aluminum Cans For Casting
-
 Exports8 months ago
Are Switchblades Legal? Knife Laws By State
Regina
July 28, 2014 at 11:00 AM
I started pressure canning dried beans when the supermarket cans started to be 75% water and the price was climbing. Now that I got organized and know what I’m doing, I can soak two lbs of beans in a gallon can overnight, cook them about 20 minutes and can them the way the Blue Book recommends with about 30 minutes labor the next evening. I get seven pints chock full of beans, another pint to use right away, and a way to continue to use my equipment when the produce canning season is over. It’s somewhat cheaper, seasoned the way I like, and a way to store beans for longer than they will be good dried.
Nora Marginean
July 28, 2014 at 12:11 PM
Fantastic article with supplies and description of each !
Pingback: Home Canning Supplies – The Equipment Essentials | SurvivalistBasics.com