Food Preservation
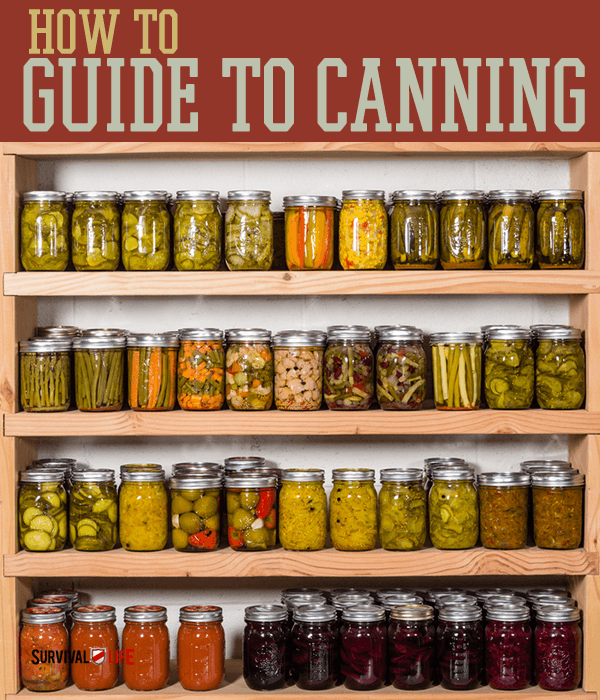
Canning Jar | How To Guide To Canning

Explore the possibilities of a canning jar in this how-to guide to preserving food and storage which may just be useful in case SHTF!
RELATED: Canning Like a Pro in 4 Quick & Easy Steps
Canning Jar: Your Means to Preserving Food Longer
Water Bath vs. Pressure Canning

There are two types of canning methods: water bath canning and pressure canning. Each canning process has its dos and don’ts; pros and cons, and rules to properly preserve specific kinds of foods.
Here are some helpful canning processing tips so you know what food to can and what canning method works for them:
- Fruits and high acid foods can be safely processed in a hot water bath.
- Vegetables not pickled and low acid foods must be processed in a pressure canner.
- A pressure canner is not the same as a pressure cooker.
- When pickling, use vinegar with at least 5% acidity.
- Do not turn jars upside down to seal them, even after water bath processing.
- Never re-use canning jar lids. It is safest to just get new rings and lids each time you can.
- Never use canned goods that look discolored. Toss it and be safe!
- Pick different canning jars sizes for different foods — 8 oz. for chutney and syrups; 32 oz. for pickles and whole fruits.
What is a pressure cooker? It is an airtight kind of pot that uses high steam pressure to cook food fast.
Pressure Canning
Essentially, pressure canning applies heat to food in a closed glass canning jar, such as Ball canning jars, to slow down or prevent natural spoilage. It does this by removing air from the jar to create a seal.
How to Use a Pressure Canner [Video]
Canning Supplies:
- pressure canner
- jar lift
- canning jars, lids, and rubber rings
- jar funnel
- knife
- sugar
- syrup (optional)
- fruit/veggies (all your choice)
Instructions or Basic Steps:
- Read the recipe carefully, prepare the ingredients, and assemble your canning equipment.
- Wash, sterilize, and keep your canning equipment hot and ready for use.
- Wash your ingredients and prepare them according to the recipe.
- Scoop food into the jars leaving half an inch of headspace, then remove air bubbles.
- Wipe jar covers and rim with a clean damp cloth.
- Take the canning jar lids from the hot water, put them in place, and screw them snuggly into the jar.
- Place the jars in the canner using a jar lifter with at least two inches of water covering them.
- Process the canning jars according to instructions and recommended time and temperature.
- Take the jars out from the canner and place them in a wire rack to cool.
- Test if properly processed: Press down the center of the lead. If it pops up, it’s not sealed and should be used right away, reprocessed, or refrigerated.
RELATED: 8 Must-Have Canning Supplies Every Homesteader Needs
Water Bath Canning
Check out this video for a step-by-step guide to water bath canning jars:
Canning Supplies:
- water bath canner
- jar lift
- canning jars, lids, and canning jar rings
- jar funnel
- knife
- sugar
- syrup (optional)
- fruits and vegetables (all your choice)
This awesome infographic shows you how to can fruits and jams.
To know about basic canning, watch this video from Simply Starry Sustainable Living With God:
Now you know what a canning jar can do with the two types of canning methods to properly store “the good stuff” for when SHTF. Take your lessons from the proverbial survivalist ants who knew when and how to preserve food in abundance.
Next time any fruit and veggie are in-season or you’ve harvested more than enough, you now know what to do with those!
Which of these canning methods have you tried before? Tell us all about it in the comments section below!
Up Next:
- How to Repackage Survival Foods
- DIY Survival Food You’ll Actually Want To Eat
- 9 Survival Food Items That Will Outlast The Apocalypse
For more awesome SHTF survival items, you can’t make at home, check out the Survival Life Store!
Follow us on Facebook, Instagram, Twitter, Pinterest, and Tumblr!

Editor’s Note: This post was originally published on April 2, 2014, and has been updated for quality and relevancy.
-

 Do It Yourself7 months ago
Paracord Projects | 36 Cool Paracord Ideas For Your Paracord Survival Projects
-

 Do It Yourself9 months ago
How To Make Paracord Survival Bracelets | DIY Survival Prepping
-

 Do It Yourself9 months ago
21 Home Remedies For Toothache Pain Relief
-

 Do It Yourself10 months ago
Survival DIY: How To Melt Aluminum Cans For Casting
-

 Exports8 months ago
Are Switchblades Legal? Knife Laws By State


Pingback: Homesteading and Sustainability| Survival Life - Survival Life | Preppers | Survival Gear | Blog
Pingback: Best Long Term Food Storage Tips | Survival Life - Survival Life | Preppers | Survival Gear | Blog
Pingback: highest long run food Storage tips | Man Shaved / Best Electric Shaver
Pingback: Simple Ways To Repurpose Mason Jars | Infographic
Pingback: Essential Survival Fuel: No-Cook Overnight Oats | Survival Life
Pingback: Essential Survival Fuel: No-Cook Overnight Oats | Savvy About Survival
Pingback: Seedling Greenhouses Ideas for Spring | Survival Life
Pingback: 7 Genius Seedling Greenhouses You Can Make Today - Survive!
Pingback: 7 Genius Seedling Greenhouses You Can Make Today
Pingback: Canning Jar | How To Guide To Canning | Life Off The Grid
Pingback: Canning Jar | How To Guide To Canning
Pingback: Homesteading and Sustainability: How To Become Self Reliant - Survival Patch
Pingback: Homesteading and Sustainability: How To Become Self Reliant
Pingback: 7 Genius Seedling Greenhouses You Can Make Today – Ultimate Survival Alerts
Pingback: Food Preservation: Importance And Basics | Survival Life
Pingback: Food Preservation: Importance And Basics | Primitive technology
Pingback: Food Preservation: Importance And Basics – Ultimate Survival Alerts
Pingback: Canning Jar | How To Guide To Canning – Ultimate Survival Alerts