Do It Yourself
DIY Bow and Arrow | Follow These Simple Steps
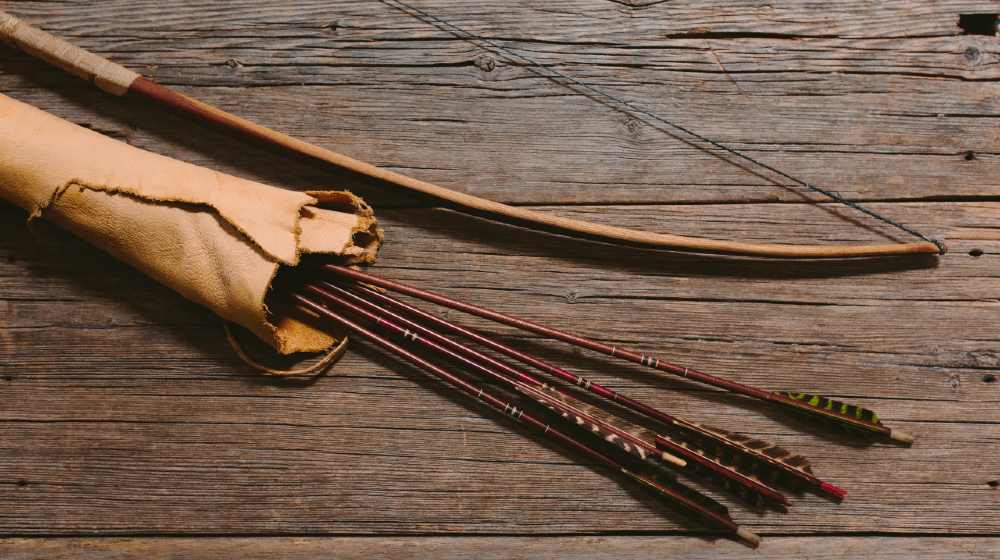
In the absence of guns, a DIY bow and arrow could be the meal ticket to your, well, next meal. You’ll also be surprised to know how easy it is to build one. On your next hunting trip, you would be literally killing it like Hawkeye.
Here’s the detailed six-step guide:
RELATED: How to Build a Hunting Bow
Making A DIY Bow and Arrow in 6 Easy Steps
Things You’ll Need:
- six to seven feet long dried bamboo cane
- four feet long, 3/8-inch diameter bamboo shafts
- nylon string
- used rubber tire interior
- wood glue
- 150-220 grade sandpaper
Tools You’ll Need:
- hacksaw
- hatchet knife
Note: The thickness of the bamboo cane walls should not be less than an inch. Also, make sure that its color is yellowish. If it looks pale, this means that the bamboo is of low quality.
Step 1: Build the Bow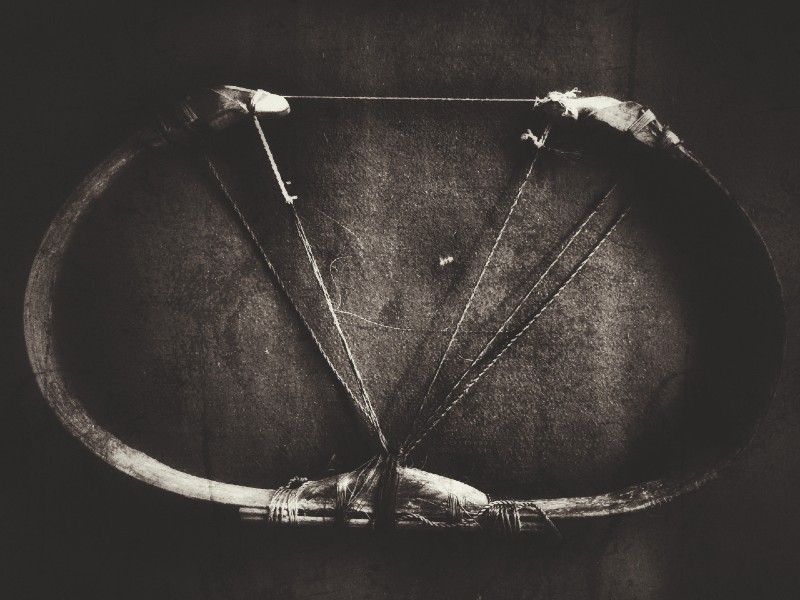
Using a hacksaw, split the cane into two halves. Then take one of the split pieces and with your hatchet knife, trim the sides. When done, narrow it down to a width of two inches. Next, carve your bow’s front profile to at least two inches in the middle.
Tips:
- From the middle, the bow should taper down to an inch on both tips.
- Carve a slot for the bowstring on each tip.
- Smoothen the edges with sandpaper.
Step 2: Make the Handle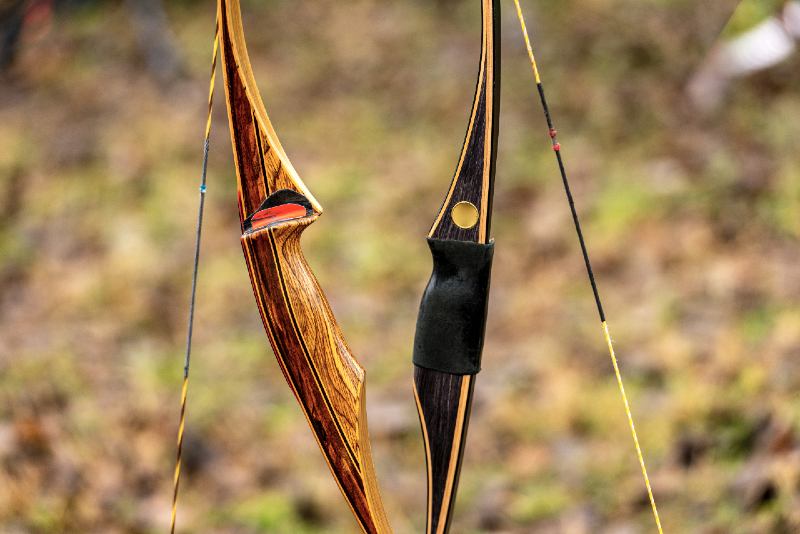
Get a one-foot-long wooden stick with a one-inch diameter. With a knife, taper its ends so it would fit the bow’s middle part. Once the stick fits the handle, glue it together.
Tip: To secure it further, wrap the handle with used tire interior strips.
Step 3: Attach the Bowstring
Tie the nylon string at both ends. Check for slack then tighten it. Then make sure it fits the slot on both tips of the bow. This type of bow is excellent for hunting small games like possums or rabbits.
Note: If you want a more powerful bow, you can use a thicker bamboo cane.
RELATED: Bow Making Course | How to Make Your Own Bows
Step 4: Prepare the Shaft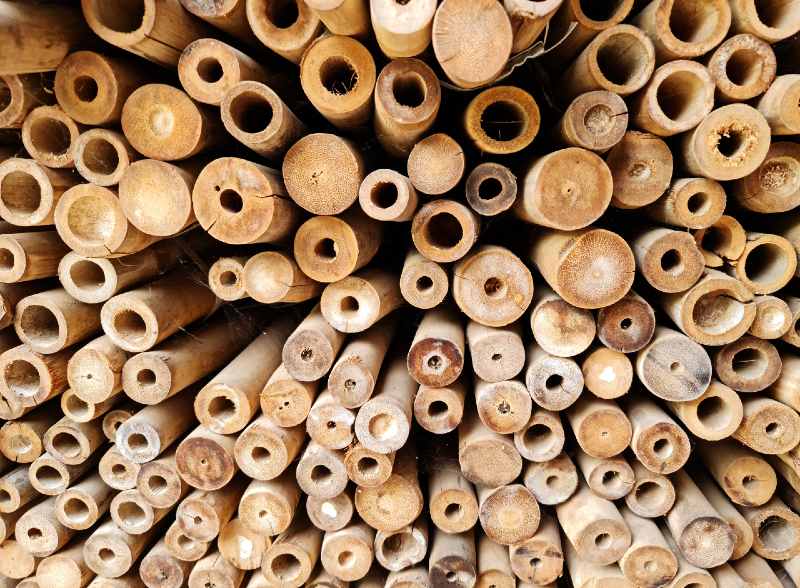
Get some bamboo shafts. Finding a super straight shaft is ideal. But if what you got is slightly bent, straighten it up by applying heat. If you think the shaft is straight enough, use a blower or a fan to cool it down.
Step 5: Carve the Arrowhead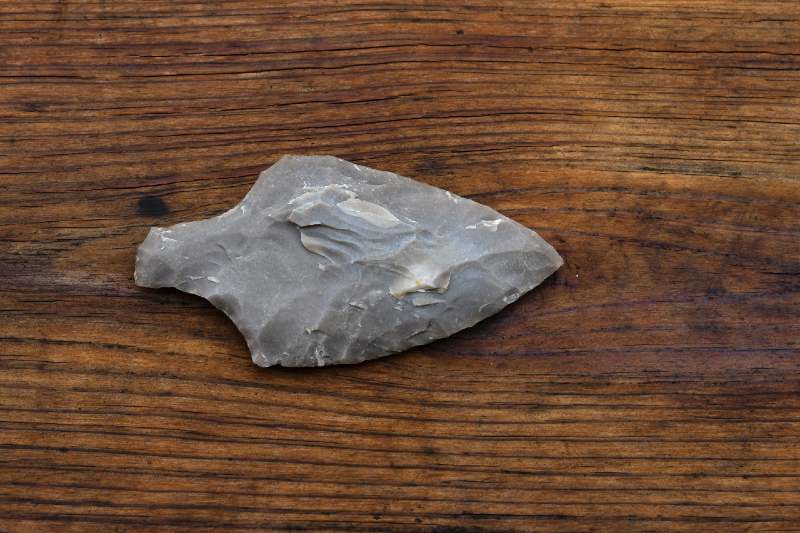
Once your shaft is locked into shape, fill both hollow ends with marine epoxy or wood glue. Afterward, let it dry for at least an hour. For the pointed head, fashion it using a knife. Finally, smoothen everything with sandpaper
Step 6: Make it Aerodynamic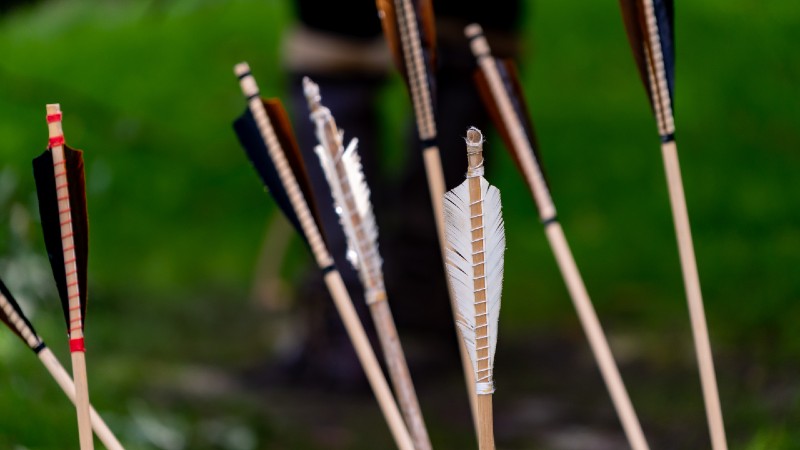
This is the final touch to make your arrow ready for action. Using wood glue, attach the feather to the arrow’s tail. Similarly, you can use nylon string to further secure it.
Tip:
- Feathers are available in hobby stores.
- You can also get them for free from poultry farms.
Now, your DIY bow and arrow is ready to use. Remember, safety first before everything else. Enjoy!
Up Next:
- Building a Power Outage/Blackout Kit
- How To Cut Paracord Without A Knife
- SHTF Life Hacks | Secret Prepper Tip List
Calling all preppers, craftsmen, bushmasters, outdoorsmen, and all-around skilled people, Survival Life needs YOU! Click here if you want to write for us.
Don’t forget to stay connected with us on Facebook, Twitter, Pinterest, and Instagram!
-

 Do It Yourself7 months ago
Paracord Projects | 36 Cool Paracord Ideas For Your Paracord Survival Projects
-

 Do It Yourself10 months ago
How To Make Paracord Survival Bracelets | DIY Survival Prepping
-

 Do It Yourself9 months ago
21 Home Remedies For Toothache Pain Relief
-

 Do It Yourself10 months ago
Survival DIY: How To Melt Aluminum Cans For Casting
-

 Exports8 months ago
Are Switchblades Legal? Knife Laws By State


Christopher Nelson
May 18, 2021 at 10:20 PM
I’m commenting on the “How to make a bow and arrow in 6 steps” article. It was really a complete waste of time!! The instructions are complete trash and make pretty much no sense. Do you guys have an editor? The materials list doesn’t match anything in the instructions and the pictures used to illustrate are of a completely different style bow making it even more confusing. I could go on and on about this article but instead I’ll ask you if you guys are hiring for an editor’s position. No joke. I want the job and know I could do much better than who ever you have now. Let me know.