

When disaster strikes, a survival seed bank could spell the difference between life and death. In the absence of food suppliers, homegrown food is the way to go.
RELATED: Best Sleeping Bags for Hiking, Camping, and Backpacking
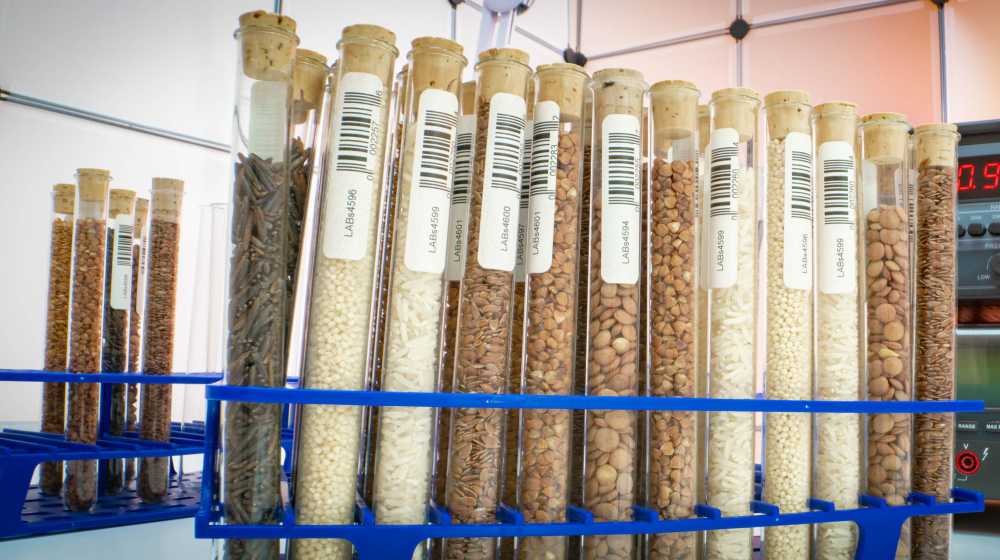
Survival Seed Bank Starter Hack
Click here to jump to the infographic
Step 1: Choose the Right Survival Seed Bank Container

Start your project by deciding on the container suitable for your purpose. Decide on the type and size.
Bigger is better yet you also have to consider the portability of your container. This allows you to easily transfer your seed bank from one place to another.
Aside from size, the right container material is also crucial to the success of your project. Metal or glass containers are better options than ones made of plastic.
Four Important Factors in Picking a Container:
- Climate
- Moisture
- Oxygen
- Light
Step 2: Customize Your Survival Seed Bank

Apart from choosing the right container, it is also practical to customize your seed bank. You do this by selecting the best seeds that would work in your growing environment.
This enables you to save specific varieties suitable for a given planting condition. This will make your seed bank more efficient and productive.
Customizing your seed bank also helps you save money. This is simply because it allows you to avoid spending on unsuitable seeds for planting.
Step 3: Know Your Survival Seed Bank Options Well

To engineer your seed bank for the best yield, it is critical to know your options. You need to understand the various types of seeds with the results you plan to achieve.
What are the best seeds should you buy for survival? It depends on factors like the size of your growing space and your location.
Three Main Types of Seed:
1. Hybrid
Hybrid types are bred by combining different varieties of seeds. This is done to produce characteristics suitable for the grower’s specific purpose.
Though hybrid seeds could produce edible crops, results are also inconsistent. In some cases, the quality of the yield tends to vary as the planting season ends.
2. Genetically Modified
A genetically modified seed is developed by crossing two different species. For example, scientists could make GMO tomatoes by combining their genes with that of a mouse.
Despite their resiliency, GMO plants are proven to have health and safety risks. Aside from this, seeds from GMO plants are, more often than not, sterile.
3. Heirloom
Heirloom seeds have traits that came down from previous generations. Specific traits are chosen from every generation.
As a result, heirloom seeds produce better yields. The plants are also hardier and not difficult to grow.
Seven Common Benefits of Heirloom Plants:
- They are open-pollinated.
- They are excellent performers.
- They have higher nutrition content.
- They can adapt to specific conditions.
- Their fruits taste better.
- Their fruits last longer.
- The quality of their seeds is consistent.
RELATED: The Art of Seed Saving
Step 4: Consider Other Survival Seed Bank Factors

There are other important things you need to consider in starting a survival seed bank. One example is the ease of growing.
There is no point in planting heirloom seeds, for instance, if it’s laborious to grow. Assessing the suitability of seeds in a particular area is crucial.
Other Factors to Consider When Starting a Seed Bank:
- Planting Time
- Nutritional value
- Water Prerequisite
- Perennial or biennial
Step 5: Learn Survival Seed Bank Hacks
 Here’s an infographic guide that you can use. Feel free to download, save and share it with your loved ones:
Your seed bank should last as long as it is necessary. And because of that, you need to know the proper ways of taking care of your seeds.
The key to having the best seeds on your arsenal is proper storage. Below are some fool-proof hacks that you can use.
Six Seed Storing Techniques:
1. Dry Your Seeds Out
Before storage, you could dry your seeds in a food dehydrator.
2. Keep Your Seeds Cool
After drying your seeds, make sure that it is stored in a cool dry place around 40° Celsius.
3. Keep It Under Consistent Temperature
Humidity is the enemy so store your seeds where the temperature doesn’t fluctuate.
4. Lights Out
Keep your seeds out of harmful light by keeping them in jars and somewhere dark.
5. Rotate Your Seeds
By moving your seeds on regular basis, you can make them stay fresh longer.
6. Use Desiccants
Desiccants are oxygen absorbers and they can make your seeds last longer.
Starting your survival seed bank is no rocket science. But you need to plan your moves based on what you expect to achieve. Let’s grow!
What are your thoughts about GMO seeds? Let us know what you think in the comment section below!
Up Next:
- Kubotan | How to Use a Kubotan in 3 Easy Steps
- How to Start a Fire in The Snow
- Knifemaking: Make A Knife From An Old Wrench
Don’t forget to stay connected with us on Facebook, Twitter, Pinterest, and Instagram!


