Do It Yourself
The Art of Seed Saving

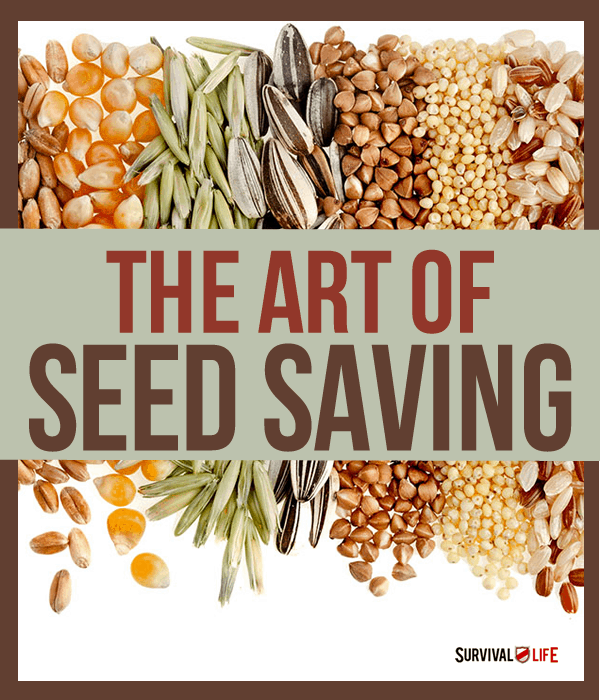
I recently learned about seed saving via a Kickstarter trailer for a documentary entitled, Seeds: The Untold Story. What is seed saving, you say? It’s exactly what it sounds like! It is the process of saving seeds for future harvests, a process that has been done for over ten thousands years.
The seed saving practice has been especially crucial in recent years while many plants have increasingly become endangered. In the last century, 94% of seed varieties have been lost. Hard to believe, right? Industrial agriculture following the industrial revolution has played a big role in the demise of this wonderful art.
Check out this trailer for “Seeds: The Untold Story” to learn more about this lost art:
Just like the trailer mentions above, corporate greed in industrial agriculture has created a monopoly over seeds. Corporations prefer crops that ripen all at once, such as hybrid plants, whereas heritage plants ripen unevenly are purer.
How to Start Saving Seeds
The process of seed saving can be very simple, as long as you know your plants. Some common edibles may appear very different when they flower and then go to seed. Leaves change shape; stalks shoot skyward or downward; flowers contrast with leaves. As you become comfortable with recognizing a plant’s colors, shapes and sizes, you can start mixing varieties.
To begin saving seeds, you must also become familiar with the life cycle of each plant, as well as how it is pollinated:
Self-Pollinated Plants
The pollination process occurs within each flower, and is not transferred from one flower to another, either on the same plant or between plants.
Cross-Pollinated Plants
The wind or an insect carries the pollen and fertilizes one flower to another flower, either on the same or another plant.
Annuals
An annual plant completes its life cycle, from germination to the production of seed, within one year, and then dies, such as lettuce and tomatoes.
Lettuce produces hundreds of small yellow flowers atop its stalk, the site of feathery little seeds. The seeds are similar to dandelion seeds, having a tiny parachute perfect for riding the wind. The plants can be tipped into a container and shaken to release the seeds.
Tomatoes should be picked when they are really ripe to prevent bacteria from persisting through the seed. In the bottom of a bucket, mush the tomatoes and squish from the pulp as many seeds as possible. Add water, place the lid on the bucket and let ferment for about three days. Hose back into the bucket whatever seeds are still attached to the tomato meat and discard the pulp. The pulp floats but the seeds do not. After the tomato pieces have been rinsed, pause for a few seconds as the last of the seeds sink to the bottom. Pour the liquid out of the bucket and you will find the tomato seeds at the bottom. Pour clean water over the seeds and onto a mesh screen to collect the seeds. Dry!
Biennials
A biennial plant is harvested as food in their first summer or fall, and do not produce seed until the following year, such as carrots and beats.
Carrots are cross-pollinated by insects and can be harvested in the fall. They often cross with Queen Anne’s Lace, so keep it clipped so as not to flower at the same time as the carrot. The flower head on the carrot, or seed umbel, matures unevenly, and is best to harvest when secondary heads have ripe brown seed. This is usually around September of the second year. Heads can be removed as they mature or entire stalks can be cut and cured for a few weeks. Rub off seeds when completely dry and use a screen to remove the chaff.
Beets are cross-pollinated by the wind. Therefore, it is best to raise seed of only one variety each year. In summer, when plants are dry, brown mature seeds are easily stripped by hand from the branches. Beet seeds are actually seed balls, containing up to six seeds each.
Perennials
Perennial plants both live and bear seed every year. Generally, the top portion of the plant dies in the fall and winter and regrows in the Spring from the same root system. These are typically flowers you will find in your garden. Most of these flowers are cross-pollinated by insects. If you wish to preserve the purity of a certain plant for seed saving, grow only one variety at a time.
Tips to Harvesting Seeds
- After harvesting, allow the seeds to dry for a few more days. The larger the seed, the longer the drying period.
- Spread seeds on plates, screens, wax paper, or newspaper in a breezy place for a few days. They should be rotated and spread out during that time.
- You may dry the seeds in a sun-exposed room, in a non-humid greenhouse or in the sun outside if they are covered or brought in at night to expedite drying.
- Seed should always be stored in cool, dry conditions.
- Temperatures below freezing will not harm seeds if they have been adequately dried. You may also store them in the freezer to prolong their lives.
- Sealing most seeds from air, except for beans and peas which need air circulation, also prolongs the life of the seed.
- Store seeds in airtight tins, glass jars or plastic containers that can be closed to make them moisture proof.
Seed saving not only eases the weight of living off the land, but allows us to take part in the circle of life. You can download a free expert guide to seed saving at A Way to Garden to get started seed saving.
See more gardening tips here:
- Off The Grid Gardening Tips
- DIY Garden Design | Grow 100 Pounds Of Potatoes
- 16 Sustainable Gardening Foods That Re-Grow From Scraps
Like this post?
If you’re looking for useful survival gear that you can’t make at home, check out the Survival Life Store!
Follow us on Facebook, Instagram, Twitter, and Pinterest!
The contents of this article are for informational purposes only. Please read our full disclaimer.
Editor’s Note: This post was originally published on May 30, 2014, and has been updated for quality and relevancy.
-

 Do It Yourself7 months ago
Paracord Projects | 36 Cool Paracord Ideas For Your Paracord Survival Projects
-

 Do It Yourself9 months ago
How To Make Paracord Survival Bracelets | DIY Survival Prepping
-

 Do It Yourself9 months ago
21 Home Remedies For Toothache Pain Relief
-

 Do It Yourself10 months ago
Survival DIY: How To Melt Aluminum Cans For Casting
-

 Exports8 months ago
Are Switchblades Legal? Knife Laws By State


Pingback: Conquer the Frontier Like An American Pioneer | Survival Life - Survival Life | Preppers | Survival Gear | Blog
Pingback: Fortify Your Homestead with A Living Fence | Survival Life - Survival Life | Preppers | Survival Gear | Blog
Pingback: Disaster Proof Survival Seeds - Survival Life | Preppers | Survival Gear | Blog - Survival Life | Preppers | Survival Gear | Blog
Pingback: Saving Tomato Seeds Myth
Pingback: Skill of the Month: Learn a New, Advanced Gardening Skill - Survival Mom
Pingback: 70+ Frugal DIY Garden Resources | Grounded & Surrounded
Pingback: Conquer the Frontier Like An American Pioneer - Survival Skills America
Pingback: Best Trades To Know When The SHTF | Survival Life
Pingback: Saving seeds is simple and easy: Basic tips and how-to wisdom – 1AFSYM
Pingback: Important Self-Sufficiency Skills to Learn | Survival LIfe
Pingback: Important Self Sufficiency Skills To Learn - Survive!
Pingback: Important Self Sufficiency Skills To Learn - Survivalist 101
Pingback: 7 Genius Seedling Greenhouses You Can Make Today | Survival Life
Pingback: 7 Genius Seedling Greenhouses You Can Make Today | Primitive technology
Pingback: 7 Genius Seedling Greenhouses You Can Make Today - Cooking in Quarantine