Paracord Projects
Easy Paracord Dog Collar Tutorial
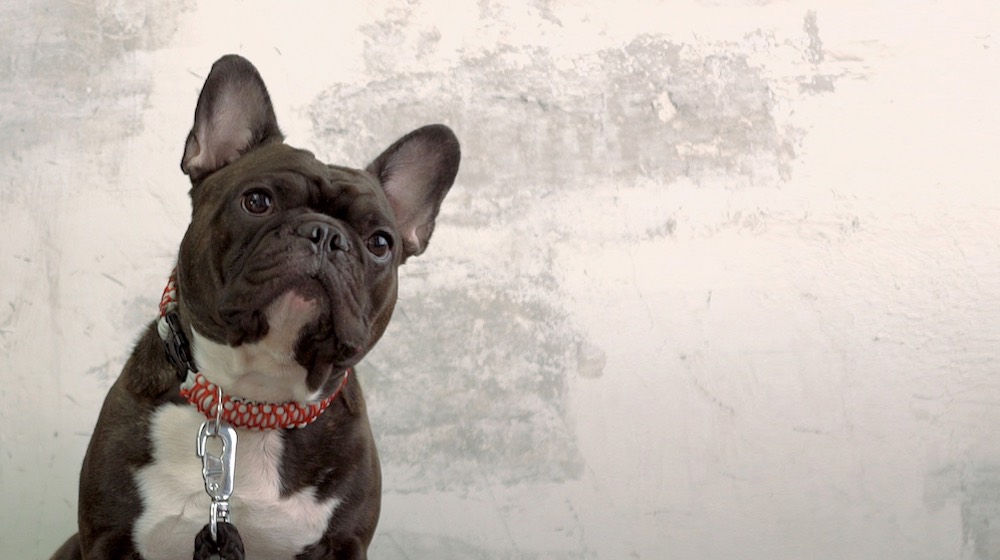
A unique and handcrafted paracord dog collar will definitely make your best bud feel loved and special. What are you waiting for? Read on and follow this easy step-by-step tutorial.
RELATED: How To Make Paracord Survival Bracelets | DIY Survival Prepping
How To Make A Paracord Dog Collar
What You’ll Need:
- 30 feet Paracord
- 15 feet Micro Paracord
- Buckle (plastic or metal)
- D-Ring
- Lighter
- Scissors
- Measuring Tape
- Jig (Optional)
- Paracord Lace Needle
Step 1: Preparation & Measurement
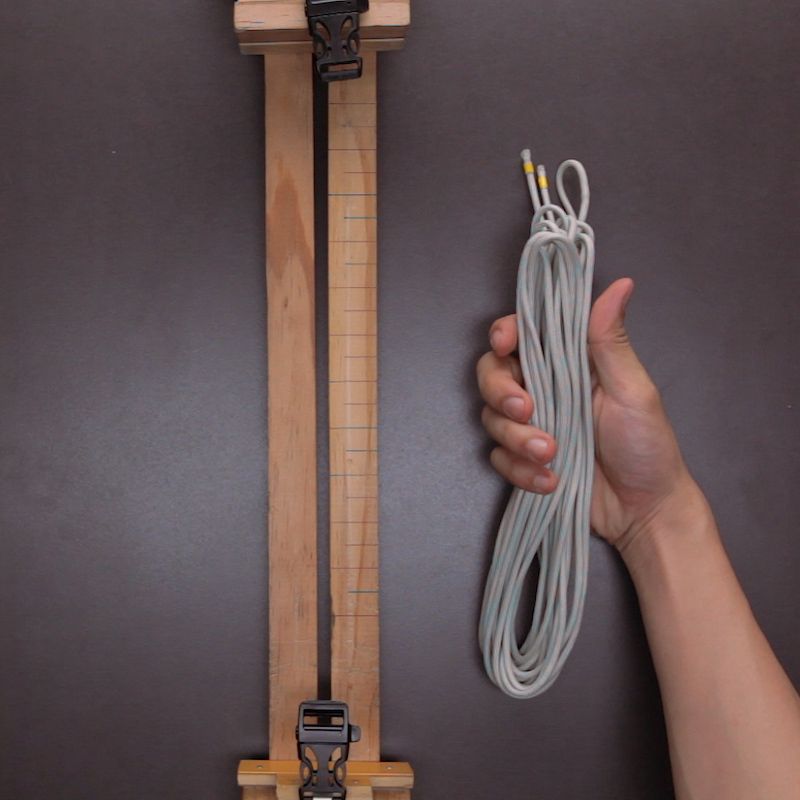
First, take the measurement of your dog’s neck. The next step is to set the jig based on the required length. Once done you may now attach the buckles to your jig so you can start working on your paracord.
Note: Leave at least a 1-inch allowance to make sure that the paracord dog collar will not end up being too tight.
Step 2: Create a Cow Hitch Knot
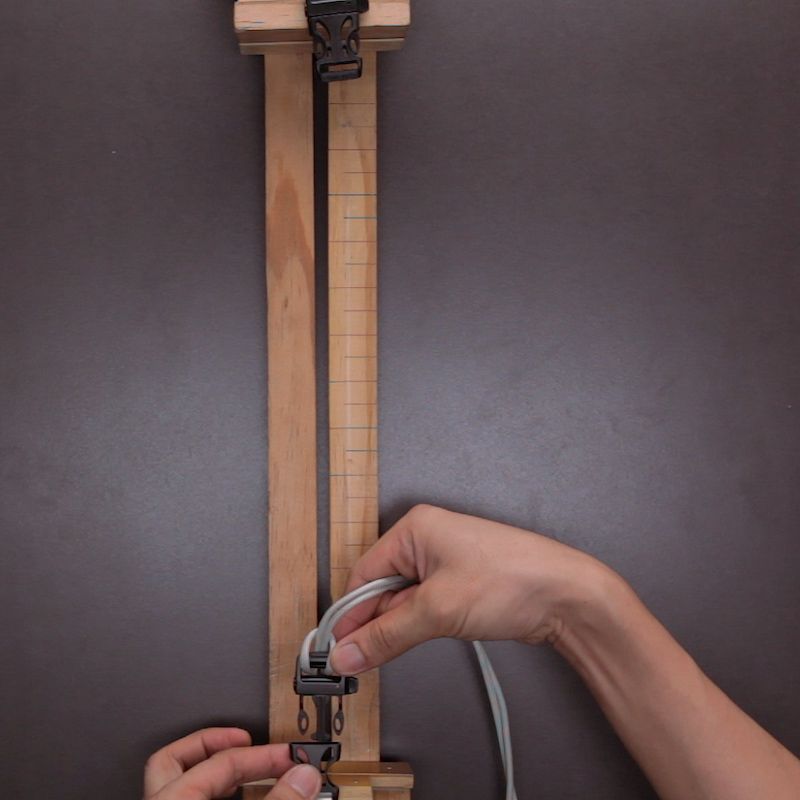
Fold your main paracord in half to begin the cow hitch knot. Insert the folded cord through the buckle and pull the two ends of the folded cord over create the cow hitch knot.
Step 3: Attach the D-Ring
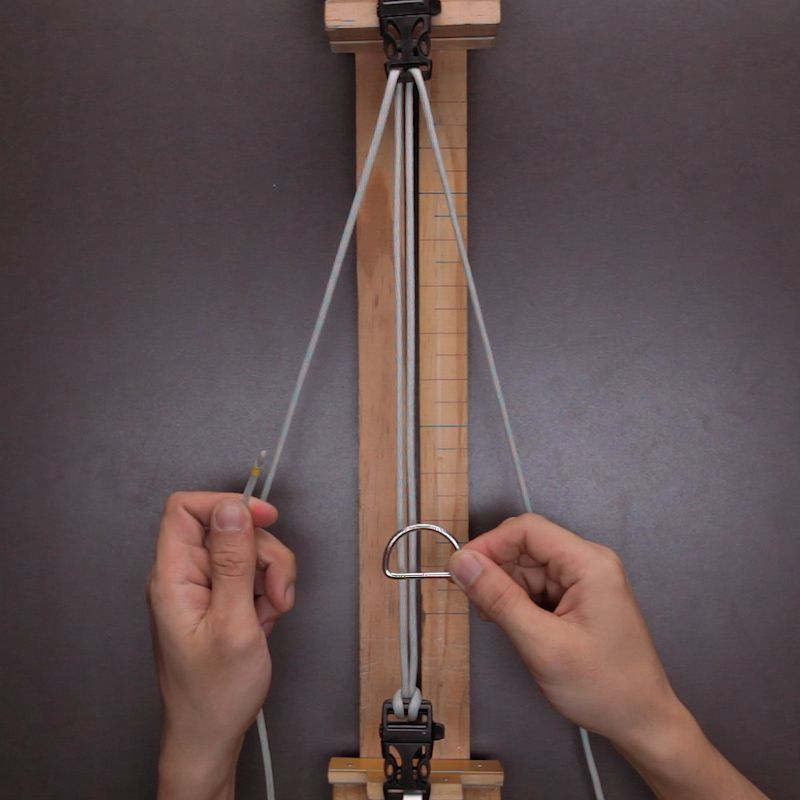
Get the two ends of the paracord and thread it under the other side of the buckle. You can now attach the D-ring to the cord.
Once done, thread the two cords on the other side of the buckle where you created the cow hitch knot.
Note: Double-check the measurements before proceeding to the next step because it will be hard to make length adjustments once you continue weaving your paracord.
Step 4: Start Working on Your Cobra Cord
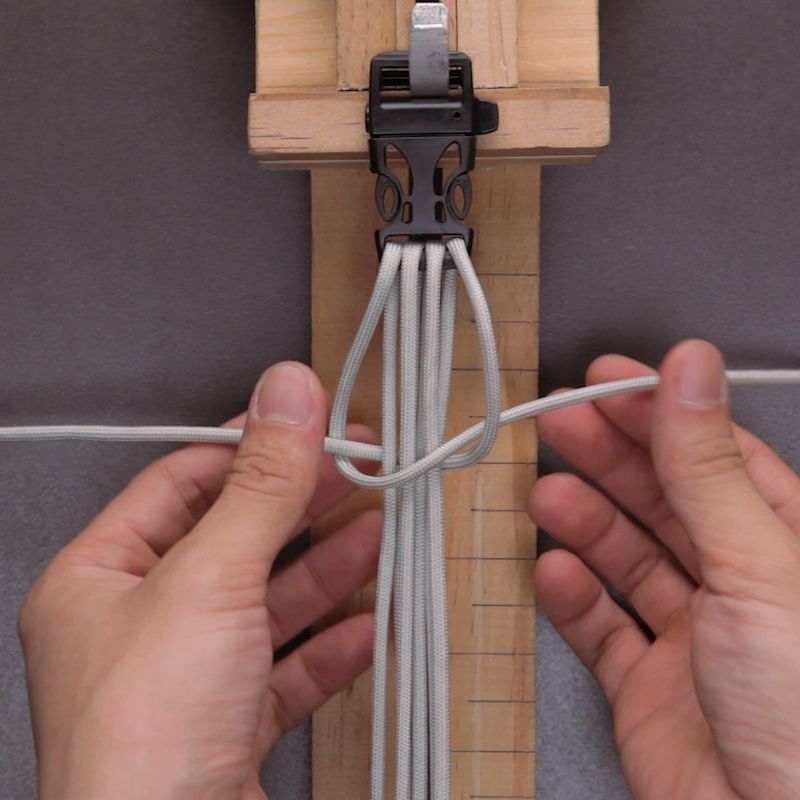
Now that the D-ring is attached, you can start weaving your paracord dog collar.
Hold both left and right cords. Start with your left cord by crossing it under your right cord. Create a knot by taking your right cord under the rest of the cords going over the leftmost cord as shown in the image above.
Secure the knot by pulling the left and right cords tightly. Repeat this step three or four times.
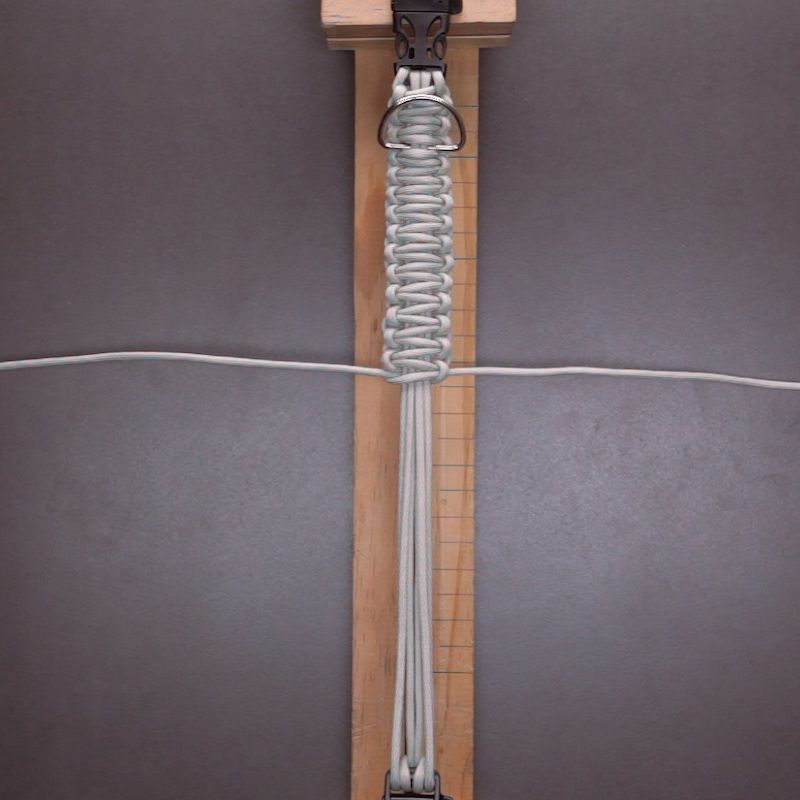
Remember the D-Ring you attached earlier? Move it up before you finish your cobra weave.
Step 5: Cut and Secure
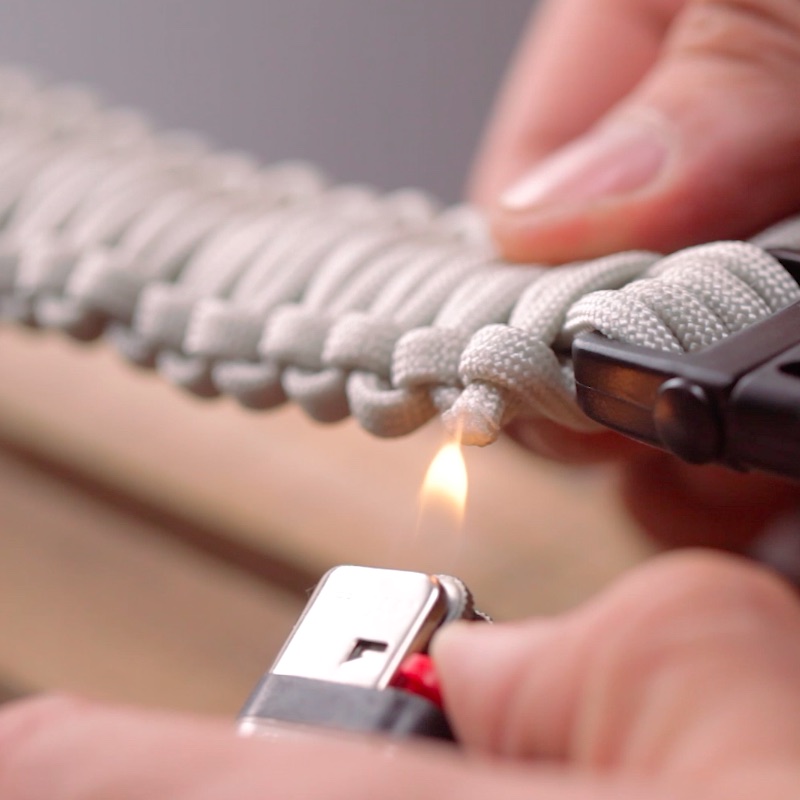
Cut the extra cords and melt the ends by using your lighter. Press the edges firmly to make sure there are no loose ends.
You have the option to end this tutorial here because by this time the dog collar is fully functional, but you can opt to proceed to complete the herringbone weave.
Step 6: Micro Paracord for Your Herringbone
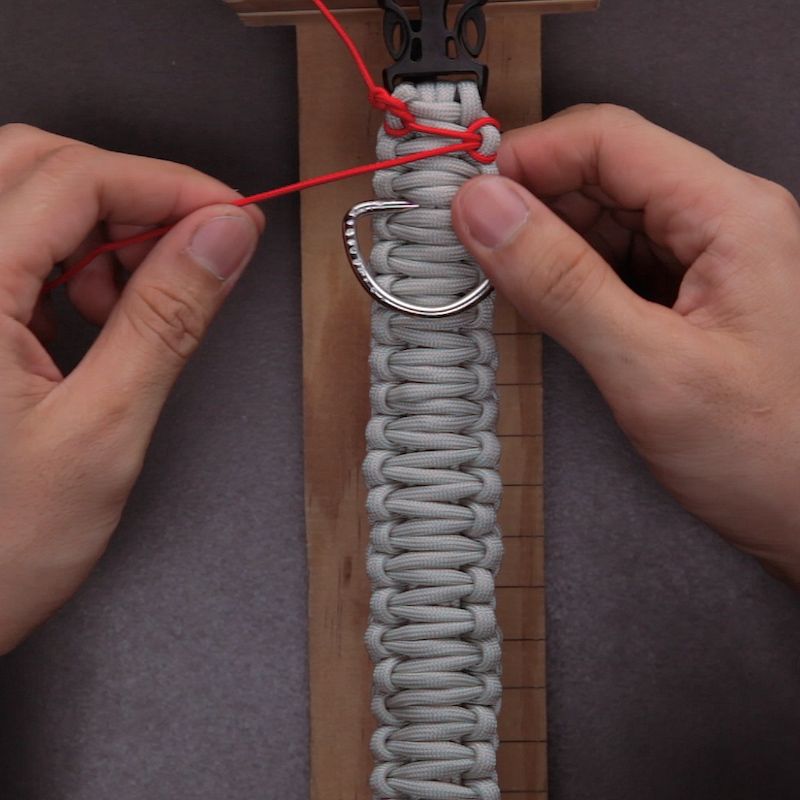
We’re almost done! Take out your micro paracord to create the herringbone weave. It’s best to have a paracord lace needle for this step. It will help you weave through the dog collar faster.
Insert your needle in the first loop from the left side, lock it by creating a knot. Move the micro cord across the next knot. Again lock it by creating a knot.
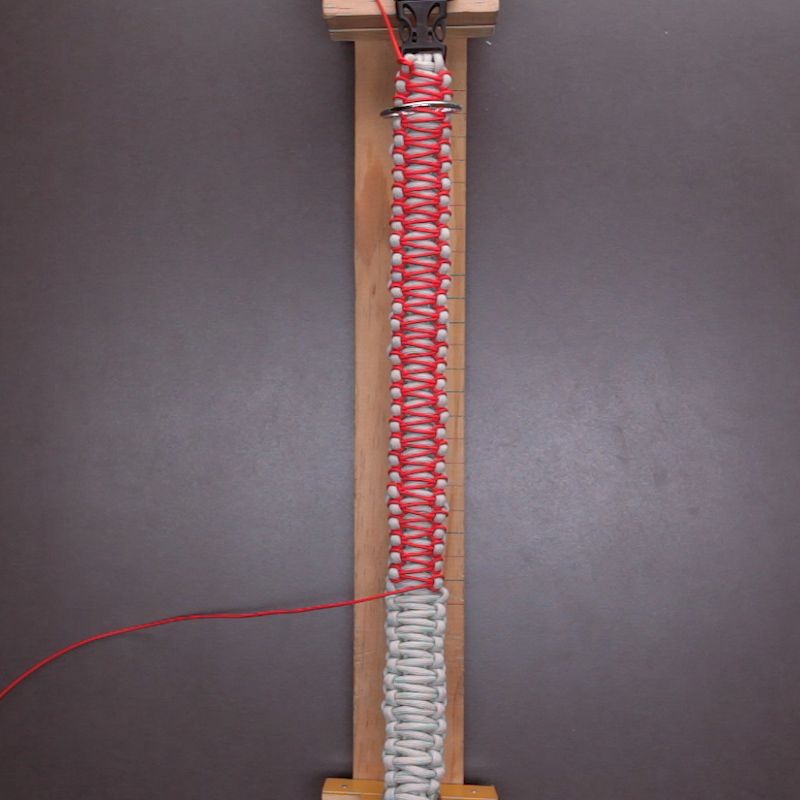
Do these steps until you reach the end of the dog collar.
Final Step: Cut and Secure the Micro Paracord
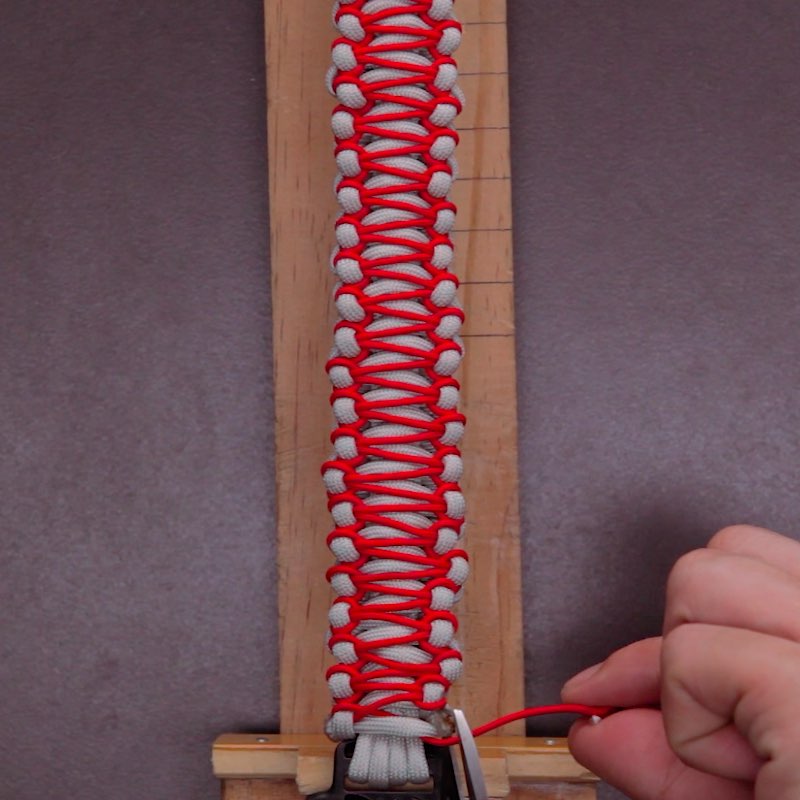
As a final step, cut the excess micro paracord and secure it by melting the edges the same way you did with your main paracord.
Make sure to watch our video for reference:
Your dog will surely love his new collar! You can create different colors depending on your preference. Wouldn’t this be a great gift idea too?
Did you have a great time doing this tutorial? Let us know in the comments section below.
Up Next:
- How To Make A Paracord Watch Band
- Homemade Paracord Knife Grip | DIY Paracord Projects
- Quick And Easy Bow Drill Tutorial
Calling all preppers, craftsmen, bushmasters, outdoorsmen, and all-around skilled people, Survival Life needs YOU! Click here if you want to write for us.
Don’t forget to stay connected with us on Facebook, Twitter, Pinterest, and Instagram!
-

 Do It Yourself7 months ago
Paracord Projects | 36 Cool Paracord Ideas For Your Paracord Survival Projects
-

 Do It Yourself9 months ago
How To Make Paracord Survival Bracelets | DIY Survival Prepping
-

 Do It Yourself9 months ago
21 Home Remedies For Toothache Pain Relief
-

 Do It Yourself10 months ago
Survival DIY: How To Melt Aluminum Cans For Casting
-

 Exports8 months ago
Are Switchblades Legal? Knife Laws By State

