Survival Skills
How To Make A Bow Drill & Start a Fire For Your Survival
Knowing how to build a bow drill from scratch and start a fire with it is a crucial skill every survivalist should know. It could spell the difference between staying warm and cozy versus freezing to death.
RELATED: How to Start a Fire in The Snow
Step-by-Step Guide on How to Start a Fire With a Bow Drill
What You'll Need:
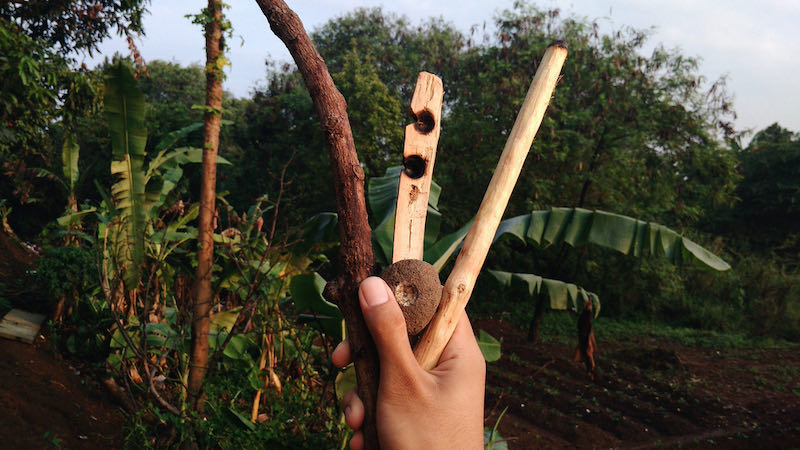
It's highly unlikely for one to walk around with pre-made bow drills. Even the most committed preppers wouldn't stuff these large, bulky, and fragile tools into their backpacks.
With that in mind, the first thing you need to learn how to make a bow drill in the wild.
The first thing you need to do is to source the following materials necessary to make your fire-starting tool:
- pocket knife
- browned leaves
- smooth softwood tree bark (long board around 0ne-inch thick)
- shoelaces or bank line
- straight, thin tree branch (at least 8 inches long and two inches thick)
- thin long branch (2 to 3 feet long)
- small piece of rock
Apart from the knife and pair of shoelaces, you can easily source these materials in any wooded area, forest, or even camping site. If you don't have a knife, you can opt to use a sharpened stone tool. Meanwhile, any durable, cloth-based piece of strong that's at least two to three feet long can work as a replacement for the bank line and shoelaces.
Step 1: Prepare the Wood for the Bow, Drill, and Fireboard
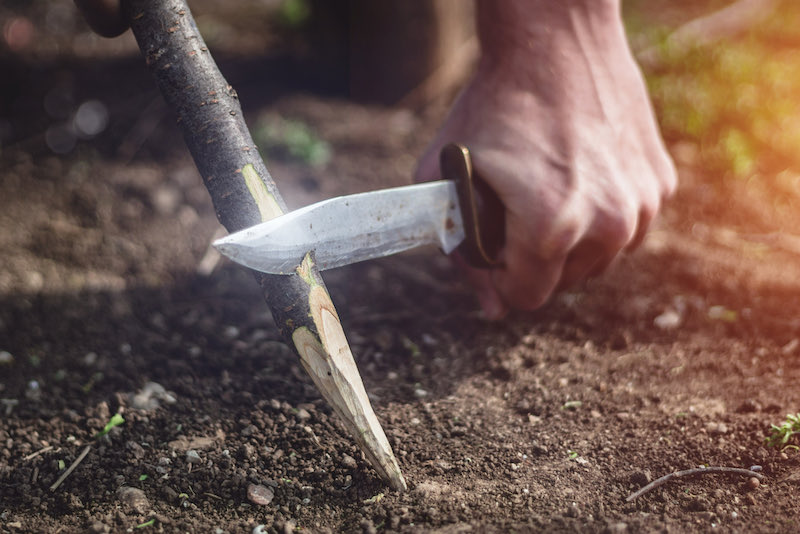
The key to creating a bow drill that's actually capable of starting a fire is to properly prepare the wood. Bear in mind that moist, curve drills won't start even the smallest flicker of ember.
First, cut off the fireboard. Find a softwood tree (e.g., cottonwood, willow, or cedar), then chop off a long sliver off the branch to create a fireboard that's 13 inches long and two inches thick.
If an ax is available, use it. Cutting a 13-inch sliver of softwood tree bark is not something you can easily do with a pocket knife—much less a sharp stone tool.
Second, sharpen the drill. Grab the straight, eight-inch branch you cut, then smoothen the edges out with a sharp knife.
One end should have a sharp, pencil-like point, while the other should be blunt and round. Also, make sure the drill you use is sharp and smooth because otherwise, your drill won't spin properly.
Lastly, prepare the bow. This one's a bit easier to prepare since you can use any piece of stick that's at least two to three feet long and one to two inches thick. Afterward, grab your shoelaces and tie them end to end to create a bow with your stick.
Step 2: Test the Device Out
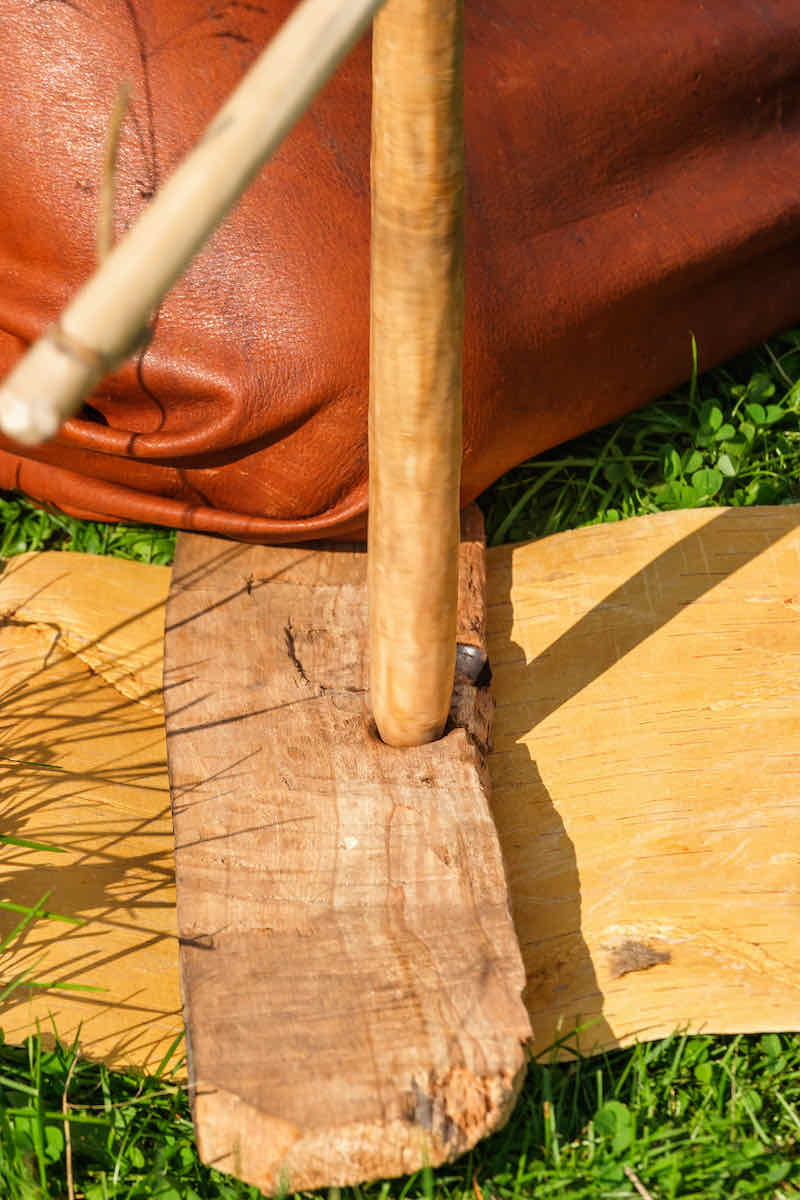
When you're in a crisis situation, you have to be very efficient with your time and resources. To ensure you don't end up wasting the bow and drill fire-starting device you just made, test it out for sturdiness and durability first.
Pull the string and bow a bit. Ideally, it should be able to withstand a few minutes of rough spinning and friction without thinning or snapping.
Although, your makeshift fire starter doesn't have to last multiple uses because you can make as many bow drills as you need after you get a fire started at least once.
RELATED: Winter Survival Kit: The Prepper’s Guide To Winter Survival
Starting the Fire Using Your Makeshift Bow and Drill
Once you have a bow drill ready, you're about 50% through with the process. Now, it's time to learn how to utilize this simple device and use to start a fire.
Step 3: Carve a Small Hole in the Fireboard
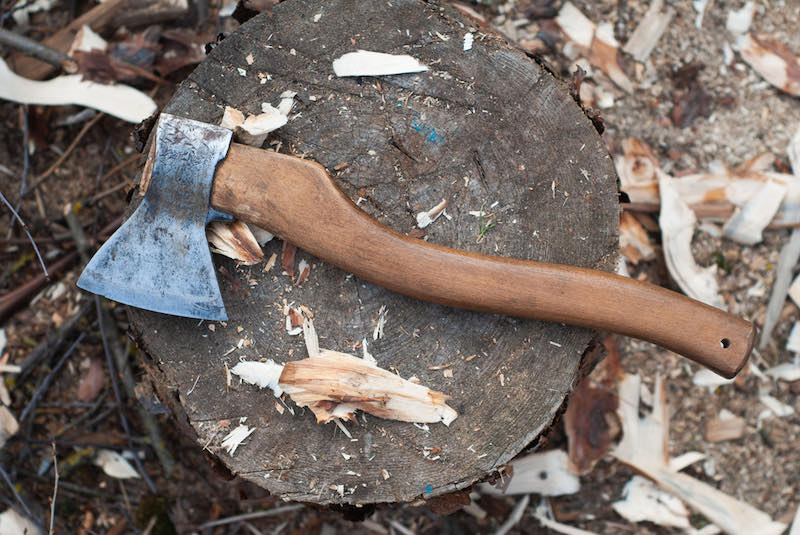
Grab your fireboard and carve a small hole or divot around one to two inches from its edge. This divot is where you'll be spinning the drill furiously, so make sure the carving matches the round end of the drill.
Before moving on, test out the drill and fireboard. Spin the bow and drill a few times to see if the carving is tight enough to prevent the drill from spinning off the board and large enough to allow the drill to make complete 360-degree spins.
Step 4: Prepare the Tinder
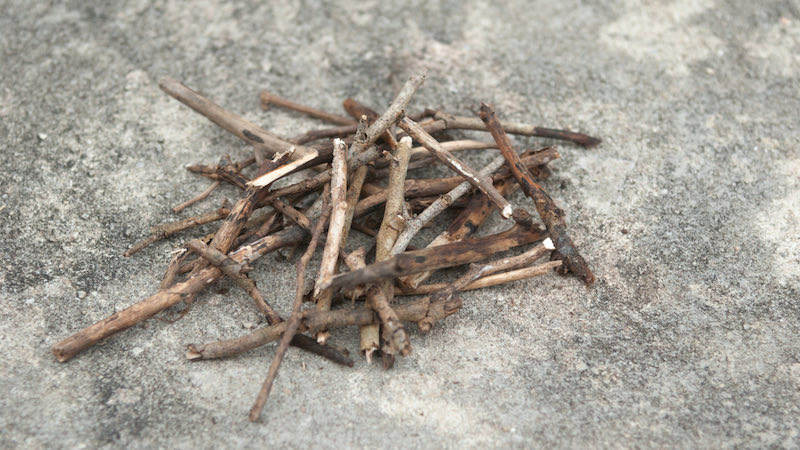
Before spinning the drill into the fireboard, prepare some tinder first. In most cases, the ember you make from a bow and drill will be very weak and short-lived, so you have to spread it to your tinder quickly. You can use crushed and dried bark, ground twigs, and dried leaves.
Step 5: Spin the Drill Into the Board
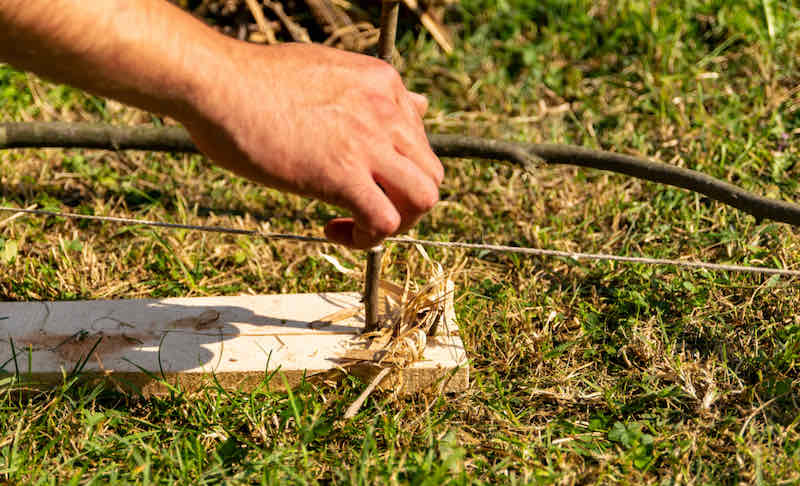
Once your bow and drill device is ready and you have some tinder ready beside your fireboard, it's time to start drilling.
Intertwine the drill in the middle of your bow, position the round end of the drill into the carving, grab the back end of the bow with your dominant hand, keep the drill in place by holding the top of the drill, then start spinning the bow back and forth to spin the drill.
Position the bow near the bottom of the drill to keep it steady. Also, make sure to use a handhold—a small piece of stone—to grab the top of the drill. You wouldn't want to drive the drill into your bare palm, would you?
Final Step: Catch the Fire
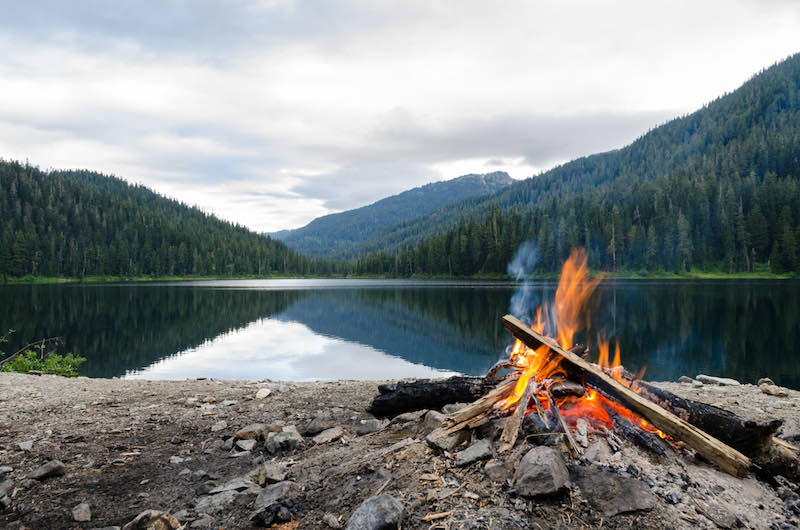
Keep spinning the drill until you start to see smoke rising from the fireboard. Grab your tinder then slowly place it on the carving so it catches the fire.
Once the tinder is lit, you're free to use the small ember to start your own campfire. Don't dump the tinder on the fireboard or you'll put out the fire otherwise.
Pro Tip: We strongly urge preppers and survivalists to practice making bow drills during their free time. Yes, making a bow drill isn't difficult, but without the necessary training, you might find yourself fumbling and panicking when the need to build one arises.
Check out this video by National Geographic where they show a simple, efficient way to build a bow drill fire:
Knowing how to make a bow drill in the woods is an essential skill every outdoorsman should know. This skill will prove to be useful in an array of situations, ranging from dangerous emergency crises to fun weekend camping trips.
Bear in mind that making a bow drill is simply one of the multiple ways to build a fire. Thus, there's no reason to force yourself to commit to this technique if you have other fire-starting tools such as gas or matches. It doesn't matter what tools you used as long as you get your fire started.
[poll id=”13″]
Do you have any tricks to start a bow drill fire easier? Share your survival tips with the community in the comments section below!
Up Next:
- 20 Edible Wild Plants You Can Forage For Survival
- Best Campgrounds In Indiana
- How To Make A Perimeter Alarm
Calling all preppers, craftsmen, bushmasters, outdoorsmen, and all around skilled people, Survival Life needs YOU! Click here if you want to write for us.
Don’t forget to stay connected with us on Facebook, Twitter, Pinterest, and Instagram!
-

 Paracord Projects11 months ago
Paracord Projects | 36 Cool Paracord Ideas For Your Paracord Survival Projects
-

 Paracord Projects1 year ago
How To Make Paracord Survival Bracelets | DIY Survival Prepping
-

 Medical Care1 year ago
21 Home Remedies For Toothache Pain Relief
-

 Knife Laws12 months ago
Are Switchblades Legal? Knife Laws By State
-

 Do It Yourself1 year ago
Survival DIY: How To Melt Aluminum Cans For Casting


Wayne
May 11, 2021 at 12:41 PM
Works great when I use my battery operated drill.