Building
Japanese Saw | Your Ultimate Guide to Japanese Saws
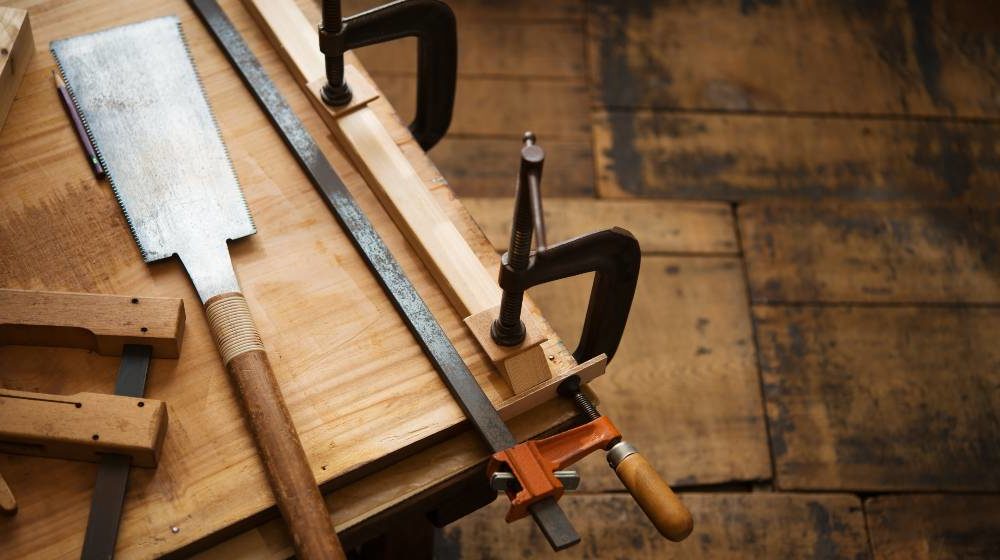
The Japanese saw will revolutionize how you do woodwork. Like its country of origin, this tool is all about simplicity and function.
Learn why Japanese hand saws belong in your toolbox by checking out this ultimate guide.
RELATED: Making The Cut: How To Make An Improvised Wire Saw From Scraps
In this article:
- Why are Japanese Saws Better than Western Saws?
- Why Do You Need a Japanese Saw?
- Basic Japanese Saw Types and Uses
- How to Use a Japanese Saw in 5 Easy Steps
Everything You Need to Know About Japanese Hand Saws
Click here to jump to the infographic.
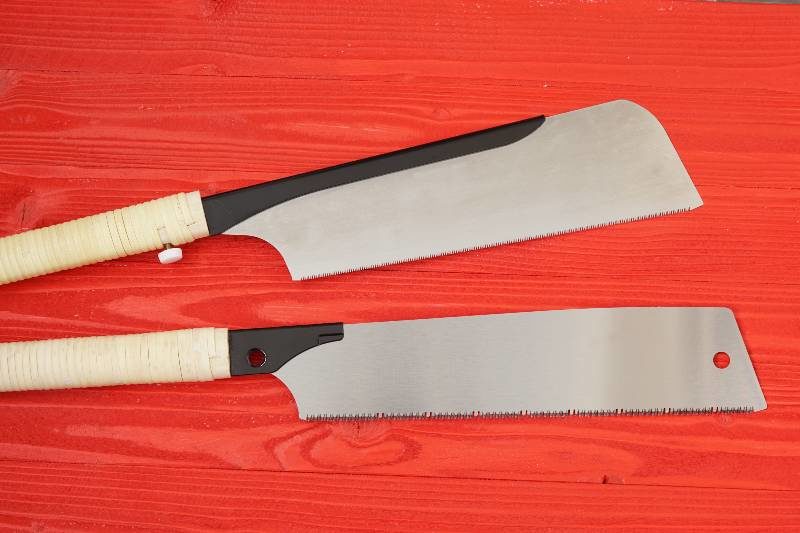
Why are Japanese Saws Better than Western Saws?
1. They are More Efficient
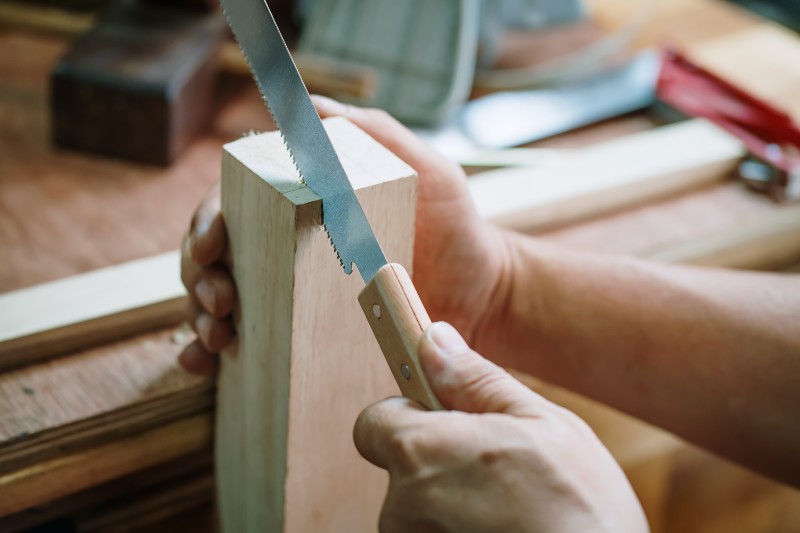
It all boils down to the design. Precision and efficiency are the two main qualities of the Japanese saw.
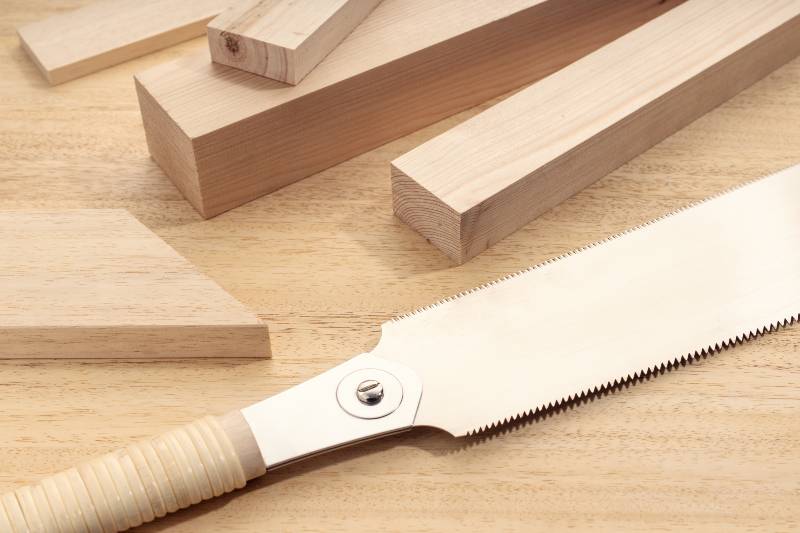
Compared to Western saws, they have narrower and thinner blades with reverse-angled teeth. The latter feature means you have to pull the saw instead of pushing it away.
Three Main Advantages of this Design:
- Better Cutting Action
Pulling the saw in your direction means less effort, less fatigue, and longer cutting time.
- Smoother Cuts
Thinner blade and reverse-teeth angle result in less sawdust and finer cuts.
- More Cutting Accuracy
A thinner and flexible blade means better control and cutting accuracy.
2. They Enable Detailed Cutting
Unlike Western saws, a Japanese pull saw is easier to control. Hence the name, you operate it by pulling the blade instead of pushing.
As a result, you can do the finer and more detailed cutting with it. Its thinner and flexible blade also produces thinner kerf hence better cutting accuracy.
3. They are Versatile
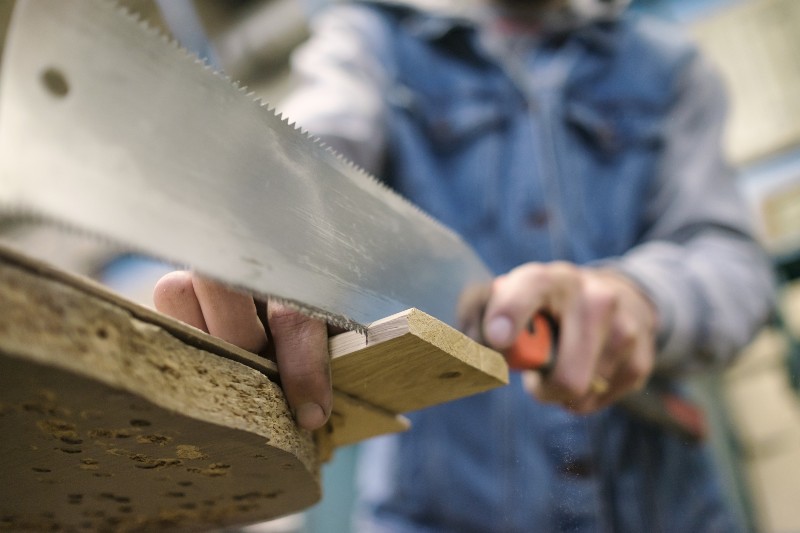
When using a traditional Western saw, you need to have at least two types. One type for cross-cutting and another for rip cuts.
Japanese pull saws are versatile. The Ryoba saw, for example, has teeth on both edges which makes it ideal for different cutting work.
4. They are Easy to Maintain
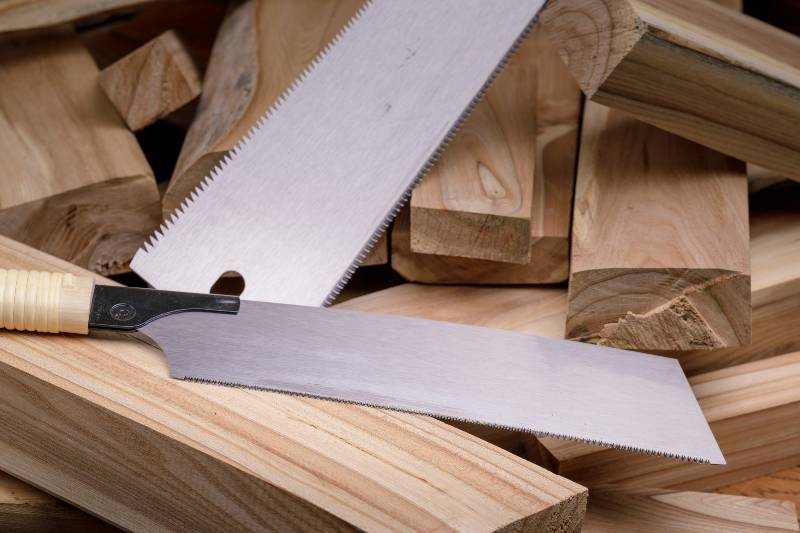
It is easier to sharpen a Western saw than a Japanese one. But if you will look at the bigger picture, the latter is easier to maintain.
Since Japanese hand saws have harder blades, you don’t need to sharpen them every time. This means less maintenance work and more time to use it.
5. They are More Cost-Effective
A decent-quality Japanese pull saw costs around $25 or less online. You can even get an entire set without breaking the bank.
Affordable though doesn’t mean sub-par quality. If you will look hard enough, you can heavy-duty Japanese saws for the best price.
Why Do You Need a Japanese Saw?

1. It Makes Cutting Tasks Easier
Before you can start using mechanized table saws, you need to set them up first. You also have to clean the working area and wear safety equipment before you start working.
This is all worth it though if you’re going to cut a huge volume of lumber. But for simple cutting tasks, nothing gets the job faster and much easier than by using Japanese saws.
2. It’s More Lightweight
Let’s say that you need to do some cutting job on the roof. You can use a circular saw that weighs around 9.85 lbs. and carry it 12-feet above the ground.
Or, you could grab a Japanese hand saw that weighs almost nothing. You can even carry an entire setup on the roof without breaking a sweat.
3. It’s Energy Efficient
Well, to say that Japanese saws are energy-efficient is an understatement. Unlike electric saws, you can use them as often as you need without worrying about the power bill.
And because it requires no power, you can use it anywhere and anytime. No need to worry about extensions or power outlets.
4. It Requires No Complicated Set-Ups
Cutting thin wood for furniture requires setting up a jigsaw. You must also ensure that the wood is stable while you notch its corners.
You could either do this or use a Ryoba to do the job. This type of Japanese saw is well-suited for making rip cuts and cross-cutting minus the setup.
RELATED: How To Build A DIY Saw Horse
Basic Japanese Saw Types and Uses
1. Ryoba
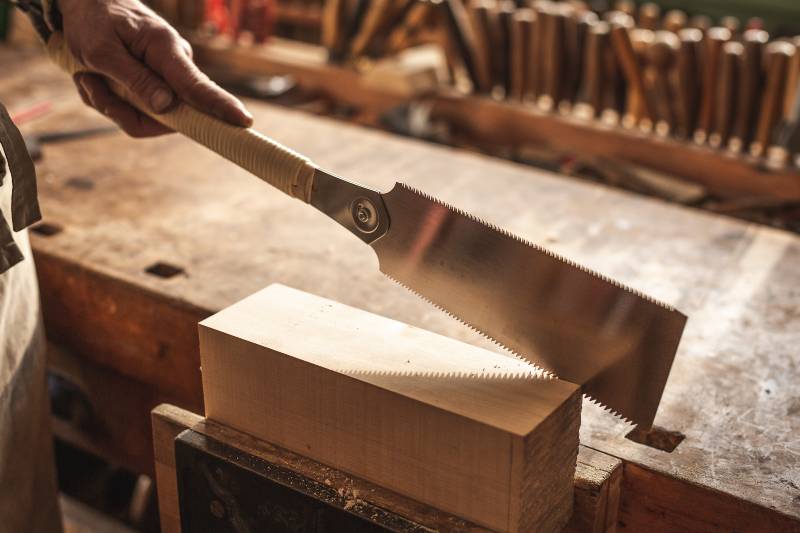
A multi-purpose Japanese hand saw this one has a double cutting edge. This means you both do rip cut and crosscut without using an extra saw.
This type of saw is suitable for carpentry, dimensioning wood, or making rough cuts. It is versatile too since it has an extra blade option for finer cutting tasks.
2. Kataba
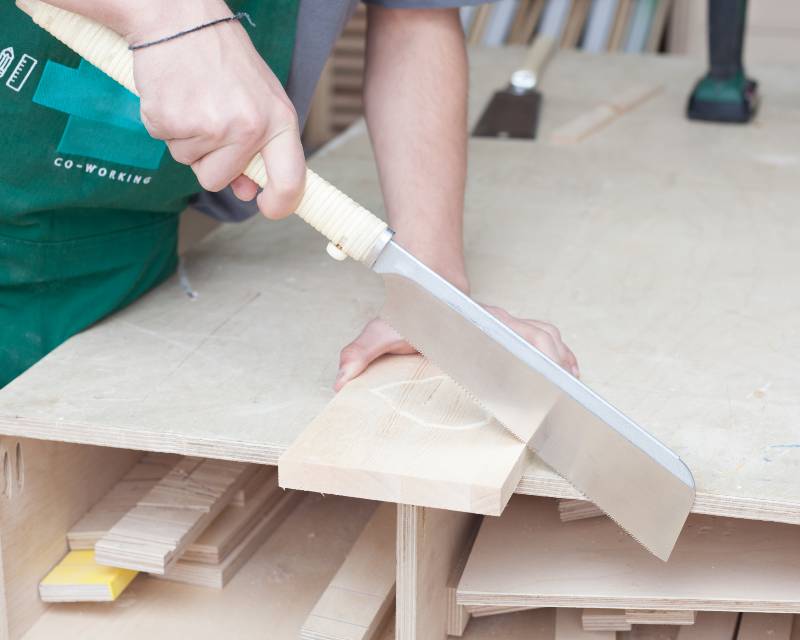
This one is a powerful Japanese hand saw that cuts deep. It is longer and has a thicker blade compared to regular saws.
The Kataba is perfect for making long yet precise cuts in thicker lumber. It is most suitable for timber framing joinery as well as carpentry.
3. Dozuki
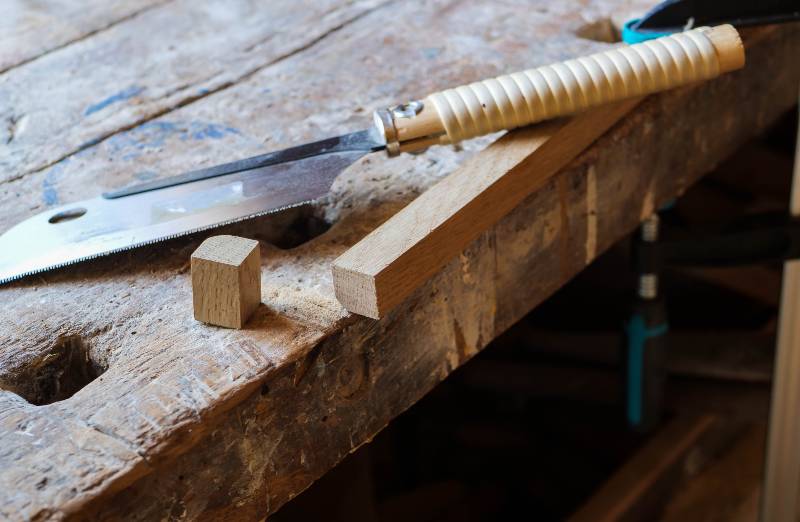
For precision cuts with finer details, this is the Japanese saw you can rely on. It has a thinner blade and a stiffener on the blunt edge for stability.
These make the Dozuki ideal for cutting tenons, dovetails, and other fine joinery. It also comes in a variety of sizes with blades designed for soft and hard lumber.
4. Kugihiki
The Kugihiki is ideal for trimming tenons, dowels, and outcoming wood pieces. This flush-cut Japanese saw has one or no set on both edges.
This design makes this saw capable of leaving zero scratches on the wood. Its super thin blade allows you to bend it for a flexible cutting job.
5. Mawashibiki
This Japanese pull saw tapers down towards the tip to around 4-5 millimeters. This keyhole saw, is suitable for finer joineries like mortises and finger joints.
Some woodworkers use the Mawashibiki as a replacement for a coping saw. For cutting tight curves and inaccessible corners, it is the tool for the job.
6. Azebiki
In woodworking, some corners are more inaccessible than others. The Azebiki takes up where the Mawashibiki left off.
This rounded Japanese saw is perfect for working on blind surfaces. It works well in furniture restoration work and even boat making.
How to Use a Japanese Saw in 5 Easy Steps:
Step 1: Start the Cut with the Back End
Japanese saws work through pulling motion. Begin cutting the wood by using the blade’s back end.
Step 2: Guide the Saw with Your Thumb
The proper way to control the saw is by your thumb. Make sure to angle the saw’s blade towards the stock.
Step 3: Grip the Handle Further Back
For the same reason as Step 1, grip the back of the handle instead of the front. But, it is up to you to decide later on which grip works for you best.
Step 4: Saw with Slight Pressure
Starting fast and with too much pressure will make the blade go off course. Start with steady yet gentle pulling strokes using the best angle.
Step 5: Use a Wedge to Start the Cut
Using a wooden wedge is a simple but effective hack to keep the wood’s side part. This will prevent you from jamming the saw’s blade between the lumber.
Here’s an infographic guide. Don’t forget to download, save, or share this handy infographic for reference:

If you want better control and precision, then there is no doubt that Japanese saws are worth it. Aside from its ease of use and function, the price factor alone is a dead giveaway. These factors and more make the Japanese saw cut the competition in half.
What do you consider as your best woodworking project so far? We would like to know more about your masterpiece in the comment section below!
Up Next:
- Important Trades For Survival
- Primitive Shelter Building: A Necessary Skill
- Kubotan | How to Use a Kubotan in 3 Easy Steps
Don’t forget to stay connected with us on Facebook, Twitter, Pinterest, and Instagram!
-

 Do It Yourself7 months ago
Paracord Projects | 36 Cool Paracord Ideas For Your Paracord Survival Projects
-

 Do It Yourself10 months ago
How To Make Paracord Survival Bracelets | DIY Survival Prepping
-

 Do It Yourself9 months ago
21 Home Remedies For Toothache Pain Relief
-

 Do It Yourself10 months ago
Survival DIY: How To Melt Aluminum Cans For Casting
-

 Exports8 months ago
Are Switchblades Legal? Knife Laws By State


