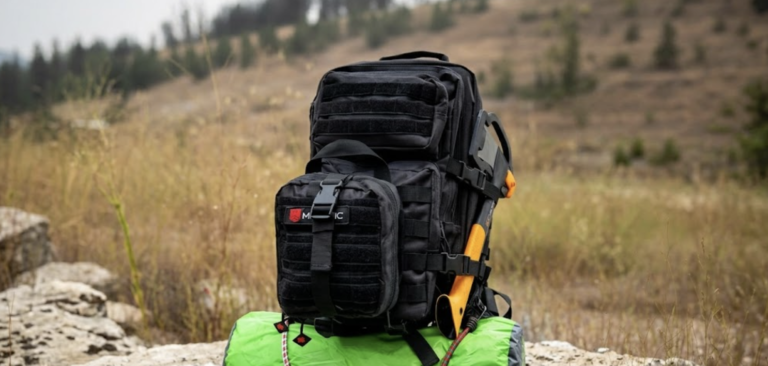
You can never be too prepared when it comes to wilderness safety, but that doesn’t mean your survival kit should weigh you down. Check out this tutorial to make the perfect pocket-sized survival kit.
Turn An Altoids Tin Into A Pocket-Sized Survival Kit
Gone are the days of lugging around an oversized utility bag filled with complicated tools, heavy gear, and unnecessary supplies. This pocket sized kit is one heck of a backup to your go bag! They’re quick, simple, and easy to make.
Check out the video below and keep a few on hand at all times – one in your gear, one at home, and one in your glove box! Follow these steps to create your own wilderness survival kit that keeps things simple – without sacrificing safety.
What you’ll need for your pocket-sized survival kit:
- Empty Altoids tin
- 2 rubber bands
- Small ball of dryer lint
- Plastic bottle cap
- Piece of tape
- 7-10 water purification tablets
- Mini keychain lighter
- Mini compass
- Whistle
- Mini Swiss Army knife
- Mini can opener
- Signaling mirror
How to make your pocket-sized survival kit:
Step 1: Start with an empty Altoids tin and two rubber bands to hold the tin shut.

Step 2: Add a small ball of dryer lint to your kit.

As we mentioned in a previous article, dryer lint is extremely flammable and makes an excellent fire starter. Keep a ball of it in your survival kit for an instant fire. (Pro tip: dipping your dryer lint in Vaseline will make it burn longer.)
Step 3: Grab a plastic bottle cap and fill it with water purification tablets.

These tablets are an excellent alternative to carrying around heavy water bottles – each tablet instantly disinfects about one liter of water, ensuring that your water is safe for consumption.
Step 4: Use a piece of tape to seal the cap.

Step 5: Next, add a small fire starter to your kit.

We recommend a mini keychain lighter, as they are compact, durable, and easy to light in a time-sensitive situation.
Step 6: Add a mini compass, a whistle, a mini Swiss Army knife and a mini can opener.

These tried and true tools are reliable and uncomplicated – and they’re also incredibly versatile.
Step 7: Add a signaling mirror.

The signaling mirror is a must-have for any wilderness survival kit –, especially for the solo traveler.
(Another pro tip: mirrors made with military glass are more reflective than mirrors made with plastic.)
Add this pocket-sized mirror to your kit, and you’ll be more than prepared when disaster strikes.
For awesome survival gear, you can’t make at home, check out the Survival Life Store!
Do you have a pocket survival kit of your own? We’d love to hear about it! Leave a comment below and tell us about your survival must-haves!