Do It Yourself
How To Build An Igloo In 5 Easy Steps
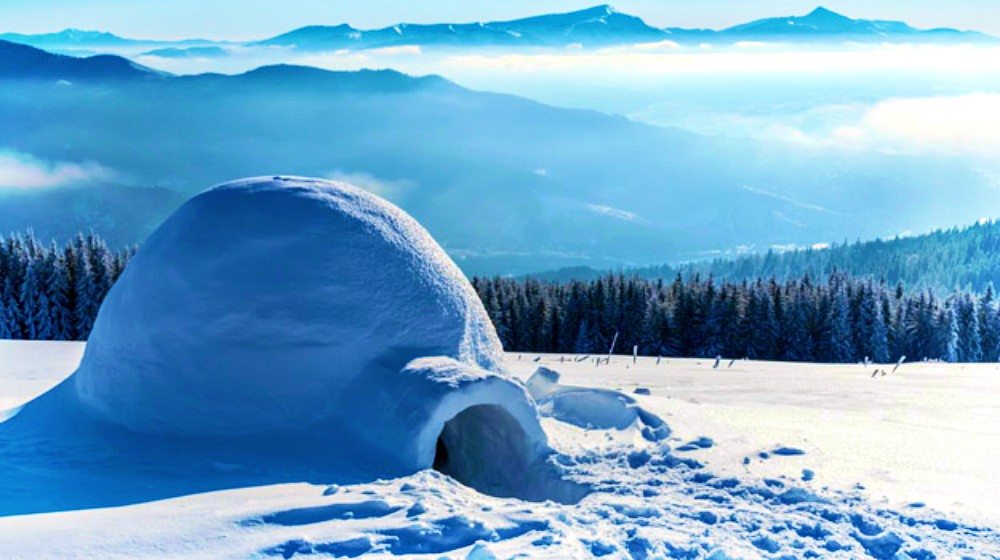
Originating from the Inuit word iglu, which means house, an igloo is a snow hut built using snow blocks. Survive the cold outdoors by learning how to build an igloo here!
A Foolproof Guide on How to Build an Igloo
Three Different Types of Igloo
If you’re one of those people who loves the snowy outdoors, then it is a must to learn how to build an igloo. This might be one of your best survival shelters to help you out in the cold. Igloos have three traditional types (smallest, intermediate, and large) depending on their use and size. You can search for igloo pictures for reference as well.
The smallest type of igloo are usually temporary shelters, the intermediate ones are for family dwelling and can house one to two families, while the large ones consist of two structures, one for special occasions and the other for settling. If you’re clueless about how to make a snow hut on your own, this foolproof guide will teach you how to build a sturdy igloo.
Step 1: Selecting Good Snow

To build an igloo, make sure to look for good snow you can use as blocks for your snow hut. First, you have to check the snow around you if it is hard enough. Then, ensure there is enough good snow you can use to finish the entire igloo. After finding the right snow for your blocks, you can start carving them out into blocks using a snow knife or an ordinary hand saw. The snow blocks are usually three by two feet and are four inches thick.
Step 2: Marking the Rectangular and Circular Pattern
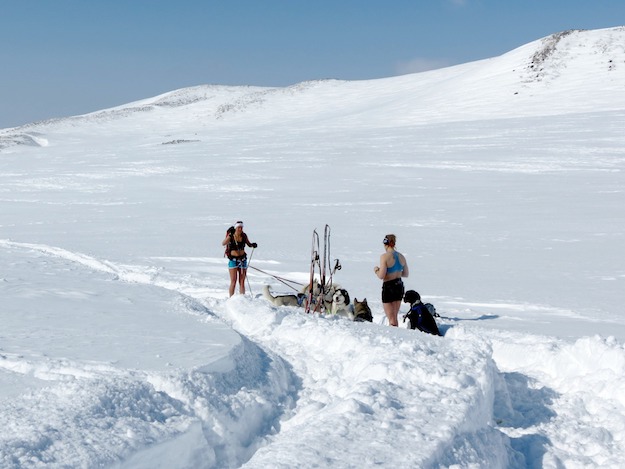
First of all, the first blocks are to be cut rectangular, which will serve as your igloo’s entrance. Next, mark a circular pattern around where you cut your first few blocks you’ll use as your guideline in placing the snow blocks. The igloo must be nearly circular or it can collapse.
Step 3: Building Rows of Snow
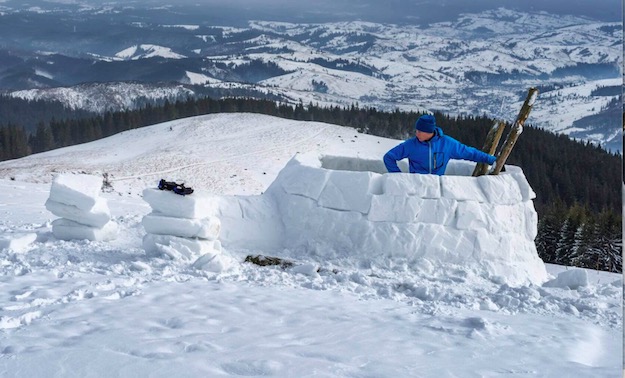
Following the markings you made, continue building the first row of snow blocks around it. Use the snow inside the circular pattern for your snow blocks so you can also start making your flooring one snow block deep. After the first row is made, cut-off a portion of it to have a slope, thus letting it have an upward spiral shape.
- Recessed and angled drip-resistant spigot for easy dispensing
- Reinforced handles for strength and product longevity
- Keeper cord affixes lid to cooler for cleanliness and loss prevention
Step 4: Building the Walls
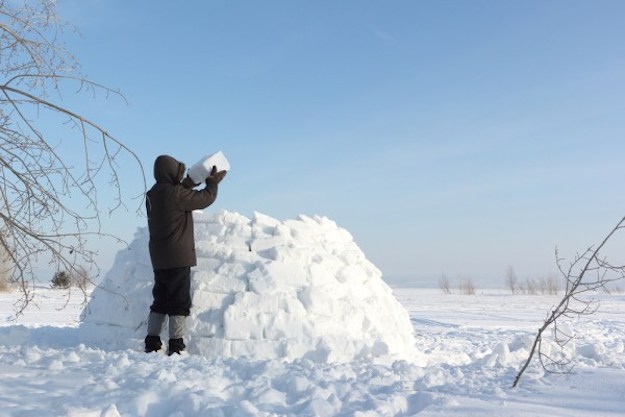
The next step in building this DIY igloo is building the walls. Start building the walls on the portion where you cut-off the first row of the wall for the upward spiral shape. Then, work from the inside of the wall as it will be easier for crafting and placing the blocks. Later, fit and carve each block carefully to prevent it from collapsing. Now you can cut the lower portion of the block to form an acute angle making it lean inward. The angle of the block should be acuter as the walls get higher.
Step 5: Finishing the Walls
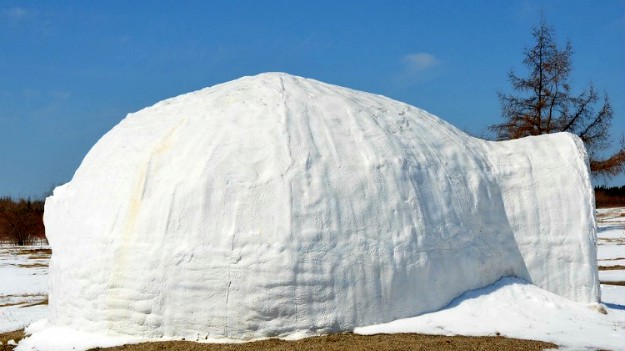
The higher portion of the snow block walls is beveled for it to have support from the previous row. After the last snow block is placed above, you can now carve your door and go out of the igloo. Finally, the last construction job is for you to plug in the holes on the walls from the outside using snow.
- HDPE hide won't chip, peel, buckle, or rust
- Ultra therm insulation for maximum cold retention
- UV stabilizers prevent fading, cracking in all exposures
Ever wondered how to heat an igloo? Learn how in this video from It’s Okay To Be Smart:
If you’re an adventurous type of person, chances are, you can get stranded in the Great White North or in the snowy Arctic. You’ll definitely need a place to keep you warm when you’re out in an extremely cold area and learning how to build an igloo will come in handy. Just follow our Survival Life guide in building a snow hut, and you’ll flourish in a winter environment.
Do you have some tips on how to build an igloo? Share your thoughts in the comments section below!
Up Next: How To Make Fire On Top Of Deep Snow
Editor’s Note: This post was originally published on February 7, 2018, and has been updated for quality and relevancy.
Last update on 2024-04-27 / Affiliate links / Images from Amazon Product Advertising API
-

 Do It Yourself7 months ago
Paracord Projects | 36 Cool Paracord Ideas For Your Paracord Survival Projects
-

 Do It Yourself9 months ago
How To Make Paracord Survival Bracelets | DIY Survival Prepping
-

 Do It Yourself9 months ago
21 Home Remedies For Toothache Pain Relief
-

 Do It Yourself10 months ago
Survival DIY: How To Melt Aluminum Cans For Casting
-

 Exports8 months ago
Are Switchblades Legal? Knife Laws By State





Robert Hodge
February 12, 2018 at 5:40 PM
A spraying of liquid water will act as an Ice Glue between blocks as they go up; us only a small amout as to not ‘melt’ the blocks. The completed igloo shows a far too big a door to be able to trap body heat as do the Eskimo version.
Pingback: How To Build An Igloo In 5 Easy Steps