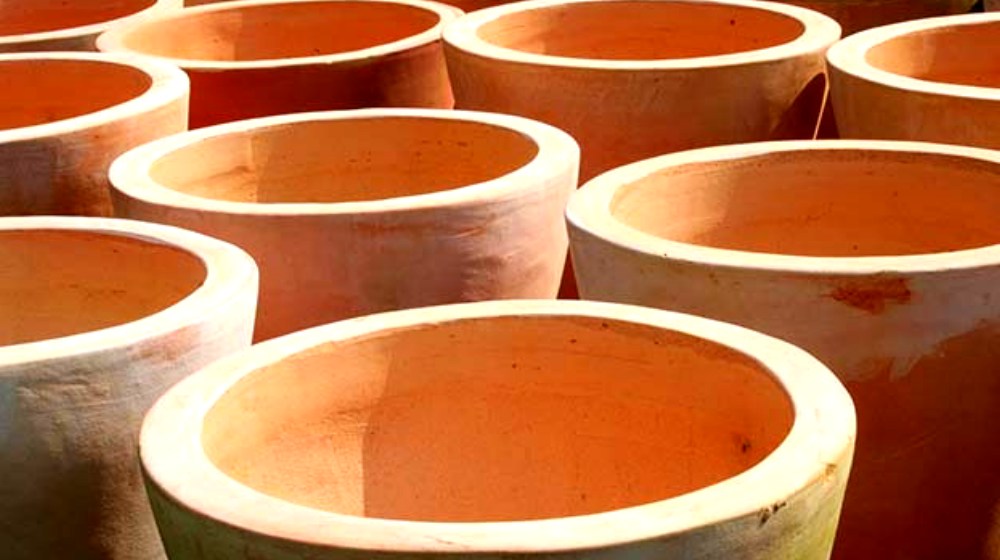


Terra cotta pots concentrate heat using the convection method. Although you can’t warm a whole house with it, this method can definitely help keep you warm and make a cold night much more bearable.
When you have several of these going at the same time, that can help keep the room at a comfortable temperature. You can purchase one of these from Heatstick.com and see just how they work. Or if you’re on a tight budget, you can DIY it at a lesser cost.
Radiate the Heat in Your Room with Terra Cotta Pots
Materials Needed:
- Three small unglazed terra cotta clay pots that range from large to small, i.e. ( 6”, 4”, 2”)
- Saucer Plate
- 6-inch carriage steel bolt
- Washers in varying sizes that fit in the bottom of the pots
- Several nuts to act as spacers between each pot
- Metal stand to hold the radiator ( oil burners work quite well )
- Electric drill
- Mason bit ( same size or slightly larger than the bolt )
Instructions:
Step 1. Drill Center Hole
Drill a hole in the center of the bottom part of each pot (be careful as too much pressure will shatter them).
Step 2. Insert Bolt in Largest Pot
Place the bolt through the hole in the largest pot with the head of the bolt on the outside.
Step 3. Washer on Bolt
Turn the pot upside down and slide a washer over the bolt.
Step 4. Medium Pot Inside
Place the medium pot inside the large pot.
Step 5. Secure Medium Pot
Slide a washer inside the medium pot.
Step 6. Secure the Nuts
Thread two nuts onto the bolt followed by another washer.
Step 7. Place Final Pot
Place the final pot on the bolt. This center pot sticks a little further out so that the heat will radiate to the other clays and out.
Step 8. Place Saucer
Finish with one last washer and nut, and then secure a saucer on top.
Step 9. Furnace Cement for Saucer Plate
Since the carriage bolt kinda sticks out from the top, a permanent fix with furnace cement can fix it, before sealing the top with a saucer.
Just take a bit of the furnace cement and apply it on top of the pot. You may add a bit of water to thin it out.
Step 10. Let Dry
Once you’ve applied an even amount of the cement for a permanent adherence onto the top of the pot, place the saucer on the top for the final step and let dry.
Now simply set it on your stand and place a candle under it.
Keep in mind that 4.25oz standard glass jar candles work the best and never use a pillar candle as it will melt and cause a huge mess.
Check out this video by marathons builder on making the terra cotta pot warmer:
When cold weather calls for warmth and heat, all you can think about is to snuggle close to loved ones in a warmly lit and cozy room. And what better way to accomplish that than with the use of this terra cotta pot candle heater?
Be amazed at how a couple of pots, a candle, and some washers and nuts, when assembled all together as a space heater, can conveniently heat up closed quarters. It will definitely warm you up and your loved ones in no time!
What do you think about this terra cotta pot warming project? Share your thoughts in the comments section below!
Up Next: Important Self-Sufficiency Skills To Learn
Follow us on Facebook, Instagram, Twitter, and Pinterest!
Disclaimer: All content on this site is for informational purposes only. Please read our full disclaimer here.
Editor’s Note: This post was originally published in December 2015 and has been updated for quality and relevancy.