Fishing, Hunting, & Trapping
The Pencil Snare: Trap For Your Life (Part 7) [WITH PICS]

Learning to set up a basic pencil snare can definitely amplify your survival skills. Knowledge of this simple trapping mechanism will prepare you for any survival situation. Learn how to trap game for food and defend your bug out cabin with this pencil snare!
Part 7: The Pencil Snare | Trap for Your Life
The Pencil Snare
We have come to the last of the survival snares in the Trap for Your Life series. Our Trap for Your Life series will be on constructing deadfall traps. We will be constructing fish traps, pitfall traps, traps made from household supplies, and bird traps. There are so many traps you can learn so that you may be able to trap for your life!
In this article, I will be constructing the pencil snare.
One of my most famous trapping quotes is, “A trap is like someone else hunting for you when you can’t. It is truly your best hunting buddy.”
A trap is really like having someone else hunt for you. You may begin to wonder, Why can’t I just hunt in a survival situation rather than trap? Hunting takes up to thousands of critical calories that you need to survive, while trapping takes very few. Trapping is really the only way to go that if you want to survive for a long period of time.
Let’s get started on the pencil snare.
What You’ll Need:
- 20 gauge wire
- Two sticks, about 12 to 18 inches long
- A thin stick (the pencil stick), about 12 inches long
- Paracord
- A knife
- Pliers
- A thin twig or pencil
Step 1. Spot a Suitable Hunting Ground
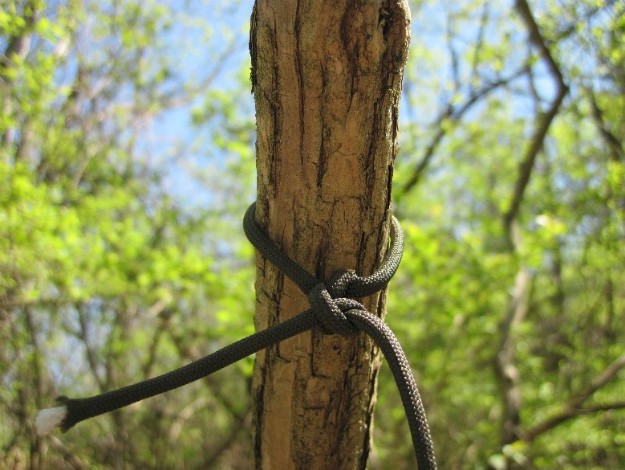
Look for a game (animal) trail. Signs of a good game trail will include scat, footprints, and/or trampled the grass.
Along the game trail, find a flexible sapling. Tie your paracord on to the sapling.
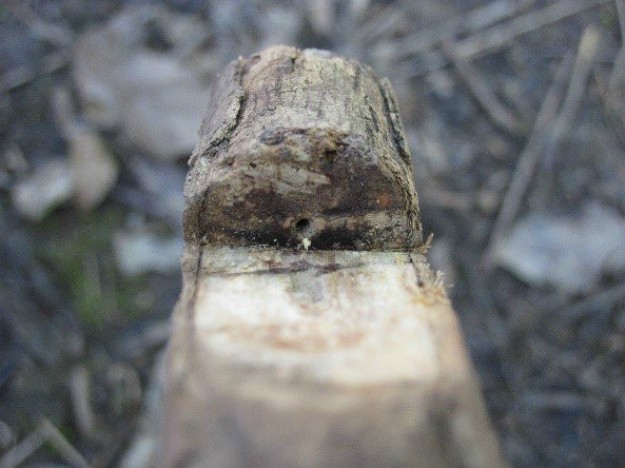
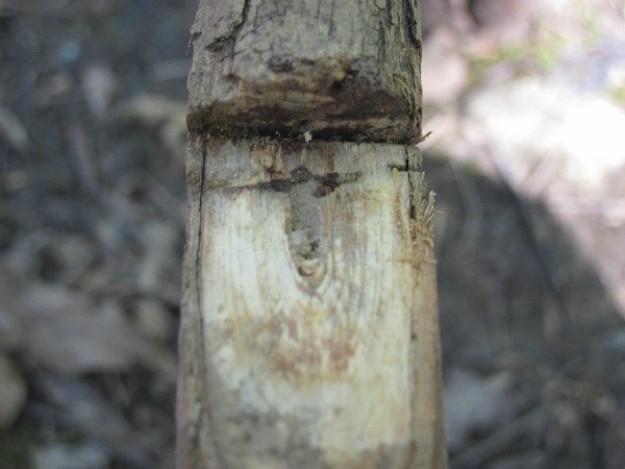
Take both of the 12 to 18-inch sticks and carve a groove in them, towards the top.
Sharpen the other end of those sticks using your knife. Push them into the ground. The grooves should be facing each other and the distance between the two sticks should be equal to the length of the pencil stick.
You might also want to check out – The Lift Pole Snare: Trap for Your Life (Part 5)
Step 2. Setting Up the Snare
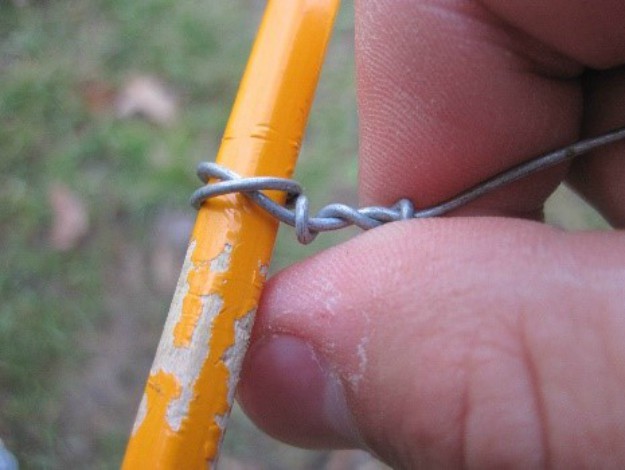
Using your pliers, cut about 10 to 12 inches of wire. Grab your pencil or twig and the wire. Loop the wire around the pencil twice. Twisty-tie the loop to the other part of the wire.
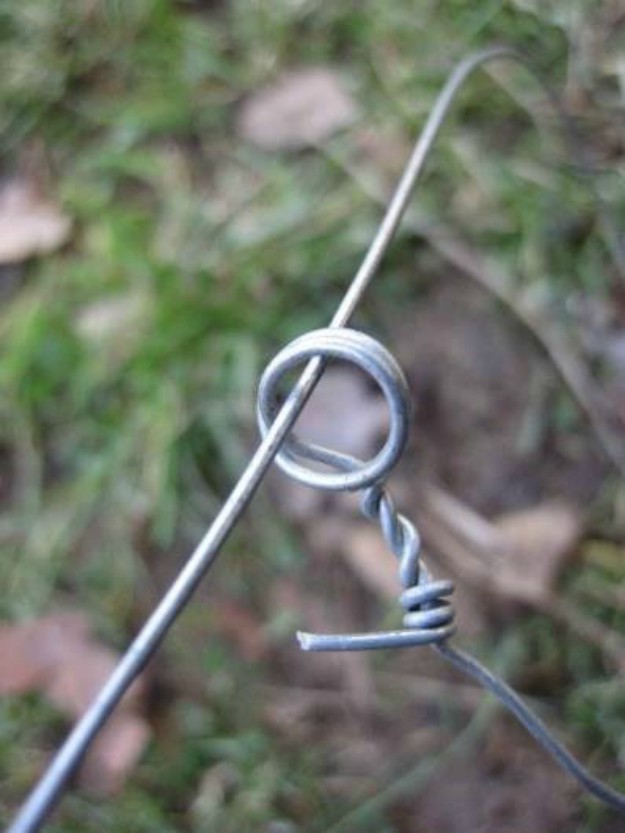
Pull the pencil out. Put the normal end of the wire through the loop, and make that loop 2 ½ to 3 inches in diameter, depending on the size of your targeted animal. Attach the snare on to the middle of the pencil stick.
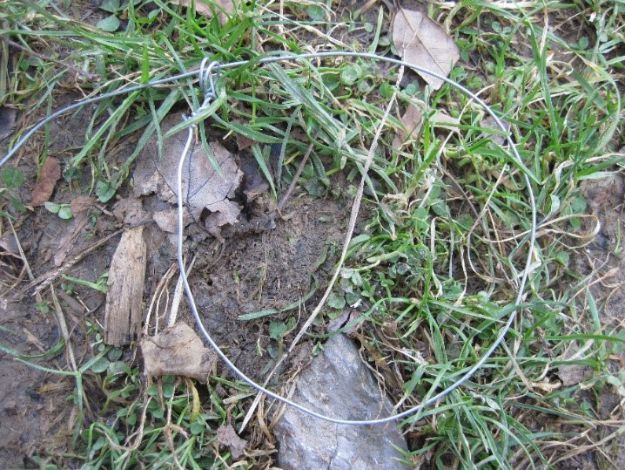
Take the paracord that should be hanging down from the sapling and pull it down toward the two sticks in the ground. Make a good and tight length from the sapling to the sticks.
Also, Check – The Spring Snare: Trap for Your Life (Part 6)
Step 3. How to Trap Your Game
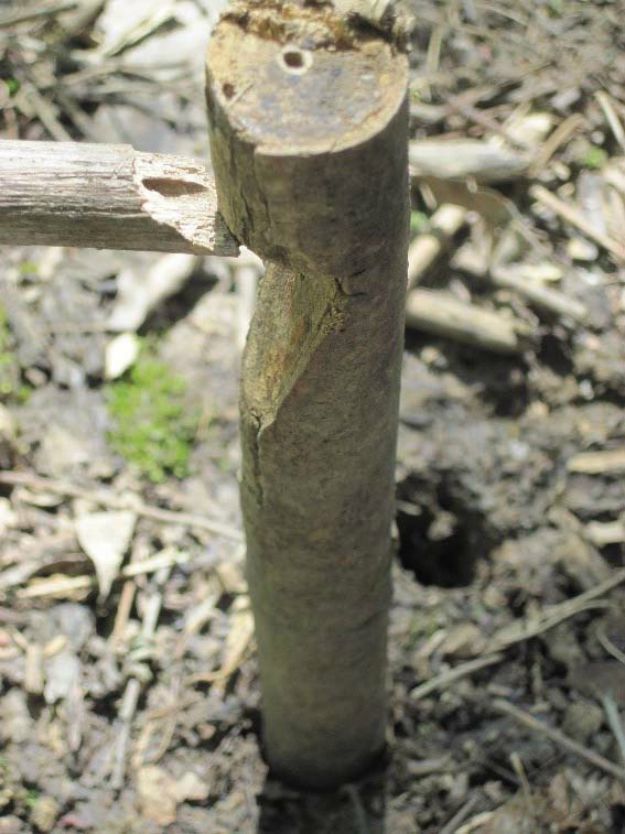
While you hold the paracord in position, tie it to the middle of the pencil stick. Then push the pencil stick in between the two sticks in the ground, and it should fit into the groove. It should look like the images shown below.
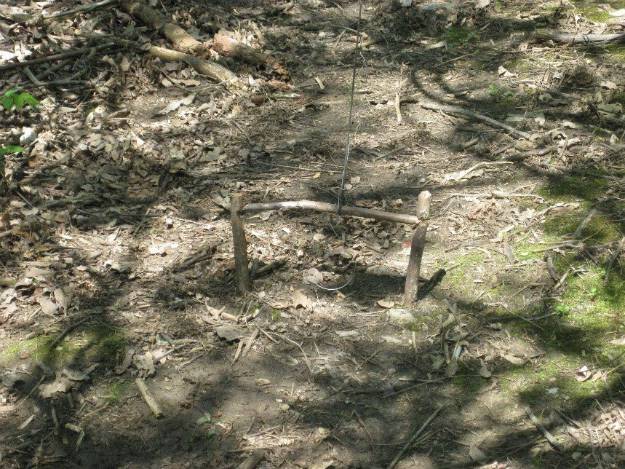
This snare is triggered when the animal enters the snare’s noose. He will go through the snare, pushing out the pencil stick from its groove. It will then release the sapling, causing the snare to go up in the air, trapping the animal. This snare is ideal for trapping chipmunks, squirrels, rabbits, small opossums, and small groundhogs.
The Two Stick Deadfall: Trap for Your Life (Part 9)
Follow the full guide to see how the pencil snare works in this video from Locke 6206:
Now you know what you need to do and how to get it done if you ever get caught in a survival situation. A simple pencil snare can totally make a difference in your survival. Check out the rest of the Trap for your Life series here to up your game!
No products found.
What do you think of the pencil snare and this guide to make one? Share your thoughts about it in the comments section below!

Up Next: Trap For Your Life: Part 10 | Make Your Own Water Trap
If you’re looking for useful survival gear that you can’t make at home, check out the Survival Life Store!
Follow us on Instagram, Twitter, Pinterest, and Facebook!
Editor’s Note: This post was originally published on April 22, 2016, and has been updated for quality and relevancy.
Last update on 2024-04-25 / Affiliate links / Images from Amazon Product Advertising API
-

 Do It Yourself7 months ago
Paracord Projects | 36 Cool Paracord Ideas For Your Paracord Survival Projects
-

 Do It Yourself9 months ago
How To Make Paracord Survival Bracelets | DIY Survival Prepping
-

 Do It Yourself9 months ago
21 Home Remedies For Toothache Pain Relief
-

 Do It Yourself10 months ago
Survival DIY: How To Melt Aluminum Cans For Casting
-

 Exports8 months ago
Are Switchblades Legal? Knife Laws By State


Anonymous
September 12, 2017 at 11:43 AM
The adds all came through, to bad the pictures didn’t . Would make it easier.
Larry Campbell
February 7, 2018 at 11:55 AM
I saw the pictures just fine. Thanks for the article.
Clergylady
February 7, 2018 at 12:03 PM
Lot of add and a little of trap… Good descriptions. Pretty clear.
Theodore M Doty
February 10, 2018 at 1:27 PM
Where is part 6
David Brawner
August 6, 2018 at 7:38 AM
Your description was good and provides an easy spring snare setup. You probably posted somewhere else in the series that trapping is a numbers game and to be successful you need several to many snares (traps) set in order to expect a regular meal. In a survival situation, where you can be safely situated for a longer term stay, you should be prepared to preserve some of the bounty from your traps, and be able to utilize the whole animal, not just the meat.
Thanks for the series, it’s good information for those who will actually go out and practice the art of setting traps.
P.S. for those serious about trapping, some of their preps should include large rat traps and perhaps a few of the smaller conibears. Primitive traps work fine but take time and energy to make. A simple rat trap from the local hardware store weighs very little and can be set in a jiffy.
Pingback: 8 Booby Traps To Protect Your Home | Survival Life