Paracord Projects
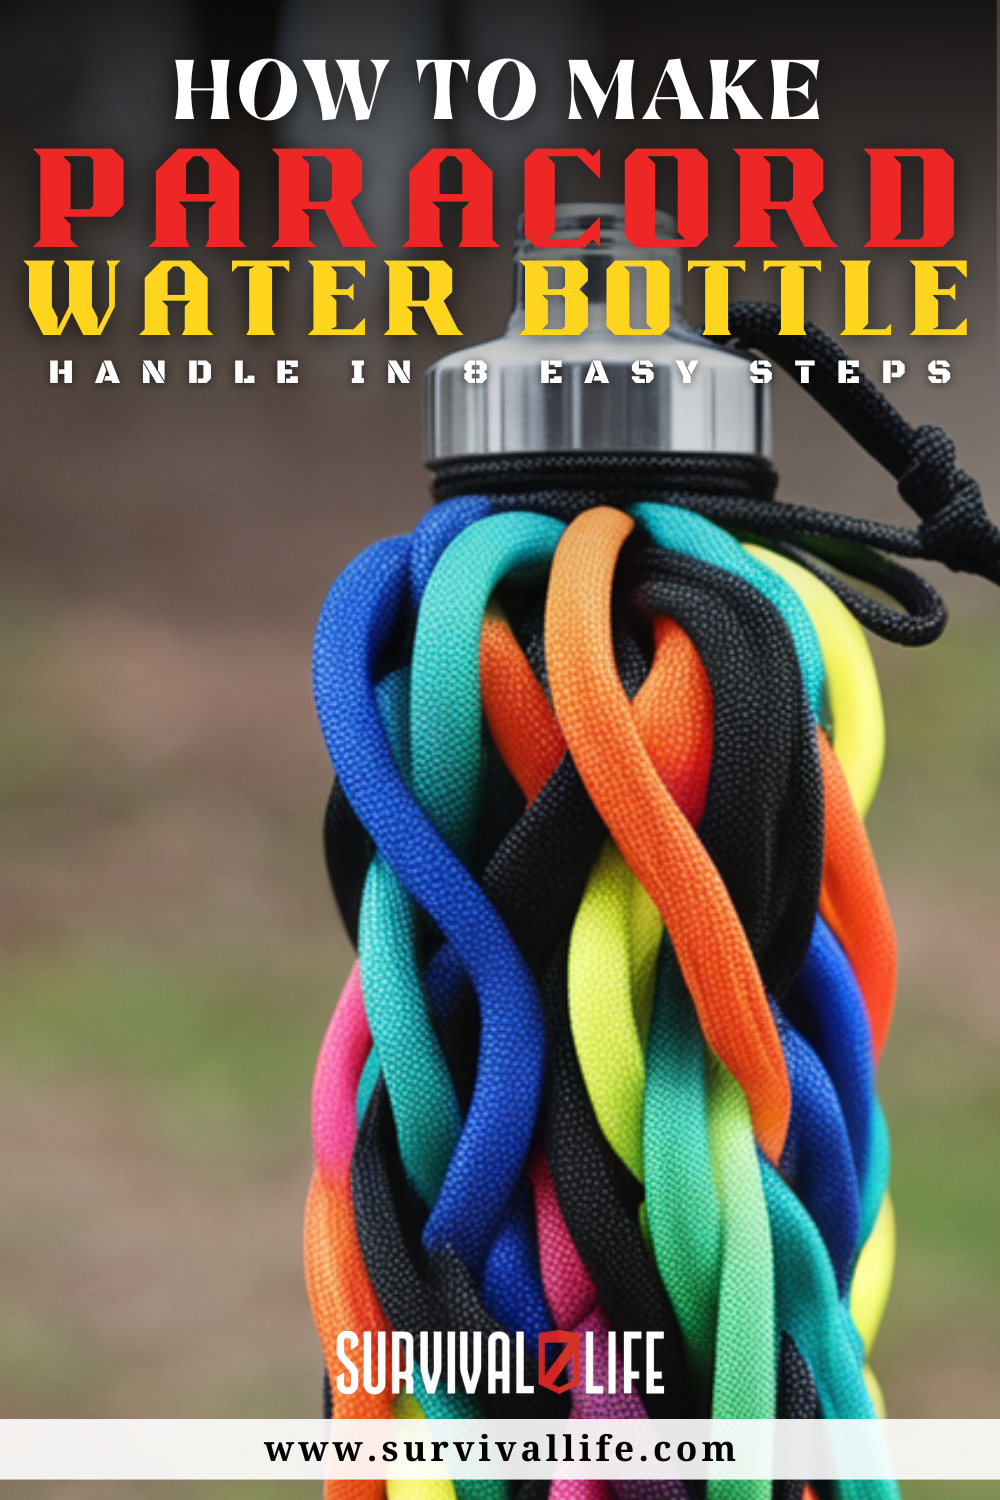
How to Make a Paracord Water Bottle Handle in 8 Steps

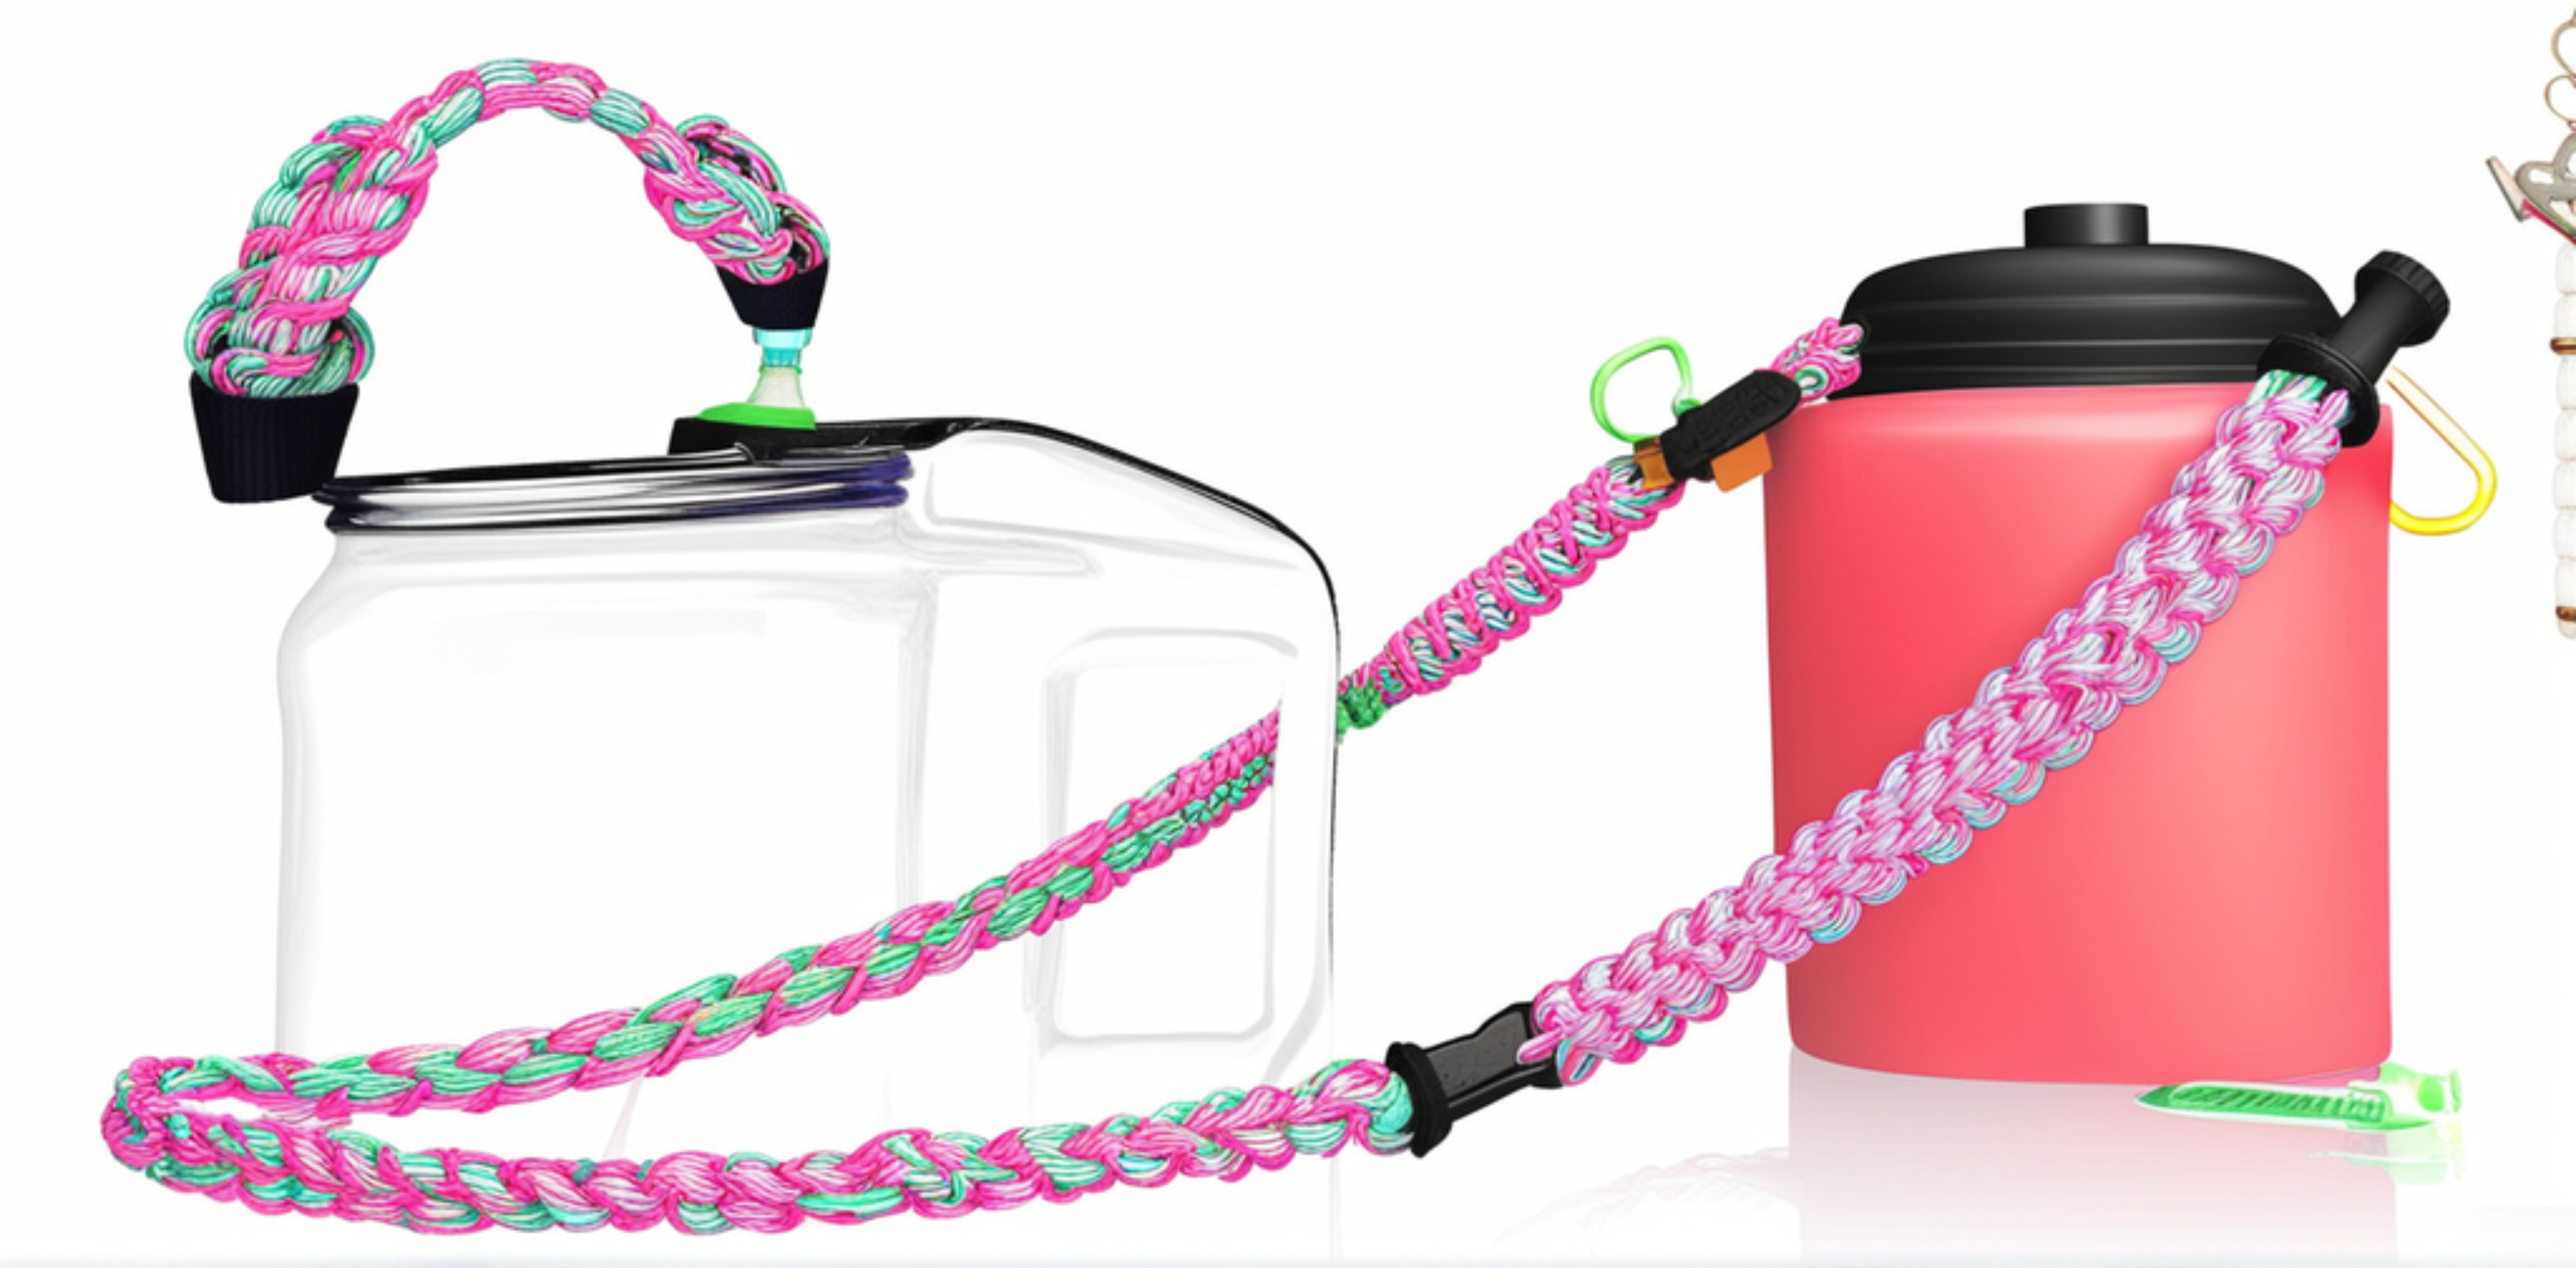
Paracord water bottle handles provide a secure grip on water bottles, making them easier to carry and preventing accidental drops. The cord’s strength and durability ensure that the handle can withstand the weight of the bottle and the rigors of outdoor adventures.
Additionally, paracord handles can be customized with different weaves, knots, and color combinations, allowing individuals to personalize their water bottles and add a touch of style to their hydration accessories.
Uses of Water Bottles Handles
Paracord Water Bottles handles are used for Several Reasons
Durability and Strength
Paracord is known for its exceptional durability and strength, making it a reliable choice for creating sturdy water bottle handles. The cord can withstand the weight of the bottle and the strain of carrying it, ensuring that the grip remains intact and secure.
Enhanced Grip
Paracord handles provide a comfortable and secure grip on water bottles, even in wet or slippery conditions. The woven or braided design of the handle offers texture and friction, preventing the bottle from slipping out of your hand and reducing the risk of accidental drops.
Convenience and Portability
A paracord handle adds convenience to carrying a water bottle. It allows you to hang the bottle from your wrist or attach it to a bag, making it easier to transport during outdoor activities, hikes, or workouts. The lightweight nature of Paracord ensures that the handle doesn’t add unnecessary bulk or weight.
Customization and Style
Paracord handles offer a wide range of customization options. You can personalize your water bottle handle with various colors, patterns, and weaving techniques to match your style or reflect your personality. This customization adds a unique touch and distinguishes your water bottle from others.
Versatility and Multi-purpose
Paracord handles have additional uses beyond carrying water bottles. The Paracord can be unraveled in emergencies to provide valuable cordage for various tasks like securing gear, building shelters, or creating makeshift repairs.
Steps to Make Paracord Water Bottle Handle
Materials Needed:
- Water bottle
- Paracord (approximately 8–10 feet)
- Scissors
- Lighter or heat source
Step 1: Gathering the Materials
Collect all the materials needed for making the Paracord water bottle handle, including the water bottle, Paracord, scissors, and a lighter or heat source.
Step 2: Choosing the Right Paracord
Consider the thickness and color options when selecting Paracord types for your water bottle handle. Paracord comes in various thicknesses, typically measured by the number of inner strands. Thicker Paracord provides added strength, while thinner options offer flexibility and ease of weaving. Choose a color matching your style, or use vibrant combinations to make a statement.
Step 3: Measuring and Cutting the Paracord
Measure: Wrap the Paracord around the water bottle to determine the desired length for the handle. Consider leaving a little extra for adjustments and tying knots.
Mark: Once you have determined the desired length, mark the Paracord using a pen or marker at the appropriate spot.
Cut: Use sharp scissors to carefully cut the Paracord at the marked spot. Ensure a clean and straight cut.
Step 4: Starting the Handle
To start the handle of a water bottle with Paracord:
Secure: Pass one end of the Paracord through the other end’s loop, creating a starting loop.
Tighten: Pull the ends of the Paracord to tighten the starting loop securely around the water bottle.
Ensure the starting loop is tight and secure, as it will serve as the foundation for weaving the Paracord and creating the water bottle handle.
Step 5: Creating the Weave
To create the weave on a water bottle handle with Paracord:
Cross: Start by crossing one strand of Paracord over the other, forming an “X” shape near the starting loop.
Weave: Take the end of the first strand and pass it under the second strand, then over and through the loop created by the “X” shape.
Alternate: Repeat the weaving process, but this time take the second strand and pass it under the first strand, then over and through the loop.
Tighten: Pull both strands of Paracord tightly after each weave to ensure a snug and secure fit around the water bottle.
Continue: Repeat the weaving pattern, alternating between the strands, until you reach the desired length for your water bottle handle.
Following these steps, you can create an attractive and sturdy weave on your water bottle handle using Paracord. Remember to maintain consistent tension and tightness throughout the weaving process for a professional-looking result.
Step 6: Adding a Secure Knot
To add a secure knot on a water bottle handle with Paracord:
Gather the Ends: Bring the loose ends of the Paracord together, ensuring they are even in length.
Tie an Overhand Knot: Cross one end over the other, forming a loop. Pass the end through the loop and tighten it to create an overhand knot.
Create a Second Overhand Knot: Repeat the previous step to tie a second overhand knot, passing the end through the loop in the opposite direction.
Tighten the Knot: Pull both ends of the Paracord tightly to secure the knot.
Trim Excess: Use scissors to trim any excess paracord, leaving a small tail for safety. Be careful not to cut the knot or the handle itself.
This secure knot ensures that the paracord handle remains firmly attached to the water bottle, preventing accidental slippage. It provides added stability and peace of mind when carrying your water bottle on outdoor adventures or during everyday use.
Step 7: Finishing Touches
To give the finishing touches to a water bottle handle made with Paracord:
Trim Excess Cord: Use scissors to trim any excess paracord carefully, ensuring a clean and neat appearance. Be cautious not to cut the handle or any essential knot parts.
Seal the Cut Ends: Use a lighter or heat source to seal the cut ends of the Paracord. Gently run the flame along the cut edges to melt and fuse the nylon fibers. It prevents fraying and ensures the handle remains intact over time.
Check for Adjustments: Double-check the handle’s tightness and fit on the water bottle. Make any necessary adjustments by tightening or loosening the knots to ensure a comfortable and secure grip.
By following these finishing touches, you enhance the overall appearance of the water bottle handle and ensure its longevity and functionality. The trimmed and sealed ends provide a professional finish while preventing fraying, and the proper fit guarantees a reliable grip on your water bottle during various activities.
Step 8: Customizing Your Water Bottle Handle
To customize your water bottle handle made with Paracord:
Beads and Charms: Add decorative beads or charms to the paracord strands. Slide them onto the cords before weaving, allowing them to sit at desired intervals. It adds personalization and enhances the visual appeal of your handle.
Braided Sections: Incorporate braided sections into the handle for added texture and style. Separate the paracord strands into smaller groups and braid them together before continuing with the weaving pattern. Experiment with different braid types to create unique designs.
Color Combinations: Use Paracord in different colors to create eye-catching patterns or gradients. Alternate between colors as you weave the strands to achieve desired color combinations. Consider color schemes that match your style or reflect a specific theme.
Wraps and Knots: Introduce additional decorative wraps or knots along the handle. For example, you can incorporate a cobra, square, or diamond knot at specific points to create focal points or intricate designs. These knots not only add visual interest but also provide a functional grip.

By customizing your water bottle handle, you can make it uniquely yours. Whether adding beads, incorporating braided sections, playing with color combinations, including decorative knots, or attaching personalized tags, customization allows you to showcase your creativity, preferences, and individuality. Enjoy the process of making your water bottle handle genuinely one-of-a-kind.
Share your thoughts with us in the comments section below!
Up Next:
- 14 Creative Paracord Dog Leash Patterns
- Prepper Food Storage: 10 Mind-Blowing Ideas That Will Amaze You!
- Knifemaking: Make A Knife From An Old Wrench
Follow us on Facebook, Instagram, Twitter, and Pinterest!
Disclaimer: All content on this site is for informational purposes only. Please read our full disclaimer here.
-

 Do It Yourself7 months ago
Paracord Projects | 36 Cool Paracord Ideas For Your Paracord Survival Projects
-

 Do It Yourself10 months ago
How To Make Paracord Survival Bracelets | DIY Survival Prepping
-

 Do It Yourself9 months ago
21 Home Remedies For Toothache Pain Relief
-

 Do It Yourself10 months ago
Survival DIY: How To Melt Aluminum Cans For Casting
-

 Exports8 months ago
Are Switchblades Legal? Knife Laws By State

