

When you’re trying to survive in the wild, meat preservation is a skill that will come in handy. Here’s why and how to preserve meat for survival.
3 Methods of Meat Preservation
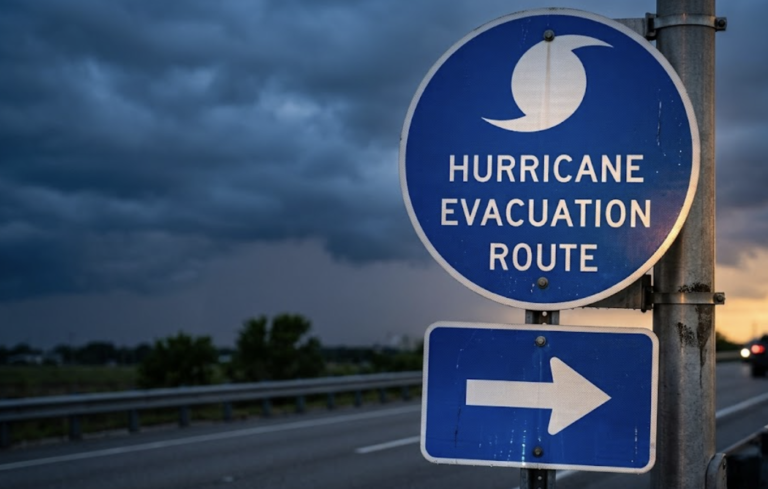
There are four primary pillars of survival: Food, water, fire, and shelter.
The rule of threes states that you can only survive three hours without warmth from fire or shelter, three days without water, and three weeks without food. Food eventually becomes vital, but it is not the most urgent priority in survival situations.
So why does it remain so important?
While it can take weeks to die of starvation, you start to see the effects almost immediately. When you deprive your body of calories, it starts to literally eat itself.
First, the body burns fat reserves for calories. At this point, you feel some hunger pangs and perhaps weakness or a headache, but nothing severe.
Within a week or two, the body moves on to burning muscle mass and organ tissue. This is where things get rough. You will experience depression, confusion, disorientation, loss of motor skills, weakness, lightheadedness, and extreme body pains including severe headaches.
Well before you die of starvation, the process will make it almost impossible to function. This means that other essential tasks such as gathering water and firewood may not happen. In addition, food is vital as a morale booster so you have the motivation to keep going.
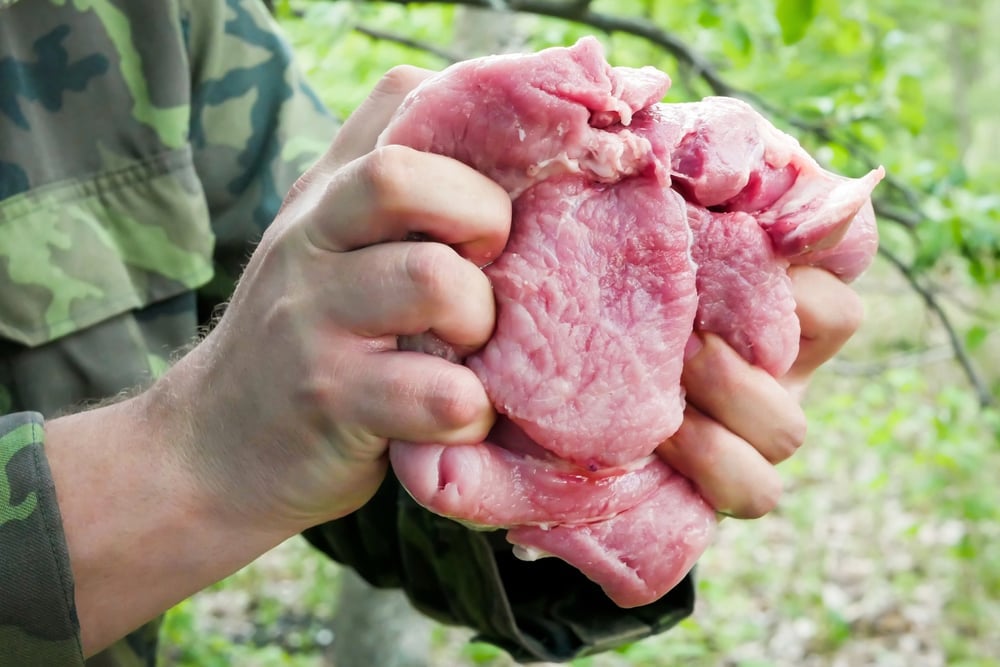
The biggest issue with food in the wild is preservation. Preserving meat in the wild is not easy. Without electricity, freezing or refrigerating meat is almost impossible.
We must think back to the time of our ancestors when they didn’t have electricity for this purpose. People would go hunting and harvest meat, but then had to figure out how to keep it preserved to eat over a long period of time.
While it is challenging, you do have a few good options. Below, we will cover the different ways you can effectively preserve meat in the wild for future use.
1. Freezing or Chilling

Without electricity, freezing or chilling meat can be very difficult. If it is winter, you can bury meat in snow or surround it with blocks of ice. However, this does leave it vulnerable for animals to get at it. Some people will cover the meat in snow and then in heavy rocks to try and keep predators away.
Also, if the air temperatures are below freezing, you can just hang a bear bag. Tie the meat in a bag and attach a long piece of cordage. Throw it over a branch more than 10 feet off of the ground and pull it up. Tie it off, and it will be high enough that predators cannot get to it.
You can also cool the meat in a spring or cold stream. Put it in a bag so fish cannot get to it and sink it with a rock. Then tie it off to a tree or rock on the shore.
Another option for chilling is using a zeer pot. This is a device that uses water evaporation to create a cooling effect. It will only work if you have two pots and some sand.
- Start by adding a few inches of sand to the bottom of the larger pot.
- Place the second pot inside, and then fill the gap between the two pots with more sand.
- Next, saturate the sand with cool water from a stream.
- Put your meat in the center pot and then cover only the meat with a damp cloth.
- As the water in the sand evaporates, it will cool down the air inside.
- Continue to add cool water to the sand as the water evaporates. This will help keep meat fresh for a few extra days.
2. Curing and Drying
The enemy of meat preservation is moisture. If you can remove most of the moisture, the meat will last longer. There are two options to do this in the wild that do not involve a fire.
One is to cure or salt the meat. This is the process of packing it in salt or a mixture of curing salt and other ingredients. It takes a large amount of salt to do this, so for most people in the wild, it is not a realistic option. If you have the salt, pack at least an inch all the way around the meat and put it in a cool, dry place. Over time the salt will draw out the moisture.
You can also dry meat in the sun if it is hot enough.
- First, cut the meat into thin strips. I suggest less than ¼ inch thick.
- Then score it on both sides to create even more surface area.
- Find a rock in direct sunlight and lay it all out. Even better, you can build a rack or string it up with cordage. The more airflow it has, the better.
It will take several days for the sun to draw out the moisture, so pull the meat inside at night so animals do not get to it. When it is done, it should be the consistency of jerky. No moisture should come out if you squeeze it.
If you can combine curing and drying, that is a best-case scenario. You can do one process before the other, or you can just salt it heavily before setting the meat out in the sun.
3. Smoking
View this post on Instagram
Probably the most effective way to preserve meat in the wilderness is smoking. This process accomplishes two goals. It removes moisture and also kills mold and bacteria while leaving a pleasant smoky flavor.
Again, start by cutting your meat into strips less than ¼ inch thick. If you cut across the grain of the meat, it will dry faster, and the smoke will penetrate the meat better. Cut off any fat as this will not smoke well. Score both sides of the meat and add salt and/or spices if you have any.
Next, build a tripod with three poles. You want the poles to be four to six feet long depending on how much meat you are smoking. Then, build a fire underneath and let it burn down to coals.
Coals are much more predictable than flames for estimating temperature. Put your hand above the coals at the desired height. If you can hold your hand there for eight seconds before needing to pull it away, that is ideal. If not, move your hand up or down and try again.
Then you have your smoking height. At that height, either build racks or use cordage to string up the meat. The goal is to dry the meat, not cook it. If it starts to steam or turn grey, the heat is too high.
Typically, it will take all day if not two days to properly smoke meat. Again, you want it to be the consistency of jerky. No moisture should come out when you squeeze it. The drier the finished product, the longer it will last.
If you have a tarp, blanket, or plastic sheet you can wrap it around the tripod. Keep it a few feet off of the coals so it does not melt or catch fire. This will hold in the smoke and speed up the process.
Storing Smoked and Dried Meat
When meat is smoked or dried, you do need to be careful about how you store it. If you have zipper bags, that would be ideal. Keep the meat in a cool, dry place.
When you are ready to eat some, only take out what you need for that meal. You can eat it dry like jerky, or you can rehydrate it. To rehydrate, just put it in a pan with a little water and put it over the fire. You can boil it, but that will draw out some of the natural flavor.
If you do boil it, you should drink the broth left behind. Otherwise, you can just put a little water in the pan and cover the pan to steam it. It will not be as soft this way, but much more flavorful. If properly preserved, your meat should last you anywhere from a few weeks to several months whereas fresh meat only lasts a day or two.
Always Plan Ahead
As you can see, there are several options for meat preservation without electricity. Keep in mind, our ancestors used to travel on ships for months at a time and their only food source was food that was preserved without electricity.
Some people would hunt three seasons and then eat preserved meat all winter because the weather was so harsh. The key is to have a plan before you go hunting.
If you wait to figure out how to preserve the meat until you have a kill, most of the meat will go to waste. If you are salting the meat, have the salt ready. When you are smoking meat, have the smoker rack built and have lots of firewood set aside.
The goal is to get the meat from the kill site to the smoker as quickly as possible. This will ensure you have the highest quality preserved meat possible and that none of it goes bad in the process.
If you want to really be prepared, try out these methods in advance. Every year after deer season, I have some scrap meat leftover that I use for trying out preservation methods. In most cases, I have been successful and left with some tasty snacks for my family and me.
My son loves this time of year because he normally gets some jerky out of it. It is also a lot of fun to try out these methods with your family. If you practice meat preservation and have a plan, you will be ready to preserve meat when it really counts.
What’s your favorite meat preservation method and why? Let us know in the comments section!
Up Next: