

Maintaining your hiking boots is the last thing you may want to do after a long hike, but getting into this habit matters more than you may think. When you clean and maintain your hiking boots, you can make them last longer, saving you from unnecessary expense when your favorite boots fall apart.
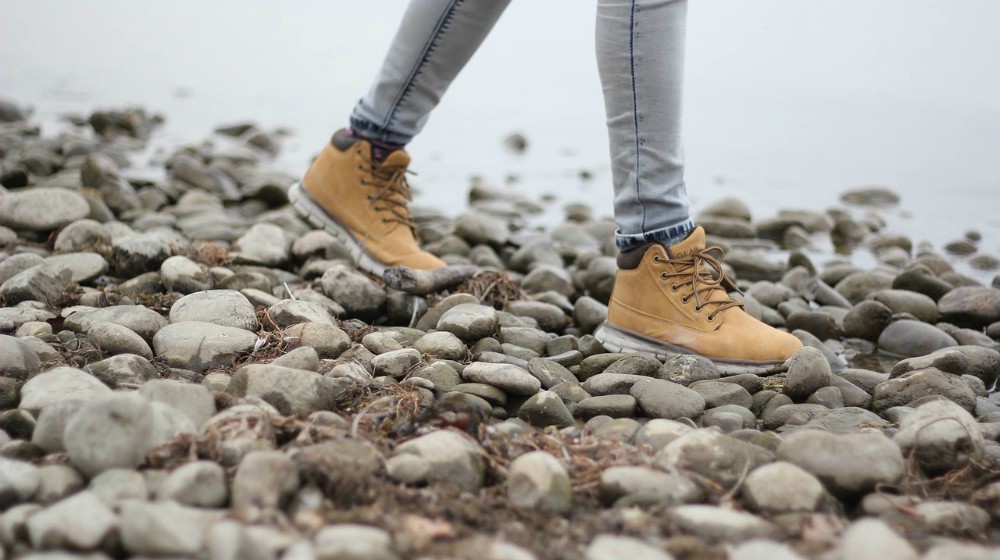
For this instructional, I’m focusing on how to maintain your hiking boots with full grain leather uppers. Fabric boots and other types of leather (like Nubuck) require different approaches. To be specific, I’m working with the Scarpa SL Activ, though the method below will work with any similar footwear. Read on for important instructions on how to clean hiking boots.
Properly Maintain Your Hiking Boots
1. Prepare Your Boots
Before you start cleaning your boots, you’ll need to do some prep work. First, remove the laces and liners. These must be cleaned separately. Then, give your shoes a quick, preliminary inspection. Look for any rusty eyelets, holes in the uppers, split soles, and other signs of wear and tear.

2. Read the Label
Every type of boot is different, and some can have some surprisingly intense cleaning demands. Be sure to read the label inside the boot heel before beginning the process so you could properly maintain your hiking boots.
3. Cleaning Hiking Boot Soles
I like to start boot cleaning by tackling the soles. After all, the soles tend to be the dirtiest part of the shoe, and cleaning them later can quickly ruin your freshly cleaned uppers. At this point, I only use water, without any soap or special chemicals. You’re just scrubbing off dirt and grime, so there’s no need to go overboard making the undersides of your boots shiny.
Use a medium-stiffness, long-bristled brush to scrub the soles. Pay careful attention to the treads, where stones and debris can build up. As this material collects, it can cause stress on your feet as you walk, and eventually damage even the toughest Vibram. Speaking of which, I also find the Vibram label on the underside of the boot can be a paradise for little bits of dirt. Clean it and similar tags thoroughly.
While cleaning the sole, you may also want to scrub the rand (the rubbery strip that covers the first few centimeters of some uppers. Just make sure that you don’t allow your brush to make contact with the uppers. Stiff-bristles can easily scratch leather, defeating the entire purpose of maintaining your hiking boots in the first place.
4. Cleaning Hiking Boot Uppers
Once the soles are pristine, it’s time to turn your attention to the uppers. While elbow grease is everything on the tread, I strongly recommend a gentle approach to the uppers when maintaining your hiking boots. To clean, I use a toothbrush and water, without any soap. Scrub firmly but gently, as you would your teeth. If your toothbrush is dead after just a few passes, then you’re scrubbing too hard.
Scrub every inch of the uppers, paying careful attention to creases, eyelets, and stitching. On the stitching, be gentle but thorough, as this is one of the areas the boot will show early signs of wear. Dust and dirt love to creep into the stitches and cause friction when you walk. I also invest some extra time in cleaning the part of the boot where the rand gives way to the uppers, as this is also a common problem area. If your shoes don’t have rands, then focus your efforts on the joint between the uppers and sole. Finally, the heel can likewise be a problematic area, where I recommend being very thorough.
While scrubbing, be on the lookout for any signs of wear and tear. Splits that don’t penetrate all the way through should be gently scrubbed and washed. If you find any holes, then make an appointment with a shoe repair shop immediately. Some people like to try fixing their boots themselves, but I think it’s better to leave that work to the professionals. Unless you seriously know what you’re doing, your backyard glue-job will do more harm than good.
Speaking of repairs, keep an eye out for any rust on the eyelets. Avoid using harsh chemicals that can damage the surrounding leather, and instead opt for a Q-tip with a bit of cooking oil. After using the Q-tip, you may want to grab the toothbrush and gently scrub the eyelet.
Once you’ve scrubbed down the shoes with your toothbrush, you should grab a sponge and give the boots a once-over. Using plenty of water, wipe down the uppers and soles, keeping an eye out for any stray dirt you might have missed.
No products found.
5. Wash the Insides
If you’re a regular hiker, it’s most likely that your boots have built up quite an odor. Deodorizing is an essential part to maintain your hiking boots, so how is deodorizing hiking boots done? To remedy this, fill your boots with warm water after the initial clean. Some people use soaps or detergent, though I try to avoid chemicals that can have unintended consequences for the leather. Either way, at this point, just fill the boots with water, and leave them for 20 minutes or so to soak. While you’re waiting …
6. Apply a Waterproof Wash
At this point, your boots should be reasonably clean on the outside, and full of water inside. This is the perfect time to apply a waterproof wash. This step is necessary, regardless of whether your boots are untreated or came waterproofed like Gore-Tex. Either way, a waterproof wash can increase the lifespan of your boots dramatically. I like Nikwax, though I’ve heard Scarpa HS12 works just as well. Nikwax is best applied to mildly damp (not soaked) leather, with either a sponge or fingers. As always, pay close attention to damaged areas, seams, creases and the like. This rule applies to any wash, not just Nikwax.
Most washes need to sit for at least a few minutes. So at this point, you should have the insides soaking in warm water, and the uppers covered with Nikwax or a similar waterproofing agent.
7. Wash the Laces and Inners
Laces can get pretty grungy, so this is the one time when detergent makes a lot of sense. Make the laces frothy with soapy water, then grab hold tightly to one end. Then, pull your hand down the length of the lace, bringing as much water and soap with you as possible. Rinse, then hang to dry.
Inners rarely demand much attention, and can usually settle for a quick rinse. Apply some baking soda if they have an odor. Remember: when you maintain your hiking boots, looks aren’t everything. Smell matters – a least for the rest of your family.
8. Finish!
With your laces and inners hanging out to dry, you should be ready to return to the boots. Tip out the water, and inspect the insides with a small flashlight. Spot clean with a toothbrush if necessary.
Once you’re finished with the insides, return to the uppers. By now, the Nikwax or the other waterproofing agent should have soaked in, but there might be some streaks of residue on the leather. This isn’t just unsightly; the streaks are magnets for dust, and if you don’t get rid of them, you’ll just have to wash your boots again in a day or two. I use a clean, medium-damp sponge and water, and wipe gently.
Here’s more to hiking boot care by Second Summit so you could properly maintain your hiking boots:
That should be enough to maintain your hiking boots, keeping them clean and in tiptop shape. Simply follow these instructions and take advantage of your footwear for a long time. After all, if there’s something that needs protecting in a hike, it’s your precious feet–after all, they’re responsible for bringing you to your destination and back.
Do you have a better way to maintain your hiking boots? Tell us about it in the comments section below!
Up Next: Amazing Hiking Trails You Have To See To Believe
Editor’s Note: This post was originally published in March 2018 and has been updated for quality and relevancy.


