Do It Yourself
Basic First Aid For Cuts And Scrapes

Getting wounds is quite unavoidable, which makes it all the more important to learn basic first aid for cuts and scrapes. Check out our tips below!
Tips for Applying First Aid for Cuts and Scrapes
If there is anything I have learned from my survival experiences, it is that the smallest mistakes can take you out. I can’t tell you how many times I got a significant cut or scrape in the wilderness and had to treat it on the spot to keep going.
On my very first survival challenge, I took off my hat to rest for a bit exposing my head. When I got up from my rest, I smacked the top of my head on a low hanging branch and a sharp point cut open my head. As is with all head woods, it started gushing blood.
I needed to stop the bleeding with a clean cloth, but I was covered in dirt from head to toe. I quickly cut the back pocket out of my pants for a clean piece of cloth and applied it as a compress on the wound.
After a few minutes, the bleeding was under control. I had recently boiled water for purification, so I applied clean water to clean out the wound.
Then I applied a new piece of clean cloth and held it in place with my hat. I was able to finish my challenge without infection or even a significant scar.
These cuts and scrapes can come up in normal everyday life. Right now, a major concern is needing to visit the emergency room.
With my outdoor adventures and my son wanting to be just like dad, we have had lots of ER visits over the last few years. However, with the current pandemic, we want to avoid the hospital if at all possible.
This means treating anything we can at home. Cuts and scrapes fall into this category. Certainly, there are scenarios in which the hospital could be full or shut down and will not accept wound cases.
There are also plenty of scenarios when you are stuck in the middle of nowhere and cannot get to a hospital.
With just some basic knowledge and a few supplies, these cuts and scrapes are normally treatable in the field. Do keep in mind that deep cuts can cause life-threatening bleeding and should be taken seriously.
In addition, they can leave some nasty scars if the wound is not closed properly. If getting help is an option, it should be considered.
Professionals will always have more resources for saving lives and to leave the least scarring possible.
In this article, we will cover simple but effective ways to treat cuts and scrapes in survival scenarios. Do take the time to buy supplies for first aid kits so you can be ready to practice your skills.
Priorities for Treating a Wound
View this post on Instagram
When faced with any kind of wound, there is an order in which you need to address the potential issues. This is vital to ensure that you maximize every second of your time.
- Stop the Bleeding – The first priority is always to stop the bleeding. Blood loss is the most immediate concern. Significant blood loss will put you into shock and eventually create a drop in blood pressure that can lead to cardiac arrest. If a major artery or vein has been hit, you must act quickly. This is where a tourniquet can stop the bleeding. Otherwise, you can usually just apply pressure.
- Prevent Infection – The next thing to keep in mind is to keep the wound as clean as possible. You should try to use a clean cloth for pressure and bandages. Use clean water to clean the wound, or you can use disinfectant. Treat with an antibiotic ointment and keep it covered.
- Minimize Scarring – Scar tissue is not just noticeable, but it can affect your joint movement. To keep scarring to a minimum, wounds need to be closed properly. This means stitches, superglue, or staples to keep the wound closed tightly.
Cleaning a Wound
- The first step to treating a wound is to clean out debris.
- Get squares of clean cloth or gauze and some clean water or saline solution.
- Douse the cloth or gauze and squeeze out some of the excesses. You may have to pour clean water over the wound before starting to clear out some blood so you can see.
- For linear wounds, use the wet cloth to wipe along the length of the wound to remove debris.
- Do this several times with a clean cloth each time. Then use a clean, dry cloth to dry the wound.
First Aid for Cuts and Scrapes
1. Sutures
![]()
If you have a cut of ¼ inch or longer, you may need it to be closed. The traditional way to do this is with sutures.
You will need a needle-driver, a curved suture needle if possible, and suture line or some replacement. Straight sewing needles can be used if needed, and string or fishing line can be used for sutures if clean.
Secure the needle in the tip of the needle-driver and hold it with your thumb and ring finger. Use the tip of your index finger right below the needle for stability. Use forceps or tweezers to hold the flesh.
- Start at the end of the wound and pierce the skin on the right side at 90 degrees to the skin going down to the desired depth.
- Pull the needle through and pull the suture through so that only about an inch of material is left on the other side.
- Leave about eight to ten inches of material on the left and make two loops around your driver.
- Then grab the other end of the suture with your driver and pull it through the loops.
- Tighten it down so that the wound is firmly closed at that point.
- Pull the remaining suture to the right, create one loop, and pull the other end through. This creates a square knot to secure the suture.
- You can then pull to the left for another loop, and again to the right for another loop if you want to do another square knot.
- Move between 1/8 in and ¼ in down and repeat the process with a new suture.
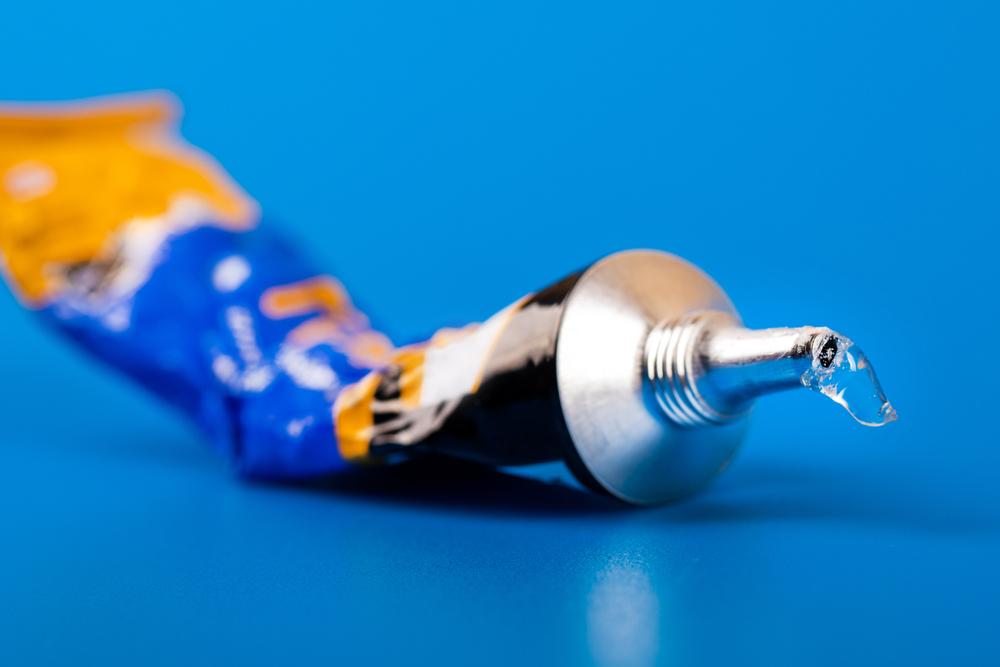
2. Superglue

Superglue was first successfully used to close wounds in the Vietnam war. If you wave a patient bleeding out, the wound must be closed immediately. Superglue can accomplish this.
Be aware that specific types of superglue can help avoid skin irritation with open wounds. Once the wound is cleaned, hold the wound shut. The edges of the wound or cut should be touching for this to work best.
Apply a good amount of superglue right along the wound and hold it in place for a few minutes. After it sets, it should hold the wound shut. A solvent can then be used at the hospital to reopen it if needed.
Superglue is also sometimes used in place of sutures to create less scarring on the face or head. My father had a bad car accident in his 20’s and was left with a four-inch gash across his forehead.
The surgeons used superglue to hold the wound shut and minimize scarring. After the wound healed, a solvent was used to remove the superglue. After completely healing, you could not see that he ever had a huge wound.
3. Butterfly Bandages
In a pinch, butterfly bandages can replace sutures, as well. These are thin strips of adhesive to hold a wound shut.
However, this should be your last resort. They can easily pull loose leaving the wound open.
4. Medical Staple Guns
Medical staple guns are now more popular option. They’re best for wounds with excessive bleeding such as head wounds.
Unlike with sutures or superglue, you can rapidly close a wound and keep it shut for several weeks.
Staple guns require less skill and practice than sutures, so you can have a novice do it if you are the one injured.
I had several staples in the side of my head a few years back, and it is really hard to tell that there was ever a wound there. I have also had sutures on the front of my head, and the staples left just a bit more scar tissue.
5. Bandages
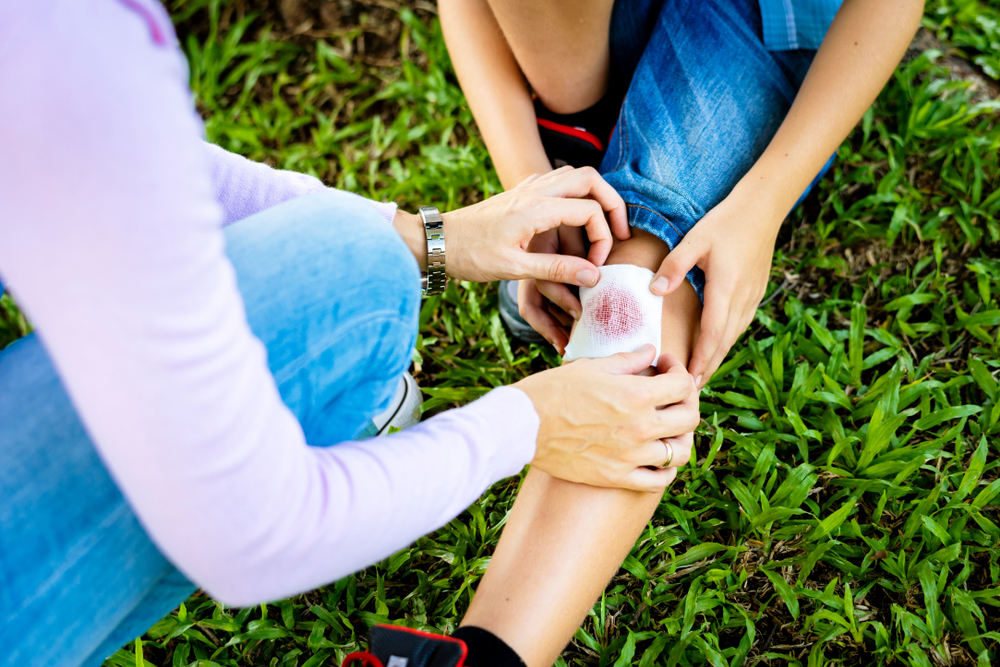
No matter what kind of cut or scrape you have, a clean bandage is helpful after cleaning the wound. This is true if you have had stitches or superglue applied or if it is just a minor scrape.
Any time there is skin damage, you should apply bandages. To prevent infection, I suggest applying an antibiotic ointment before wrapping the bandage.
For small cuts and scrapes, a self-adhesive bandage can be used. For larger wounds, apply gauze and secure it with medical tape or a wrap.
You will want to replace the bandage and reclean the wound on a regular basis, daily if possible. If the wound is still bleeding, replace it each time the bandage bleeds through.
Bandages are not only good for cuts and scrapes. If you have a sprained or twisted ankle, wrist, knee, or shoulder, a bandage wrap can apply pressure to help with the pain.
With a broken bone, a bandage and hold the two pieces in place until they can be set properly. If you have a burn, a bandage can protect the damaged skin until it can heal. This often prevents infection with burns.
Practice First Aid for Cuts and Scrapes Now
As you can see, just a little training and a few supplies can save a life. However, just reading about it is not enough.
Get the needed supplies and get some practice in. You can buy silicone kits with wounds for you to practice your sutures. They typically come with a needle, driver, forceps, and sutures.
If you have these items along with a variety of bandage options, a disinfecting liquid such as alcohol or peroxide, some super glue, and some antibiotic ointment and you are all set to save lives.
What first aid wound treatment do you prefer? Share with us why in the comments section!
Up Next:
-

 Do It Yourself7 months ago
Paracord Projects | 36 Cool Paracord Ideas For Your Paracord Survival Projects
-

 Do It Yourself9 months ago
How To Make Paracord Survival Bracelets | DIY Survival Prepping
-

 Do It Yourself9 months ago
21 Home Remedies For Toothache Pain Relief
-

 Do It Yourself10 months ago
Survival DIY: How To Melt Aluminum Cans For Casting
-

 Exports8 months ago
Are Switchblades Legal? Knife Laws By State


Pingback: 5 Surprising Survival Uses for a Tampon – The Self-Sufficient Life
Pingback: 5 Surprising Survival Uses for a Tampon - Cooking in Quarantine
Pingback: 5 Surprising Survival Uses for a Tampon – Sprent Brass
Pingback: 5 Surprising Survival Uses for a Tampon – The Survival Pro
Pingback: 5 Surprising Survival Uses for a Tampon - Primal Survival
Pingback: How to Treat a Gunshot Wound – The Self-Sufficient Life
Pingback: How to Treat a Gunshot Wound | Types of Gunshot Wounds (NSFW) – Alive After USA Fall
Pingback: How to Treat a Gunshot Wound | Types of Gunshot Wounds (NSFW) - Cooking in Quarantine
Pingback: How to Treat a Gunshot Wound – surviveurself
Pingback: How to Treat a Gunshot Wound | Types of Gunshot Wounds (NSFW) | Survival Go Bag
Pingback: How to Treat a Gunshot Wound | Types of Gunshot Wounds (NSFW) - Survival Blog
Pingback: How to Treat a Gunshot Wound | Types of Gunshot Wounds (NSFW) – SurvivalHood