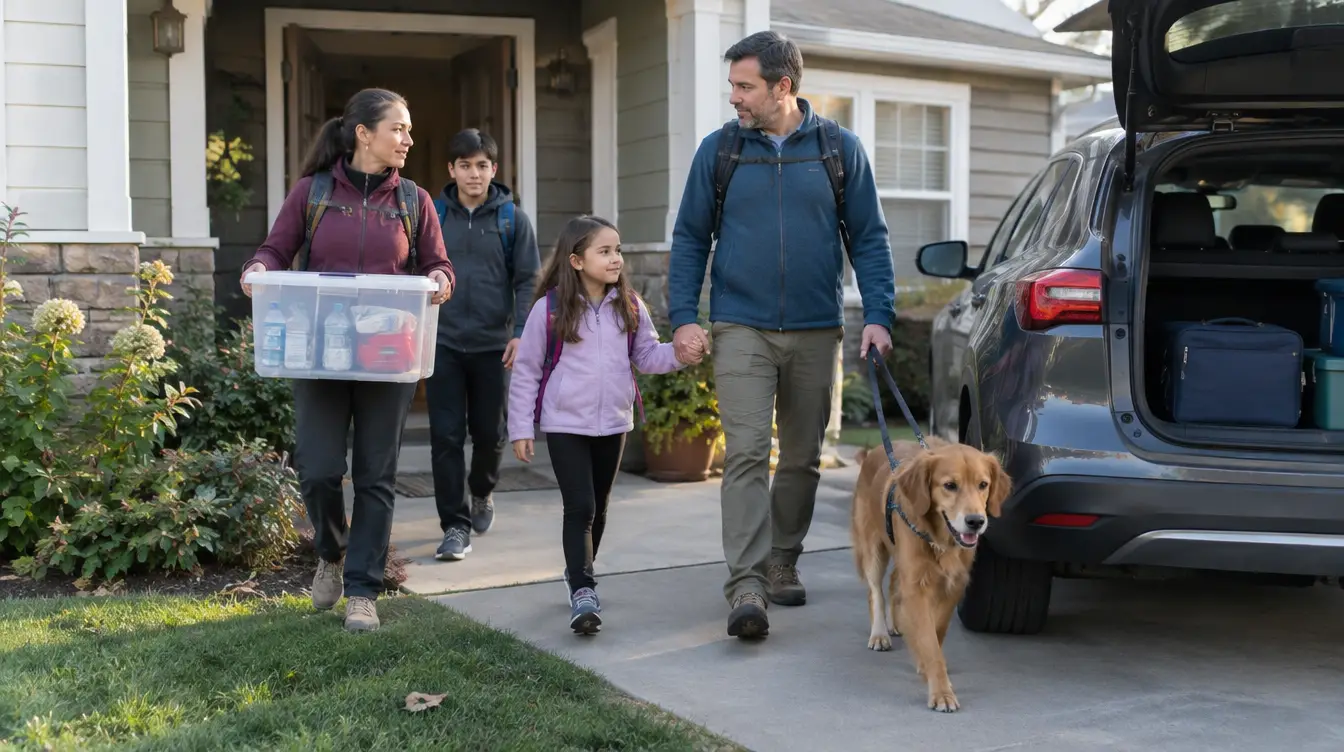

Evacuation plan tips only work if your family has practiced them. A good plan answers 4 questions before anything happens: who does what, when you leave, where you meet, and how you reach each other when phones fail.
Most emergencies give you little warning. Families without a plan decide too late, leave without each other, or argue in the driveway while the clock runs.
The 5 steps below fix that. One of them only works if you test it outside your house. It’s step 3.
At a Glance: Evacuation Plan Tips
- Jobs: Give every person 1 job, from grabbing the kit to loading the pets.
- Trigger: Agree now on the signal that means “we go,” for each hazard you face.
- Meeting spots: Pick 2, one on your block and one outside your neighborhood. Walk to both.
- Contact: Choose 1 out-of-area person everyone texts when local lines jam.
- Practice: Run a full drill twice a year.
Survival Life earns a commission if you buy through the Amazon links on this page, at no extra cost to you. It doesn’t change what we recommend or the order we recommend it in.
Evacuation plan tips, step 1: give every person a job
In a real evacuation, the slow part isn’t packing. It’s 4 people asking each other what to do.
So hand out the jobs now, sized to each person. Here’s a simple split for a family of 4:
- Adult 1: grabs the kit bin and the document pouch, then drives.
- Adult 2: gets the kids, the pets and the daily medications into the car.
- Older kid: grabs the phone chargers and the radio, then checks the back door.
- Younger kid: carries their own small bag, with a loud whistle clipped to the strap, and stays with Adult 2.
Pick a plastic whistle with no ball inside for a kid’s bag. There’s nothing to jam or freeze, and one hard blast carries farther than any shout. This 2-pack clips onto a strap, so 2 bags are covered.

Last update on 2026-10-24 / Affiliate links / Images from Amazon Product Advertising API
Then show every adult how and when to shut off the water, gas and power. Walk them to each valve and switch. Reading about it in a panic doesn’t count.
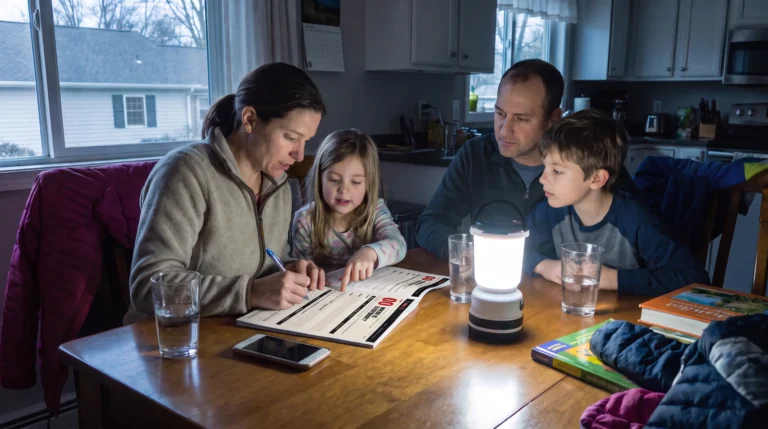
Write the jobs down where everyone can see them. Our printable family disaster plan template has a spot for each name.
Jobs only matter if everyone knows when to start them. That’s the next step.
Step 2: pick your trigger before you need it
The hardest call in any evacuation is when to go. Waiting for an official order feels safer.
The catch? Thousands of your neighbors are waiting for the same order. So the roads fill at the same moment you pull out.
Decide your trigger now, one for each hazard you face, and write it on the plan:
- Flood or storm surge: you leave when leaving is advised for your zone, not when water reaches the street.
- Wildfire: you leave when a warning covers your area or smoke settles in your neighborhood.
- Gas leak or chemical spill: you follow the leave or shelter-in-place instruction for your area right away.
To find your zone, check your city or county website for hazard maps and evacuation guidelines. Then sign up for local emergency alerts so the warning reaches your phone.
Once you know when you’re going, you need to know which way. And a second way, because the first one is the road everybody else picked.
Step 3: map 2 routes and 2 meeting spots
Routes
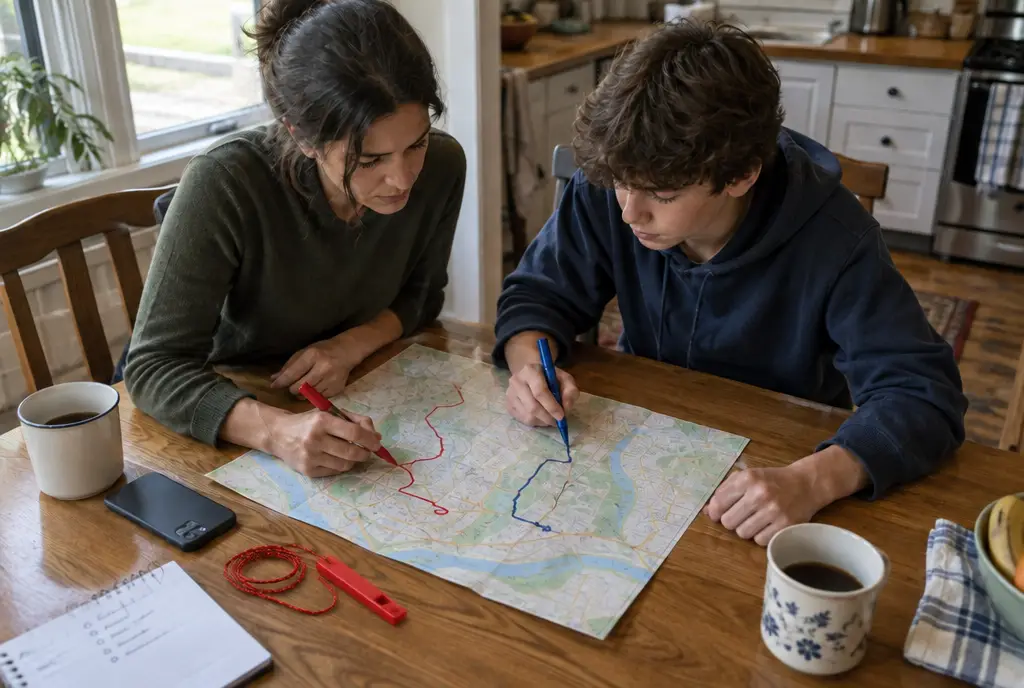
Plan routes for each type of disaster you face. A flood route and a fire route might head in opposite directions.
Drive each one at different times of day. Write down the travel time, and note anything that could block it, like a low bridge or a single lane past a construction site.
Keep a paper map with every route marked in the kit. Phone maps die with the phone.
Meeting spots
During an evacuation, family members can lose sight of each other within seconds. So you need 2 meeting spots: 1 right outside your home and 1 outside your neighborhood.
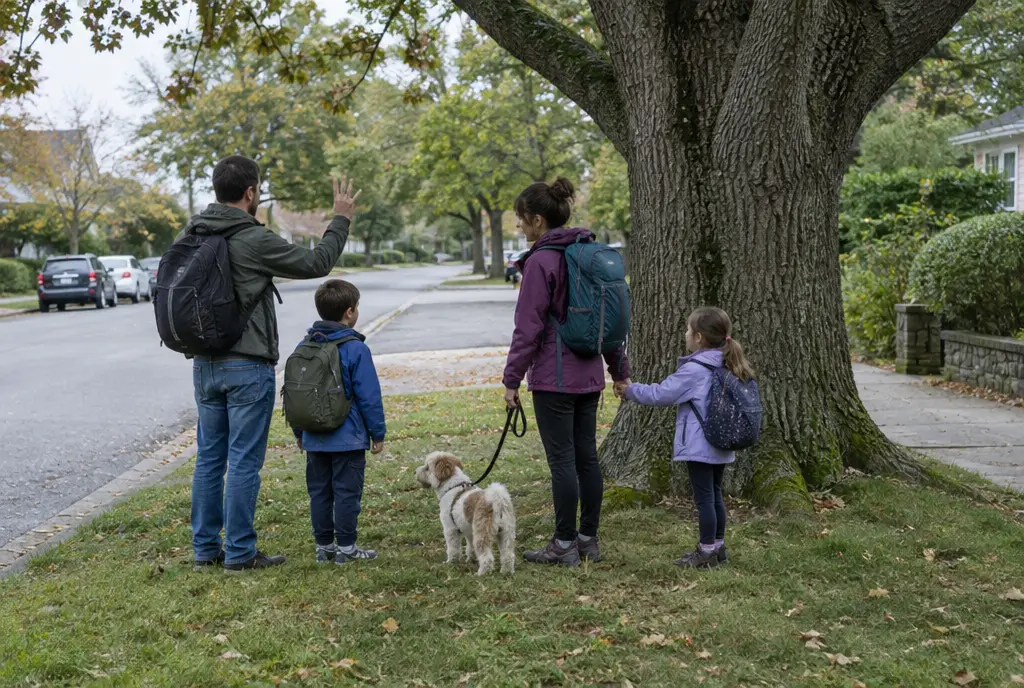
The close spot should be easy to see from a distance, like a playground on your street or a big tree at the end of the block. Keep it within easy walking distance for the youngest and oldest people in your house.
The far spot is for when hazards block the first one. Pick a place likely to stay open in a crisis, like a supermarket parking lot or a church courtyard, within driving range for every adult.
Here’s the part that’s easy to skip. Walk everyone to both spots once, kids included. A meeting place nobody has stood at is just a name on a list.
A meeting spot only helps if everyone knows the others are headed there. When the phones go quiet, you need a second way to say so.
Step 4: set up a backup way to talk
Pick one out-of-area contact, a relative or friend who lives outside your region. Every family member checks in with that person. They track who’s safe and pass the news along.
Text first, call second. When local phone lines are jammed, a text or a long-distance call can be easier to get through.
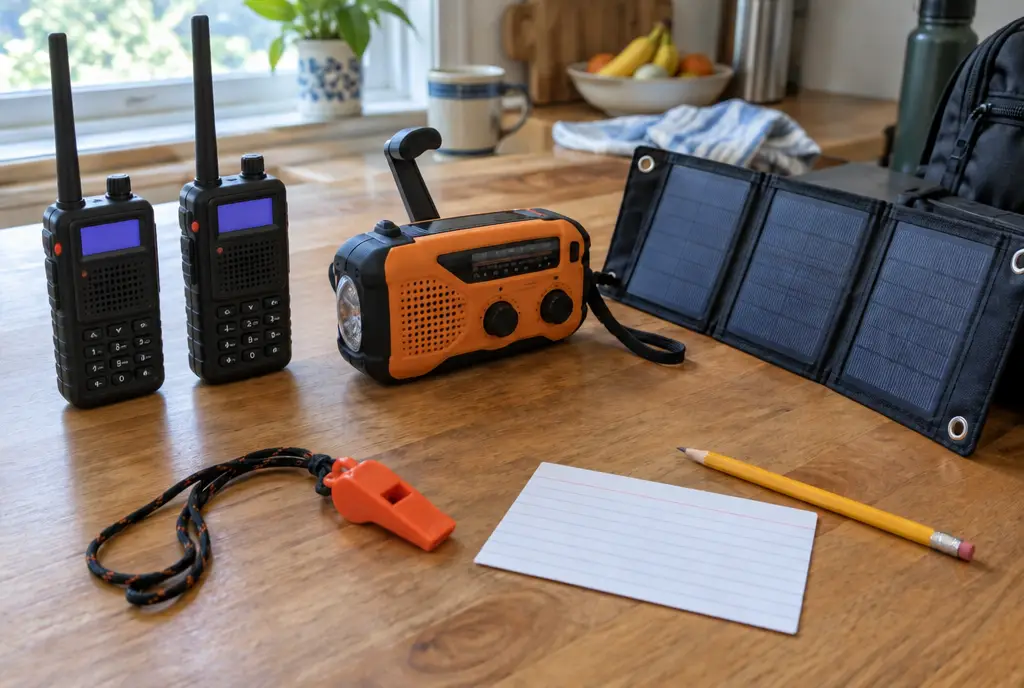
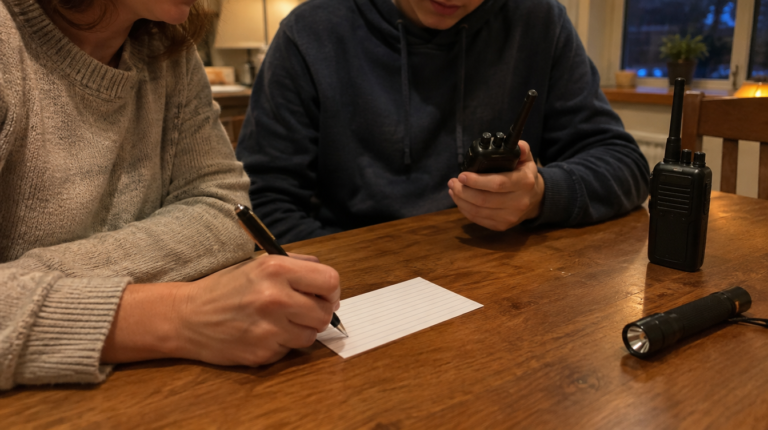
Keep two-way radios with spare batteries in your kit so you can talk when phones fail. The whistles from step 1 cover the moments when you can hear each other but can’t see each other.
Pack a solar-powered charger too, so radios and phones regain power in a long outage. Its small panel charges slowly, so fill it from the wall before you store it. (paid link)
For a family, look for radios sold in pairs that run on the GMRS band, which allows more power than the license-free kind sold in toy aisles. This 2-pack fits that. One limit: you need a GMRS license to talk on it. It costs $35, needs no exam, and covers your immediate family for 10 years, according to this radio maker’s licensing guide.
As an Amazon Associate, Survival Life earns from qualifying purchases.

- [Ideal GMRS HT] FCC ID: 2AN62-UV5G. A GMRS license is required. UV-5G is the GMRS version of the classic UV model. It...
- [Longer Talking Range] UV-5G is repeater capable and has the 8 repeater pairs programmed in from Channel 23-30. GMRS power...
Last update on 2026-10-24 / Affiliate links / Images from Amazon Product Advertising API
That covers finding each other. The last piece is what you carry out the door.
Step 5: pack kits for the hazards you face
A stocked 72-hour kit keeps your family going for the first 3 days. Pack sealed water pouches, energy bars and ready-to-eat meals. Add a first-aid kit with bandages, antiseptic wipes and everyone’s daily medications.
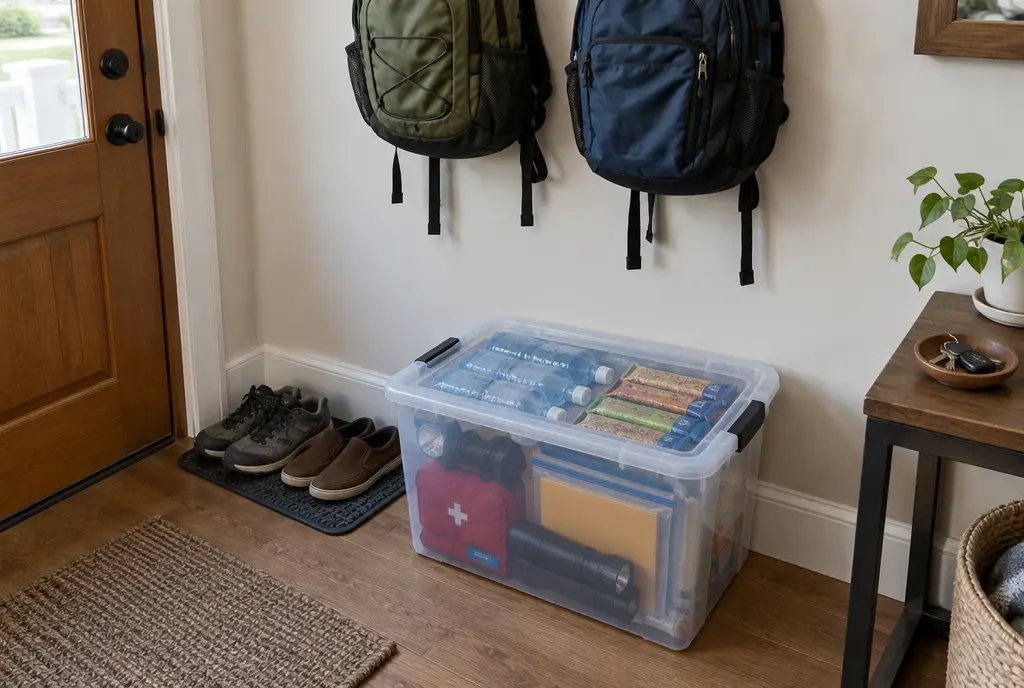
Then match the gear to your hazards. Pack N95 masks and goggles for wildfire ash. In a flood zone, keep IDs, insurance papers and deeds in a portable, waterproof container like these waterproof document pouches. (paid links)
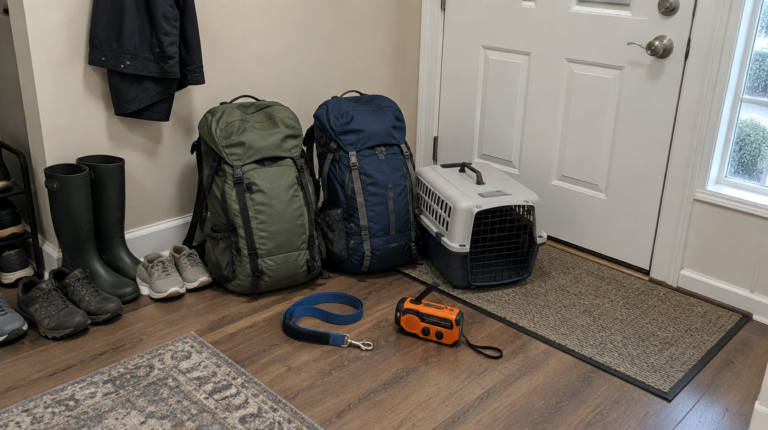
Got pets? Keep their kit and leashes near an exit, with 7 to 10 days of food and a 2-week supply of any medication.
Put every kit in a waterproof bin by your main door so anyone can grab it. And keep a second kit in each car. Our car emergency kit checklist covers what goes in the trunk, and our hurricane go-bag guide shows how to keep a bag light enough to carry.
Common mistakes that break an evacuation plan
- Planning on paper only. If nobody has walked the route or stood at the meeting spot, the plan is a guess.
- One meeting spot. The hazard that sends you out can block the spot on your block. You need a far one too.
- Everyone calls everyone. 4 people calling 4 numbers jams the lines. Everyone texts 1 out-of-area contact instead.
- The kit lives in the basement. If it takes 5 minutes to dig out, it stays behind. Keep it by the door.
- No trigger. Without one, you spend the best hour to leave arguing about whether to leave.
Frequently asked questions
Give everyone a job, agree on when you leave, pick 2 meeting spots and 1 out-of-area contact, then practice. A plan nobody has practiced is still a guess.
Use the trigger you wrote down for that hazard. For floods and storm surge, that means leaving when leaving is advised for your zone. For anything else, follow the instruction for your area the moment it comes.
Twice a year. Each drill, walk the route, stand at both meeting spots and open every kit to swap out anything expired.
Text your out-of-area contact, and keep trying when any signal appears. Texts can get through when calls can’t. Two-way radios cover talk inside the family once you’re close.
Give them a real job and walk the routes together. A kid who carries the radio and knows the meeting tree by sight is a help, not a worry.
Do one thing today
Text one relative or friend who lives outside your area and ask them to be your family’s check-in contact. Then save their number in every phone in the house.
Quick poll: If leaving is advised but not ordered, what does your family do?
What would change your answer: kids, pets, work, or the traffic? Tell us in the comments.