Do It Yourself
Life or Death! How to Make a Water Filter for Survival

Water, food, shelter, and warmth – the four basic principles of survival. Today, we want to take a closer look at how to make a DIY water filter in the wild.
How to Make a DIY Water Filter in the Wild
Using Found Treasures vs. Natural Water Filters
Generally speaking, when we talk about how to make a DIY water filter in the wild, we’re looking at two distinct scenarios:
- Using a mix of items you find in nature and things you’ve brought with you (including “found treasures” like plastic bottles someone else has thrown away)
- Relying entirely on what you can find or make in nature
We’re going to take a look at both options today.
1. Using Found Treasures

Let’s imagine that you find yourself in a survival situation and you have a plastic bottle in your bag, or you’ve found one while scavenging for resources. If it’s a bottle you’ve found, make sure to clean it as best as you can by washing it with some water you’ve boiled and allowed to cool down.
Before you can go about turning your bottle into a water filter, there are a few other items you’ll need to gather:
- Large, medium, and small rocks
- Sand
- Charcoal
- Grass or cloth
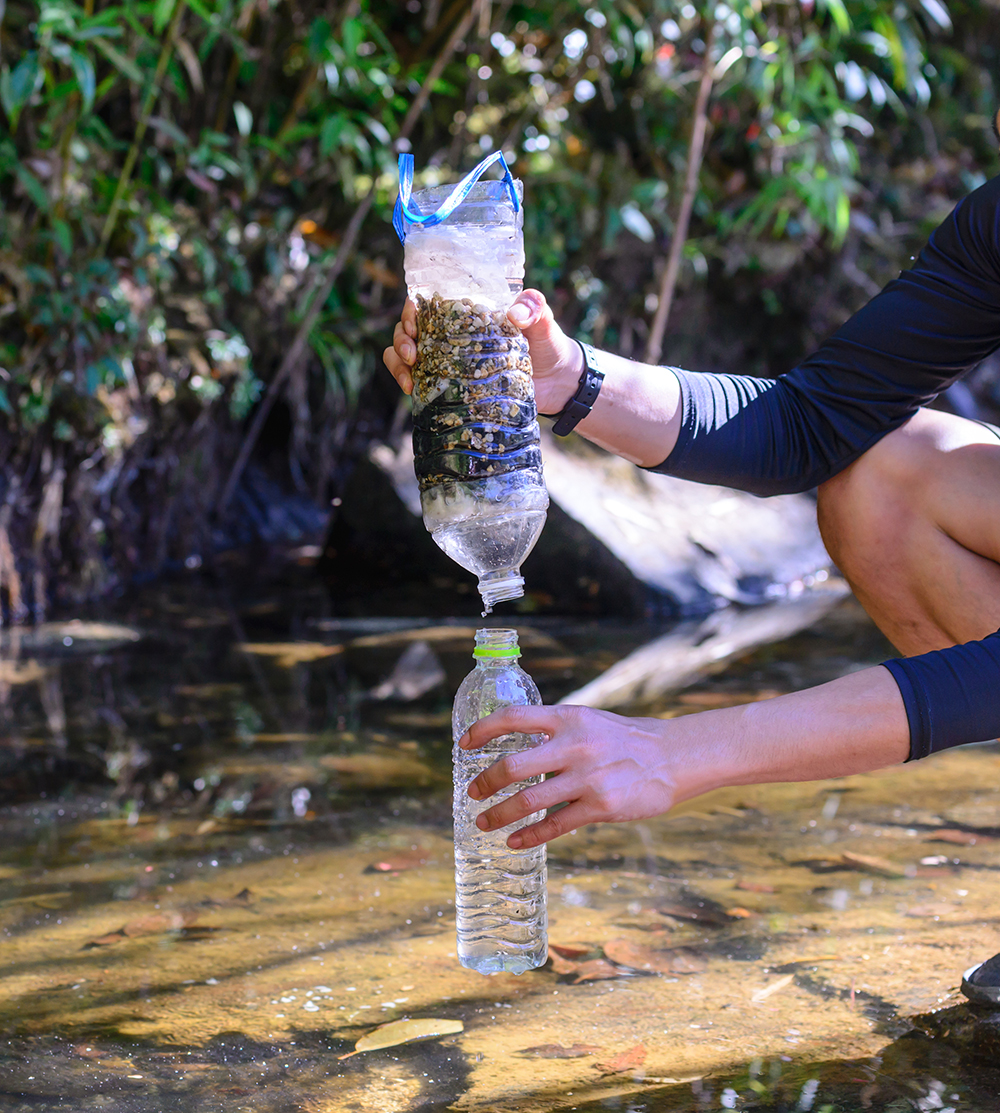
Once you have all of your supplies set up, you’re ready to build a wilderness water filter. We’ve previously published a DIY Survival Water Filter guide using this method, but feedback from readers shows that it isn’t clear how you’re supposed to follow the steps. Here’s a revised version:
- Using your knife, cut away the bottom of your bottle to create a wide aperture to use when adding the rest of the items and to pour water in through.
- Carefully poke holes into the bottle cap, again using your knife or even a corkscrew from your multi-tool, before reattaching it to the bottle.
- First, add a layer of the largest rocks that will fit into and fill the bottle’s neck without completely blocking it; these ensure that there’s airspace for the water to filter through.
- Add a layer of small rocks. This doesn’t have to be a particularly thick layer, just enough to prevent sand from falling through with your water.
- Carefully add a layer of sand as a “final” filtration.
- Crush your charcoal in a piece of cloth and add it (with the cloth) to your filter. Ideally, use charcoal from hardwood. This is essentially your chemical filter layer. If you don’t have a scrap of clean cloth (you can boil cloth in some water to clean it), you can use a layer of grass and slightly larger chunks of charcoal instead.
- Over your charcoal layer, add a second layer of sand to act as a fine filter to trap small particles before your water passes through the charcoal “chemical” filter.
- Top it off with another layer of small rocks to act as a mechanical filter. Place medium to large rocks right at the top, for both airflow and so that larger particles are trapped earlier in the process; this will help prevent your filter from getting dirty too quickly.
Your filter is now ready to use! It’s a good idea to punch some holes into the top of your filter so that you can use cordage to suspend it from a shelter beam or tree branch when not in use. This way, the filter layers won’t tip out.
You can also use the bottom of the bottle (which you cut off in Step 1) as a “cap” to prevent dirt from falling into your wilderness filter when not in use.
To use your filter, simply use another container to carefully add water. The filter should be held or suspended over another container so that the filtered water can be collected and used.
2. All Natural
What if you don’t have a bottle, can’t find one, or need all the bottles and containers you already have and can’t spare one?
Don’t worry, it’s perfectly possible to make the same filter using only items you can find in nature.
- Cut a wide strip of bark – Birch bark tends to work best but use whatever is the most pliable. It’s best to do this when stripping bark off of logs in preparation for building a log cabin so that you don’t unnecessarily damage or possibly kill a living tree
- Fold the bark into a cone shape, leaving a small opening at the point. If it helps, use your pinky as a guide to making sure this opening isn’t too big or too small.
- Poke small holes into the bark where it overlaps, all the way up the length. These holes should be only just big enough to accommodate the cordage you plan on using
- Using the holes and your cordage, stitch the cone securely so that it holds its shape. Start at the narrow end and work your way up, leaving a decent length of cordage at the top (where the cone is widest) so that you can use it to create a support for suspending your finished filter
- Add your filter materials as per steps 3 through 8 in the previous section
That’s it! You can use another piece of bark as a “lid” to prevent dirt from getting into your filter. If you have enough cordage to spare (check out our guide on how to Make Your Own Cordage), you could even stitch it to the top of your filter in a way that allows the stitching to act as a hinge.
Double Up With an Egyptian Well
Egyptian Wells are generally touted as a last-ditch attempt at filtering water in the wilderness. However, we think it’s a good way to double up on water filtration.
Instead of gathering water directly from a muddy stream and pouring it into your DIY filter, collect it from your Egyptian Well!
That way, the water is already relatively clean and there are fewer particles your DIY filter will have to deal with – which means it’ll last a lot longer.
Take a look at this short video from Black Scout Survival showing how to make a rudimentary Egyptian Well. Don’t be afraid to build a little bigger than the one shown in the video, especially as Egyptian Wells takes a long time to offer relatively clean water.
While you’re at it, don’t forget to read our article about Moringa oleifera seeds and how they can help purify dirty water!
Have you made your own DIY water filter? Tell us how you did it in the comments section!

Up Next:
- How To Make A DIY Pocket Water Filter [Video]
- 100-Year-Old Trick For Filtering Rainwater
- Water Purification System: The Solar Water Disinfection (SODIS)
- Camp Like A Genius | 25 Additions For Your Camping Gear
- Paracord Projects: Complete Guide for Crafting Enthusiasts
- Survival Knife: Ultimate Guide to Choosing the Right Tool
Follow us on Facebook, Instagram, Twitter, and Pinterest!
Disclaimer: All content on this site is for informational purposes only. Please read our full disclaimer here.
-

 Do It Yourself7 months ago
Paracord Projects | 36 Cool Paracord Ideas For Your Paracord Survival Projects
-

 Do It Yourself10 months ago
How To Make Paracord Survival Bracelets | DIY Survival Prepping
-

 Do It Yourself9 months ago
21 Home Remedies For Toothache Pain Relief
-

 Do It Yourself10 months ago
Survival DIY: How To Melt Aluminum Cans For Casting
-

 Exports8 months ago
Are Switchblades Legal? Knife Laws By State


