

We have roughly 12 hours of natural light from the sun and the rest of the time we simply flip a switch and out pours a flood of artificial light. But what happens when the switch doesn’t work anymore?
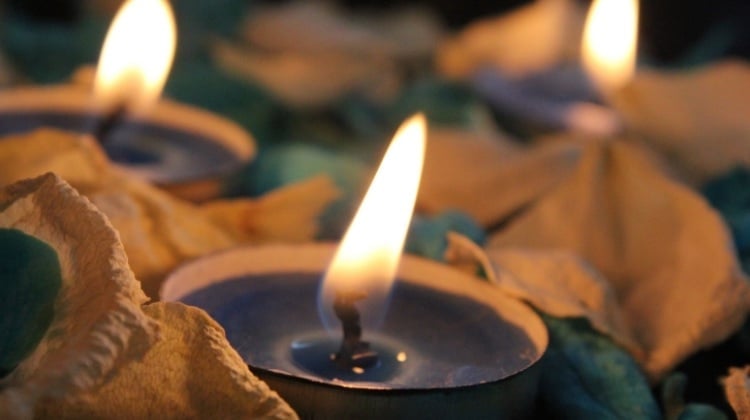
Since the advent of electric lights, candles have become more of a decorative item than a tool. But anyone that has ever been caught in a blackout knows the real value of a candle.
You can purchase many “survival candles” that last 12-120 hours, but did you know that you can create a candle that will last for up to 45 days using something that you probably already have in your kitchen?
All you need is:
a 48oz tub of Crisco or smaller. The large tub will get you the 45 life span and anything smaller will burn significantly less
a spoon an old candlestick or something else that can be used as a wick
There are a few options when it comes to creating a Noah candle. One of the first things you need to decide is if you want a candle that will burn brighter or one that will last longer.
For a longer lasting candle you will use only one wick and for a brighter candle you will use anywhere from 2-4 wicks depending on the size of the container.
Regardless of how many wicks you decide to use or the size of the Crisco tub that you choose, the directions are the same.
Take your spoon and remove a small portion of the Crisco directly in the center (for a single wick candle) if you are using an old candlestick. Then simply press the candlestick down into the shortening until it touches the bottom. Use the shortening that was removed previously to fill in any divots.
Smooth the top of the Crisco down until it is completely flat, then trim the excess candle and wick until you only have about 1/4” of wick sticking out above the top of the shortening.
Light and enjoy.
If you are using a standalone wick, you may need to dig down to the bottom of the can in order to get the base of the wick to lie flat against the bottom of the tub. Then simply melt the shortening and use it to fill in the hole that was left.
As a caution: the container of the Crisco is made of a paper material and as such may catch on fire if you place the wick too close to the outer edge of the tub.


