Do It Yourself
Making Beef Jerky At Home

Food is one of the pillars of survival. Read on and learn the art of making beef jerky. It’s a great way to preserve all that meat you’ve hunted in the wild.
Making Beef Jerky: How to Preserve Meat for Survival
What is a Jerky?
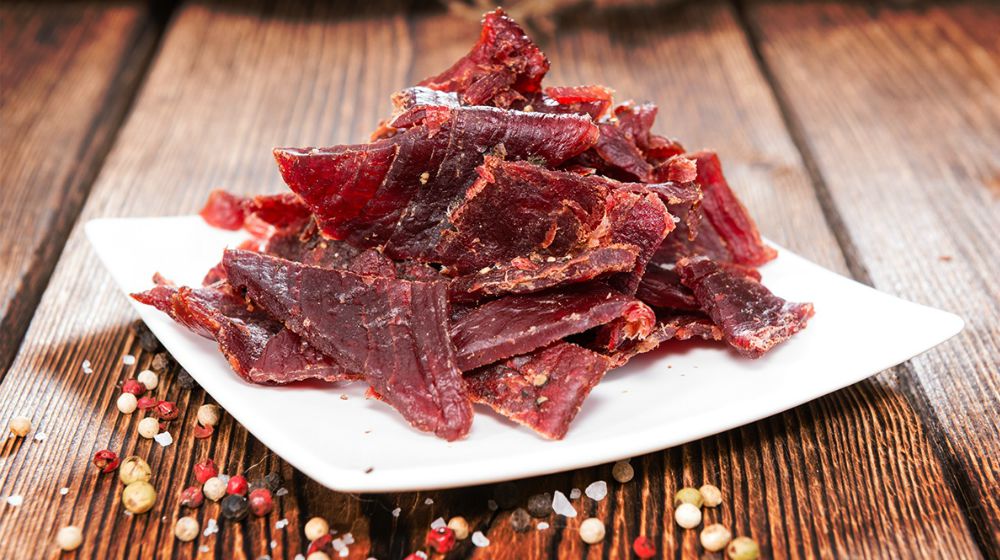
Jerky is simply meat that has had all of the moisture drawn out of it. No matter how you make jerky, understand that you are drying the meat, not cooking it. If you dry the meat properly and keep it in a cool, dry place, it will stay good for months. This is perfect for a survival scenario, in which you need a preserved protein source that is easy to pack. Jerky can be made out of virtually any animal you might catch and kill. There are dozens of ways to season and flavor your jerky, so you can make a product perfect for your taste. In this article, I will cover how to make jerky in your home or in a survival scenario.
Preparation

To prepare your meat for drying, there are a few steps to take. The first is to trim down the meat. This means you must remove as much fat as possible. Then cut it into thin strips. If preparing in your home, a meat slicer is awesome for this. Otherwise, a knife will work fine. Your slices should be less than ¼ inch thick or they will not dry properly. This takes some practice and care, so take your time. From there you should pat the meat dry and add salt and spices to help with the drying process. The spices you choose are up to you, but all spices help with drying. You can also use marinades to add flavor if you like.
Drying
The key to the drying process is to keep the meat at a temperature between 100F and 200F. The lower the temperature, the longer it takes. You cannot let the meat cook at higher temperatures. For drying in the oven, I like to set it to 175F and dry it for six to eight hours. I put all the meat on racks over baking sheets and check it every few hours to remove the pieces that are done. The pieces will not all finish drying at the same time.
For drying over a fire, you will need to build a tripod and let your fire burn down to coals. You can either build a rack within the tripod or you can use cordage to string the meat from the tripod. To test the temperature, you have to hold your palm over the fire at the height of the meat. If you can hold it there between five and ten seconds before pulling it away, you have the temperature about right.
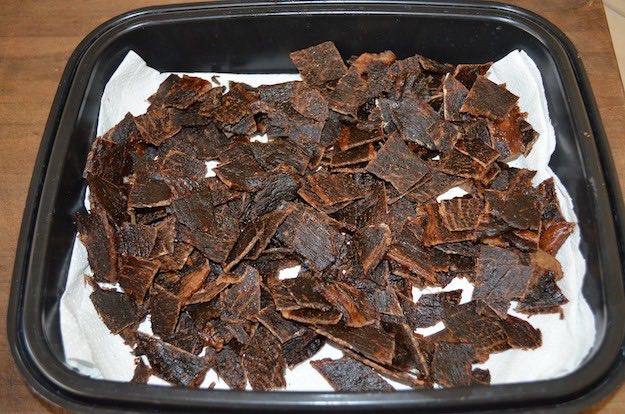
You will know that the meat is done when it is stiff but not brittle. You should be able to partially crack it when you bend it, but it should not fall apart. When you squeeze the jerky, it should be hard and no liquid should come out. Once your meat is finished, you have to find a way to store it in a cool dry place. If it gets any moisture or gets too hot, it will spoil in days. Otherwise, you are good for months.
Steve’s Kitchen shows us a video of how to make beef jerky without a dehydrator:
If you are lucky enough to take out a pig or deer in the wild, you will need a way to preserve the meat. Jerky is the obvious option. The process of making jerky in the wild is not easy. I suggest you take the time to try it out well before you ever must rely upon it. If you learn the process and are ready for it before procuring meat, you will have protein for weeks.
Have you ever tried making your own beef jerky before? If yes, we’d be glad if you share your simple beef jerky recipe in the comments section below!
Up Next: 9 Survival Foods That Will Outlast The Apocalypse
Follow us on Facebook, Instagram, Twitter, Tumblr, and Pinterest!
Editor’s Note: This post was originally published on August 8, 2017, and has been updated for quality and relevancy.
-

 Do It Yourself7 months ago
Paracord Projects | 36 Cool Paracord Ideas For Your Paracord Survival Projects
-

 Do It Yourself9 months ago
How To Make Paracord Survival Bracelets | DIY Survival Prepping
-

 Do It Yourself9 months ago
21 Home Remedies For Toothache Pain Relief
-

 Do It Yourself10 months ago
Survival DIY: How To Melt Aluminum Cans For Casting
-

 Exports8 months ago
Are Switchblades Legal? Knife Laws By State


Pingback: 10 Tips To Help You Trek To Basecamp More Efficiently
Pingback: 10 Tips To Help You Trek To Basecamp More Efficiently | Survival Life
Pingback: Cooking On The Move; Do You Consider Yourself A Campfire Chef?
Janis A Cramer
September 10, 2017 at 7:43 PM
Thank You from the US
Pingback: Making Beef Jerky In Your Home How To Preserve Meat For Survival - Survival Journal
Anonymous
November 17, 2017 at 12:25 PM
Awsome. Vid ty
Pingback: Cooking On The Move; Do You Consider Yourself A Campfire Chef? - Survive!
Pingback: Cooking On The Move; Do You Consider Yourself A Campfire Chef?
Pingback: Making Beef Jerky At Home
Joan Giddings
October 14, 2018 at 2:20 PM
Yum, that sounds so good. I’m going to try it!
Pingback: Delectable Survival Food You Should Try | Survival Life
Pingback: DIY Survival Food You’ll Actually Want To Eat - Survive!
Pingback: DIY Survival Food You’ll Actually Want To Eat - Survival Patch
Pingback: Don’t Miss These Posts On Survival Life… | Life Off The Grid
Anne Ominous
January 26, 2019 at 3:37 PM
University of Alaska Fairbanks, which is probably the premiere expert on preserving game meat, says that in preparation of your jerky, ESPECIALLY if it is wild game, you should first place it in the oven at about 200º F or over a low fire until the interior temperature just reaches 170º then take it out. That isn’t enough to “cook” it.
Then after drying, and before storing, put it back in the oven and again bring it up to 170º. Only for a moment… again, you aren’t trying to cook the meat.
When you do store it, you should store it in dry containers with plenty of air space. DO NOT vacuum pack your jerky! There is too much risk of botulism. Make sure that, whatever container you put it in, there is enough room for it to rattle around inside. You can also use those little food-grade packets of silica gel to make sure it stays dry in storage.
Pingback: Anthem Snacks And The Jerky Industry [PODCAST] | Best Go Bag