Self Sufficiency
Lockpicking | How To Pick A Lock And Tools You Can Use For Lockpicking

Lockpicking might seem complicated and tricky, but it isn’t rocket science. It’s a skill you can learn, and you’ll only need simple tools. Here, you’ll learn the basics of lockpicking so you won’t have to spend on locksmith services when you misplace your keys.
In this article:
- How to Pick a Pin Tumbler Lock
- How to Pick a Lock Using Raking Technique
- How to Pick a Lock Using Hairpins
RELATED: Unlikely Lock Picking Tools – Spray Paint and Soda Cans
Lockpicking: An Ultimate Guide and the Tools You’ll Need
How to Pick a Pin Tumbler Lock

Step 1: Inspect the Lock’s Condition
You can’t open broken locks. Additionally, the mechanism of rusted locks may be difficult to manipulate even if you’re skillful in lockpicking.
Restore the condition of dirty and frozen locks with a lubricant such as WD40. You may opt to use one with a spray applicator so you can direct its application into the keyhole.
Step 2: Gather Your Lockpicking Tools
Most states permit the ownership of lockpicking supplies. However, there may be rules where you need to prove that you have no intention of committing a crime.
There are several lockpicking tools you can use to open a lock:
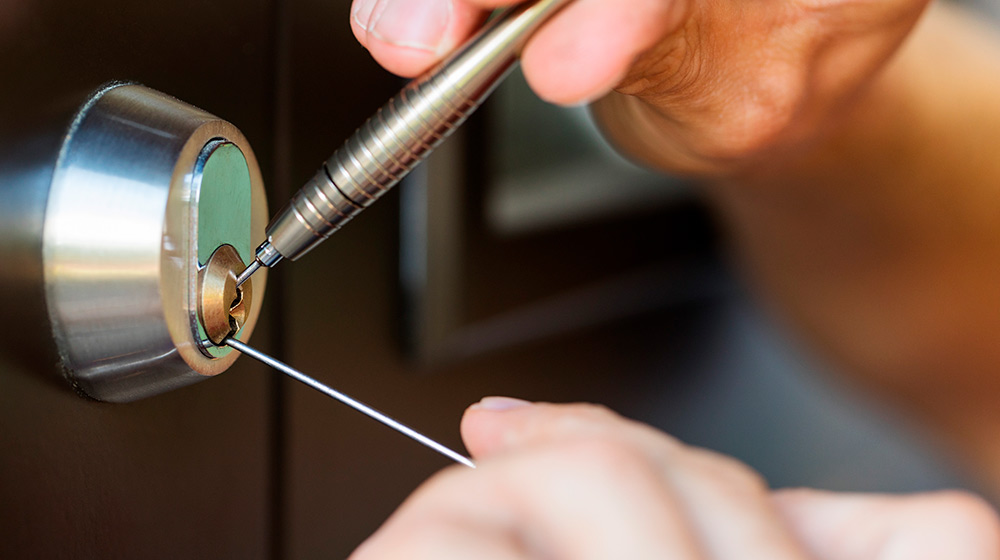
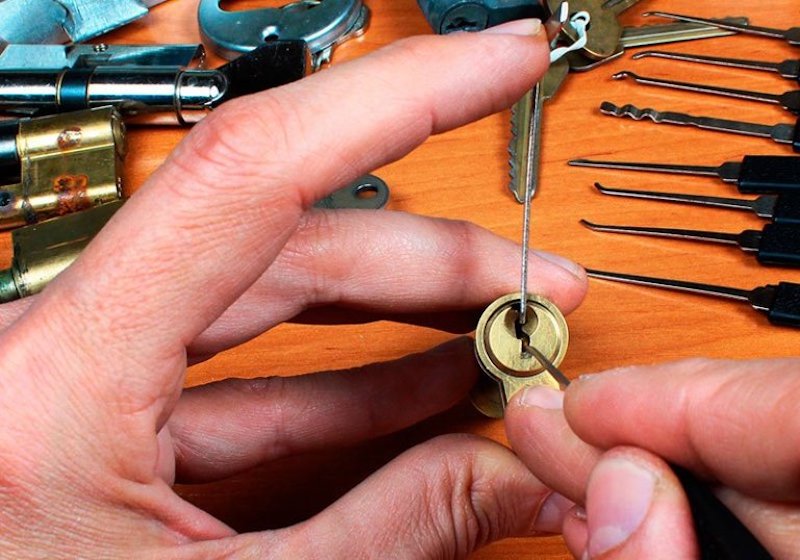
- Tension wrench: Also known as a torque wrench, this tool will help you apply the perfect amount of tension when lockpicking. It has different styles and sizes depending on the type of lock. The basic kind is a thin and small L-shaped metal that can pick most locks.
- Hook: This tool has a handle, and its other end diminishes into a pointy, thin, and curvy metal. Insert this in a keyhole, and use it to operate the internal parts of a lock.
- Lockpicking rake: Unlike hooks, rakes have ridges and humps that control the pins in a lock. This is ideal when you want to scrape across multiple pins and maneuver them at once.
- Half diamond: You can use this tool like a rake. Its tip is triangle-shaped so you can move pins.
Step 3: Visualize the Lock Mechanism
You can’t see what’s inside a lock, so it’s important to have a mental image of its parts. Locks vary when it comes to the position and number of their pins. Door locks usually have 5-8, while padlocks typically have 3-4 pins.
Step 4: Find Out How the Key Turns
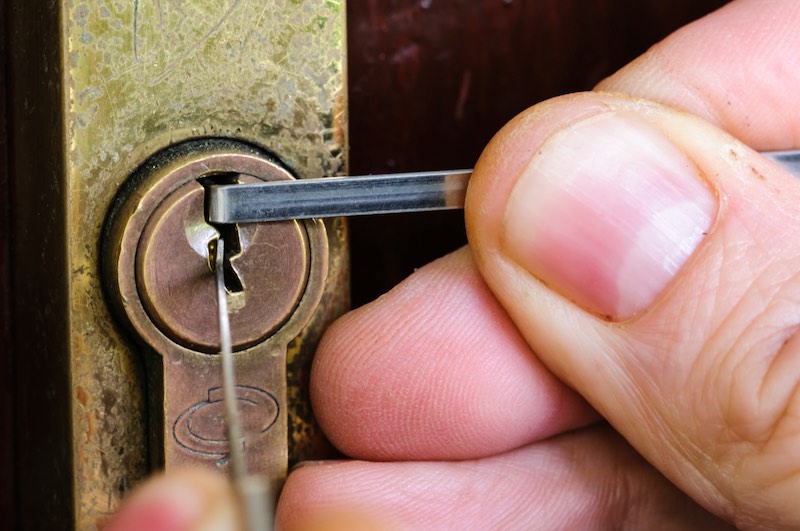
Place your tension wrench into either the top or bottom of the keyhole. Rotate your tool moderately to put in tension to the lock’s plug.
You’ll then feel that the plug will turn. This is how your key turns.
Step 5: Go Into the Lock’s Pins
Detect the pins as you push your hook into the keyhole. Slightly increase the pressure on your hook until you notice that the springs give way. This will also help you check their resistance.
If you observe that some pins are stiff, put more pressure onto them later on. However, keep in mind that a lock’s mechanism is delicate. Don’t apply too much force to avoid lock breaking.
Remember the position of the pins, then pull out your hook.
Step 6: Apply Soft Pressure to the Keyhole
Go around the lock mechanism with light pressure, and sense how the plug moves. Let go of your pressure on your wrench, and redo this procedure every now and then. You should be able to feel both the plug’s tightness and the pins’ arrangement inside the lock.
Step 7: Spot the Binding Pin
With your tension wrench, put in light pressure again to the lock’s plug. Then, slip your hook into the keyhole. Touch the lock’s pins with your hook by applying tension onto it and releasing the tension on your wrench.
Carry on with this action until you can point out the pin that resists the most. This is your first binding pin. Once you identify this, keep a stable pressure on your wrench, then lift the pin gradually.
Step 8: Set the Pins
Now that your first pin is set in place, you must be able to slightly turn the plug with your wrench. Look for the next pin that resists more than the others, then raise and set it. Repeat this process until all the remaining pins are already set.
Step 9: Open Your Lock
Once all the pins are set, put more force on your wrench to turn and disentangle your lock.
How to Pick a Lock Using Raking Technique
No products found.Step 1: Check Your Lock
With your wrench and hook, feel the plug, pins, and spring, as well as their rigidity.
Step 2: Rake the Lock’s Pins
Put in light and constant force to the plug with your wrench. Then, place your lockpicking rake into the keyhole. Draw your rake upwards, and apply pressure only on its tip.
Your tool must be long enough that it can touch all the pins while raking.
RELATED: How Locksmithing Can Help Increase Your Chances Of Survival
Step 3: Listen for Pins Dropping
After raking, soften the pressure on your wrench. You should hear the pins falling. This means that you’re applying the right amount of pressure to your tension wrench.
Step 4: Continue Drawing Your Rake
Keep raking back and forth especially on pins that are not yet set in. Maintain the consistency of pressure on your wrench, then scrub the pins using the tip of your rake. If the pins are still not falling, let go of the force on your wrench, then start again.
Repeat this process until your lock disengages. You may strengthen the pressure on your wrench and rake.
How to Pick a Lock Using Hairpins

Step 1: Make Your Lockpick
Pull your pin apart until it forms a V-shape. Then, remove its rubber knobs. Insert one side of your pin into the keyhole until its tip curls up.
The other end will be your handle, so bend it halfway until you form a loop. This first hairpin will serve as your hook.
Step 2: Make a Right Angle With Your Second Hairpin
Unlike the first pin, don’t pull this one apart. Instead, form its whole body into a right angle. You may use either your hands or a pair of pliers.
This will act as your lever or tension wrench. It’ll also replace your actual key as it turns your lock once the pins are set in.
Step 3: Put Your Wrench Into the Keyhole
Place your lever or second hairpin into the bottom of the keyway. Then, turn it in a direction you’d normally open your lock using a key. However, don’t put too much pressure while doing it.
If you’re unsure about how the key turns, keep in mind that the incorrect direction will produce clicking sounds.
Step 4: Place Your Hook Into the Keyhole
Slide your first hairpin into the keyway with the curled side pointing upwards. Then, push the pins up and down using the tip of your hook. Try to count the pins that move freely and how many are stuck.
If the lock’s pins are not moving, decrease the tension on your wrench, then try again.
Step 5: Discover the Pin That Doesn’t Want to Move
While maintaining a steady pressure on your wrench, note the most difficult pin to shift. Push it up until you hear a clicking sound.
Step 6: Continue With the Rest of the Pins
Keep pushing the pins up until your lever can open the lock. If you’re having a hard time, adjust the pressure on your wrench. Remember to apply little force at the beginning until you learn the perfect amount of tension.
You’ll encounter different types of locks when lockpicking. Watch this video by Go Experimental to learn how to figure out a combination lock without using any tools:
Now, you don’t have to kick the door or destroy your locks when you forget or lose your keys. Gather your tools, and you’ll never know, you might just save a life with your lockpicking skills.
What other lockpicking tools do you have in mind that you can use when you misplace your keys? Share your thoughts with us in the comments section below!
Up Next:
- This Simple Trick Could Be the KEY to Survival
- 4 Ways To Duplicate Keys By Hand
- A SHTF Plan For Your Pets | Bugging Out With Man’s Best Friend
Calling all preppers, craftsmen, bushmasters, outdoorsmen, and all-around skilled people, Survival Life needs YOU! Click here if you want to write for us.
Don’t forget to stay connected with us on Facebook, Twitter, Pinterest, and Instagram!
Last update on 2024-04-26 / Affiliate links / Images from Amazon Product Advertising API
-

 Do It Yourself7 months ago
Paracord Projects | 36 Cool Paracord Ideas For Your Paracord Survival Projects
-

 Do It Yourself9 months ago
How To Make Paracord Survival Bracelets | DIY Survival Prepping
-

 Do It Yourself9 months ago
21 Home Remedies For Toothache Pain Relief
-

 Do It Yourself10 months ago
Survival DIY: How To Melt Aluminum Cans For Casting
-

 Exports8 months ago
Are Switchblades Legal? Knife Laws By State

