Fishing, Hunting, & Trapping
How To Make Ice Fishing Jigs | Step-by-Step Tutorial
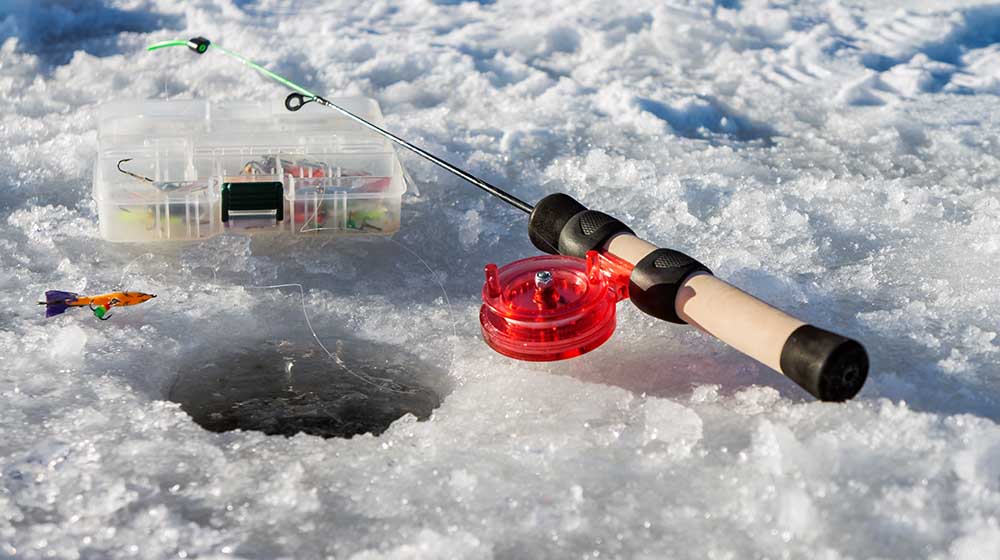
Ditch your store-bought ice fishing jigs and do-it-yourself instead! Learning how to make your own lures can be useful, especially if you run out of stock. Check out this easy tutorial.
How To Make Your Own Ice Fishing Lures
What You’ll Need:
- Safety goggles
- Thick gloves
- Breathing mask
- 1 lb, lead chunks or pieces
- Lead melting pot
- Fishing hooks
- Wire keepers
- Fishing jig mold
- Powder paint
- Deep tray
- Super glue
- UV resin
- Blow dryer
Step 1: Select a Hazard-Free Area
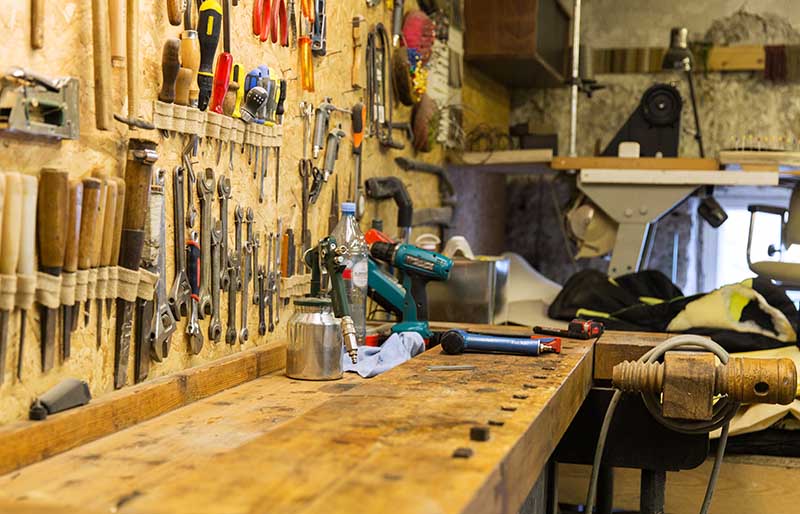
First things first, you need to choose a workspace free from any possible hazards. You will be using hot tools and lead, so make sure to find a spot that won’t be accessible to children and pregnant women.
The environment should also be free from flammable materials. Melting lead may cause some fumes, so pick a well-ventilated area.
Step 2: Wear Your Safety Gear
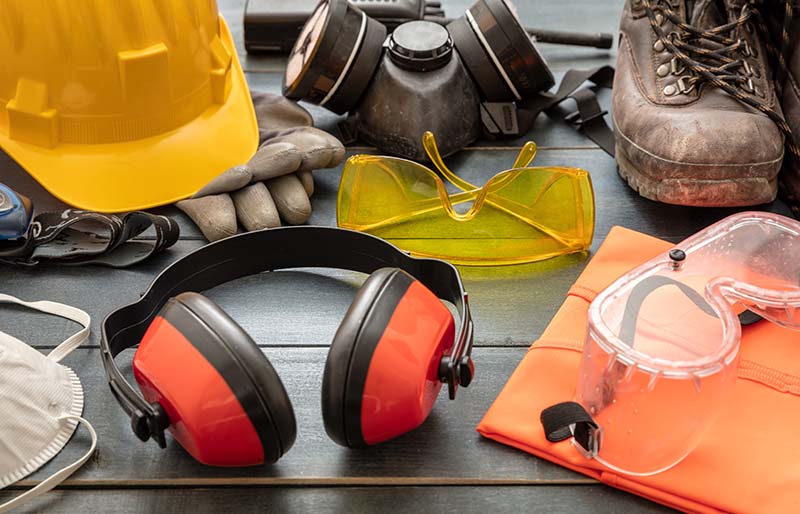
It doesn’t matter if you’ll be making small ice fishing jigs—you need to wear the proper safety gear to prevent any injuries or accidents while working with lead. You must be at least equipped with thick gloves, safety goggles, and a full face shield.
It’s also a good idea to take the precaution of wearing a protective suit. A breathing mask can be very handy, especially if you want to avoid the risk of inhaling any harmful fumes.
Step 3: Sort Your Hooks and Wire Keepers
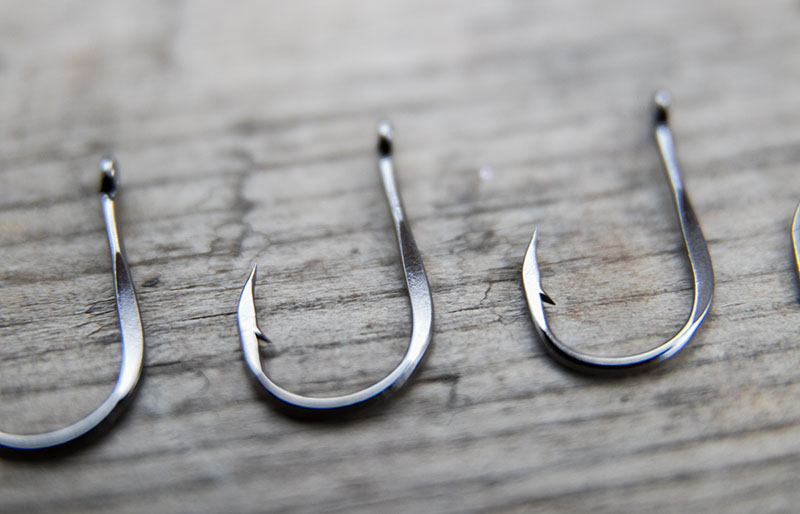
Now that you have a safe working space and the right gear, it’s time to prepare your tools and materials. Start by sorting the hooks and wire keepers according to size. Your jig mold should have several slots allotted for differently sized lures.
Do not proceed with the melting process unless you’ve done this step. Lead hardens almost instantly, so it may be tricky to pour the substance without placing the hooks beforehand.
Step 4: Use a Lead Melting Pot
There are different ways to melt lead, but using a lead melting pot would be one of the safest methods. It allows you to cast jigs without the risk of burning your hand from holding lead ladles.
To avoid any spills and messes, place a tray under the melting pot. This will help collect any leftover drops and can spare you from scratching your table when removing excess lead.
Step 5: Pour Molten Lead Into Your Jig Mold
Once you’re done melting the lead, grab your jig mold and pour the substance into each slot. It’s a quick and easy way to make lures, rather than relying on an old-fashioned lead dipper.
A standard melting pot has a lever you can press down to pour the molten lead, providing better precision when casting jigs.
Step 6: Let the Molds Cool
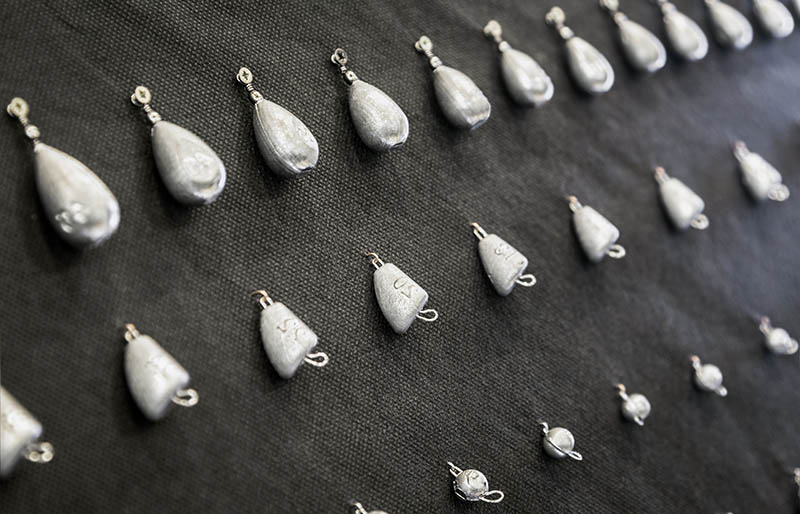
After pouring the lead into your jig mold, wait for at least three minutes before opening. As mentioned earlier, lead hardens quickly; give the jigs a little more time to cool down for extra measure.
When you open the mold, check each piece and see if the hooks are properly placed. Put away any lure with holes or wires sticking out.
RELATED: Fishing Basics: What Equipment To Start With
Step 7: Scrape Off Excess Lead
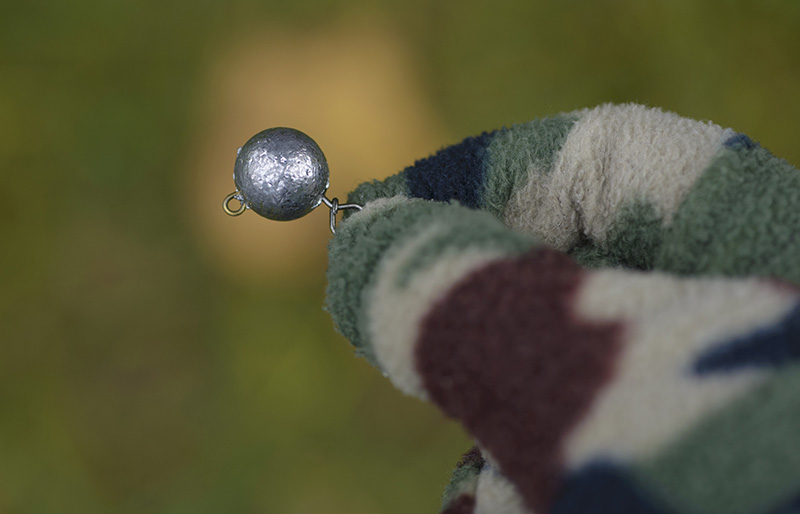
During the inspection of each jig, you might encounter pieces with extra layers of lead that do not follow the appropriate shape. You can remove these by scraping off the hardened excess using pliers.
When doing so, make sure to wear protective gloves. You can collect these shavings for later by adding them in the next pot of molten lead.
Step 8: Remove Any Lead Slag
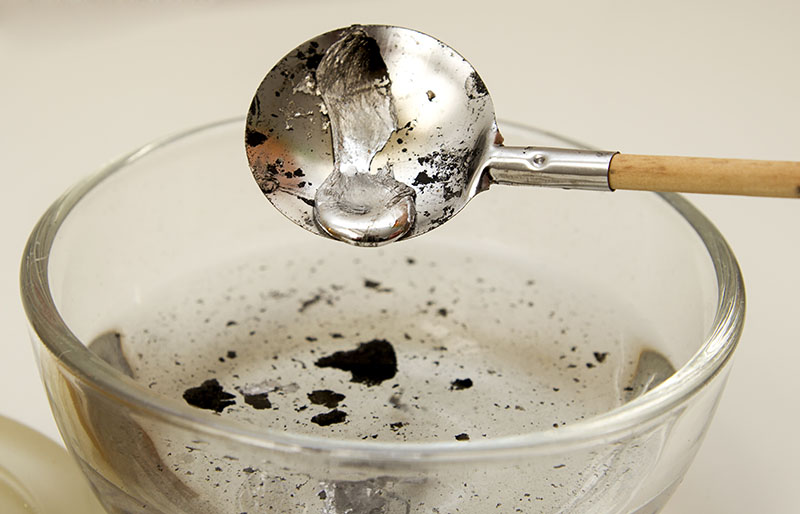
If you leave lead sitting around for quite some time, an accumulation of slag may be possible. Slag usually looks like tiny pieces of burnt charcoal. They are commonly found inside lead melting pots, so make sure to check your pots after using them.
You can use an old metal spoon to gather the slag and place them in a bowl of water before disposing them. Use a separate bag when throwing them away.
Step 9: Apply Powder Paint on the Jigs
Your ice fishing jigs have finally been formed and it’s up to your discretion if you want to decorate them. Most people prefer painting them to make the lures look more convincing.
If you decide to add more color to your lead pieces, powder paint does the job quite well. First, you need a hot tool or blow dryer to heat up the sides of your jig. Then, dip the jig onto the powder paint and set it aside.
You can include other colors to mimic the appearance of fish. Just repeat the process of heating up the sides before applying the paint.
Step 10: Allow the Painted Jigs to Cool Down
Grab a deep tray and place metal sticks across the top, where the jigs can be hung. This is an effective and mess-free way to let the jigs cool down, especially if you are using multiple colors.
Do not use any tools to speed up the cooling process. Unnecessary drips and color washouts may happen, so let them hang and settle naturally.
Step 11: Place the Jigs in the Oven and Bake
 Once the lures have settled, do not remove them from the tray just yet. In a preheated oven at 350-375 F, bake the jigs for at least 20 minutes. This allows the paint to seal and stick onto the lead. After the set time, let the jigs cool down again for a few minutes.
Step 12: Add Eyes on the Fish Jigs
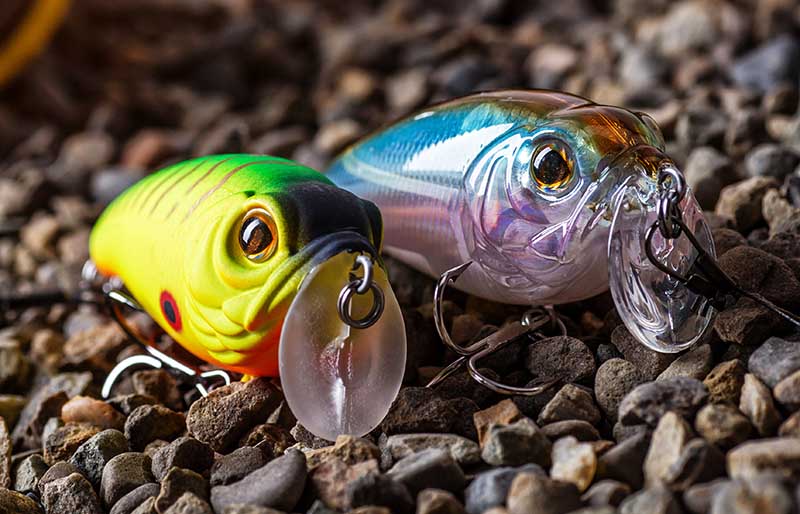
You can skip this step, but it’s recommended to add eyes on your ice fishing jigs to give them a more realistic look. You don’t need to use any fancy adhesive; super glue or epoxy can do the trick.
Apply a layer of UV resin to keep the eyes in place and use a corresponding lamp to solidify the resin.
Step 13: Test the Jigs
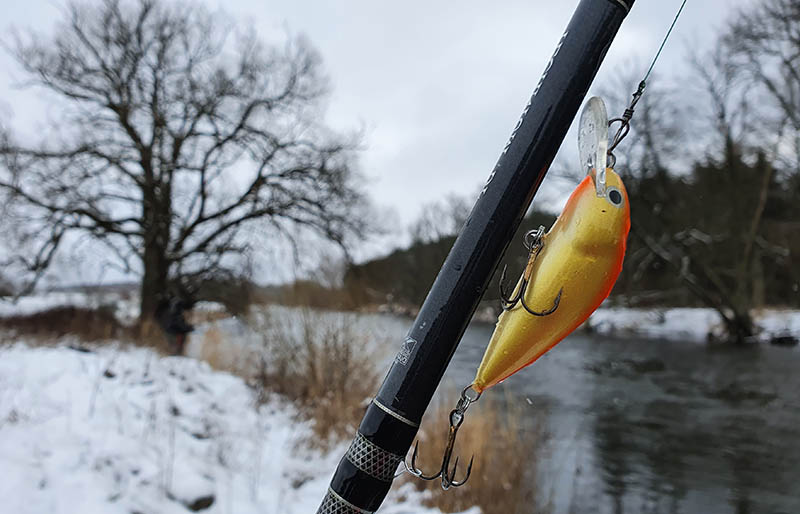 Your lures are finished and you just need to do one last step: testing them out. Try to soak a few jigs in the water and check if any paint comes off. You can also try piercing the hooks on a piece of frozen fish to make sure they work.
If your jigs pass these simple tests, then they’re good to go!
The idea of creating handmade ice fishing jigs might seem like a daunting task, but it’s actually easy to execute if you have the right tools and materials. You just need to follow the necessary safety precautions before beginning the process. Making your own lures is also really fun, so why don’t you give it a try?
Do you have any other tips on how to make ice fishing jigs? Please share with us in the comments section below.
Up Next:
- 13 Ice Fishing Gear for Beginners
- Best Ice Fishing Tent | Top 7 Ice Fishing Shelters Reviewed
- How To Build A Quinzee
Calling all preppers, craftsmen, bushmasters, outdoorsmen, and all-around skilled people, Survival Life needs YOU! Click here if you want to write for us.
Don’t forget to stay connected with us on Facebook, Twitter, Pinterest, and Instagram!
Last update on 2024-04-26 / Affiliate links / Images from Amazon Product Advertising API
-

 Do It Yourself7 months ago
Paracord Projects | 36 Cool Paracord Ideas For Your Paracord Survival Projects
-

 Do It Yourself9 months ago
How To Make Paracord Survival Bracelets | DIY Survival Prepping
-

 Do It Yourself9 months ago
21 Home Remedies For Toothache Pain Relief
-

 Do It Yourself10 months ago
Survival DIY: How To Melt Aluminum Cans For Casting
-

 Exports8 months ago
Are Switchblades Legal? Knife Laws By State

