Featured Articles
How to Make Yeast | 4 Easy Way to Make Yeast from Scratch
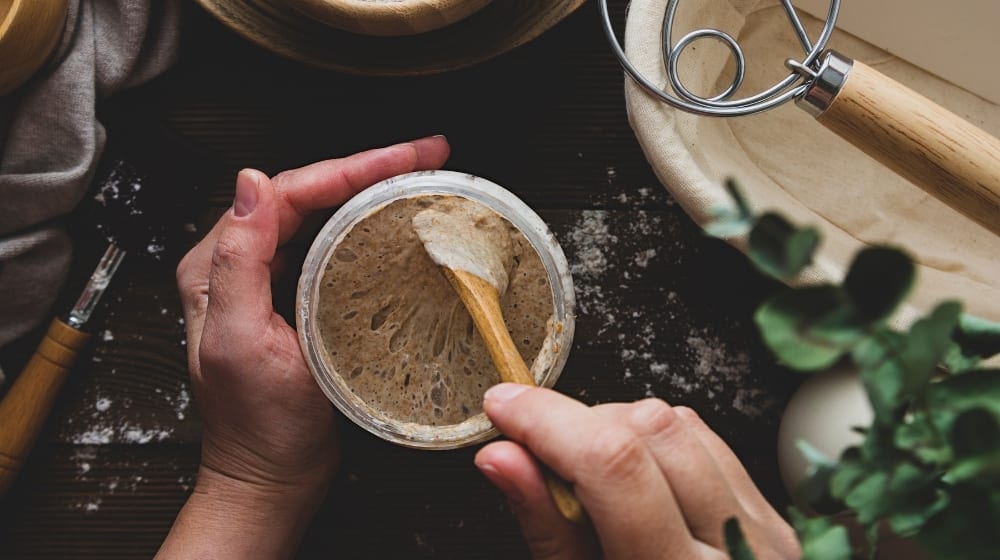
Learning how to make yeast for long-term prepping is an essential skill to have. The best thing for making yeast from scratch is the ingredients are often readily available in our pantries.
Find out how to make yeast in 4 easy ways.
RELATED: Best Foods for Prepping: How to Put Together Your Prepper’s Pantry
How to Make Yeast for Prepping 4 Ways like a Pro
Click here to jump to the instructographic.
1. How to Make Yeast Using Flour and Curd
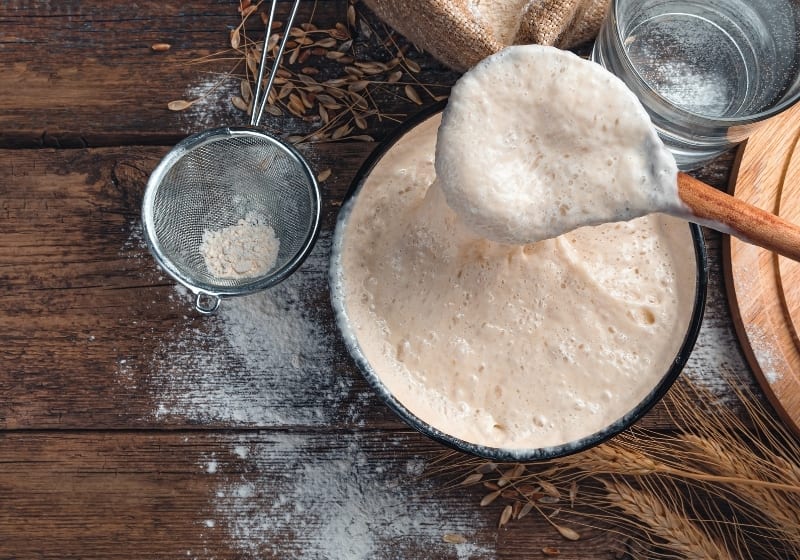
Ingredients
- ½ cup lukewarm water
- 1 Tbsp honey
- 1 Tbsp sugar
- 2 Tbsp flour
- 2 Tbsp curd
Items You’ll Need
- Medium-sized bowl
- Spoon
- Plastic wrap
Instructions
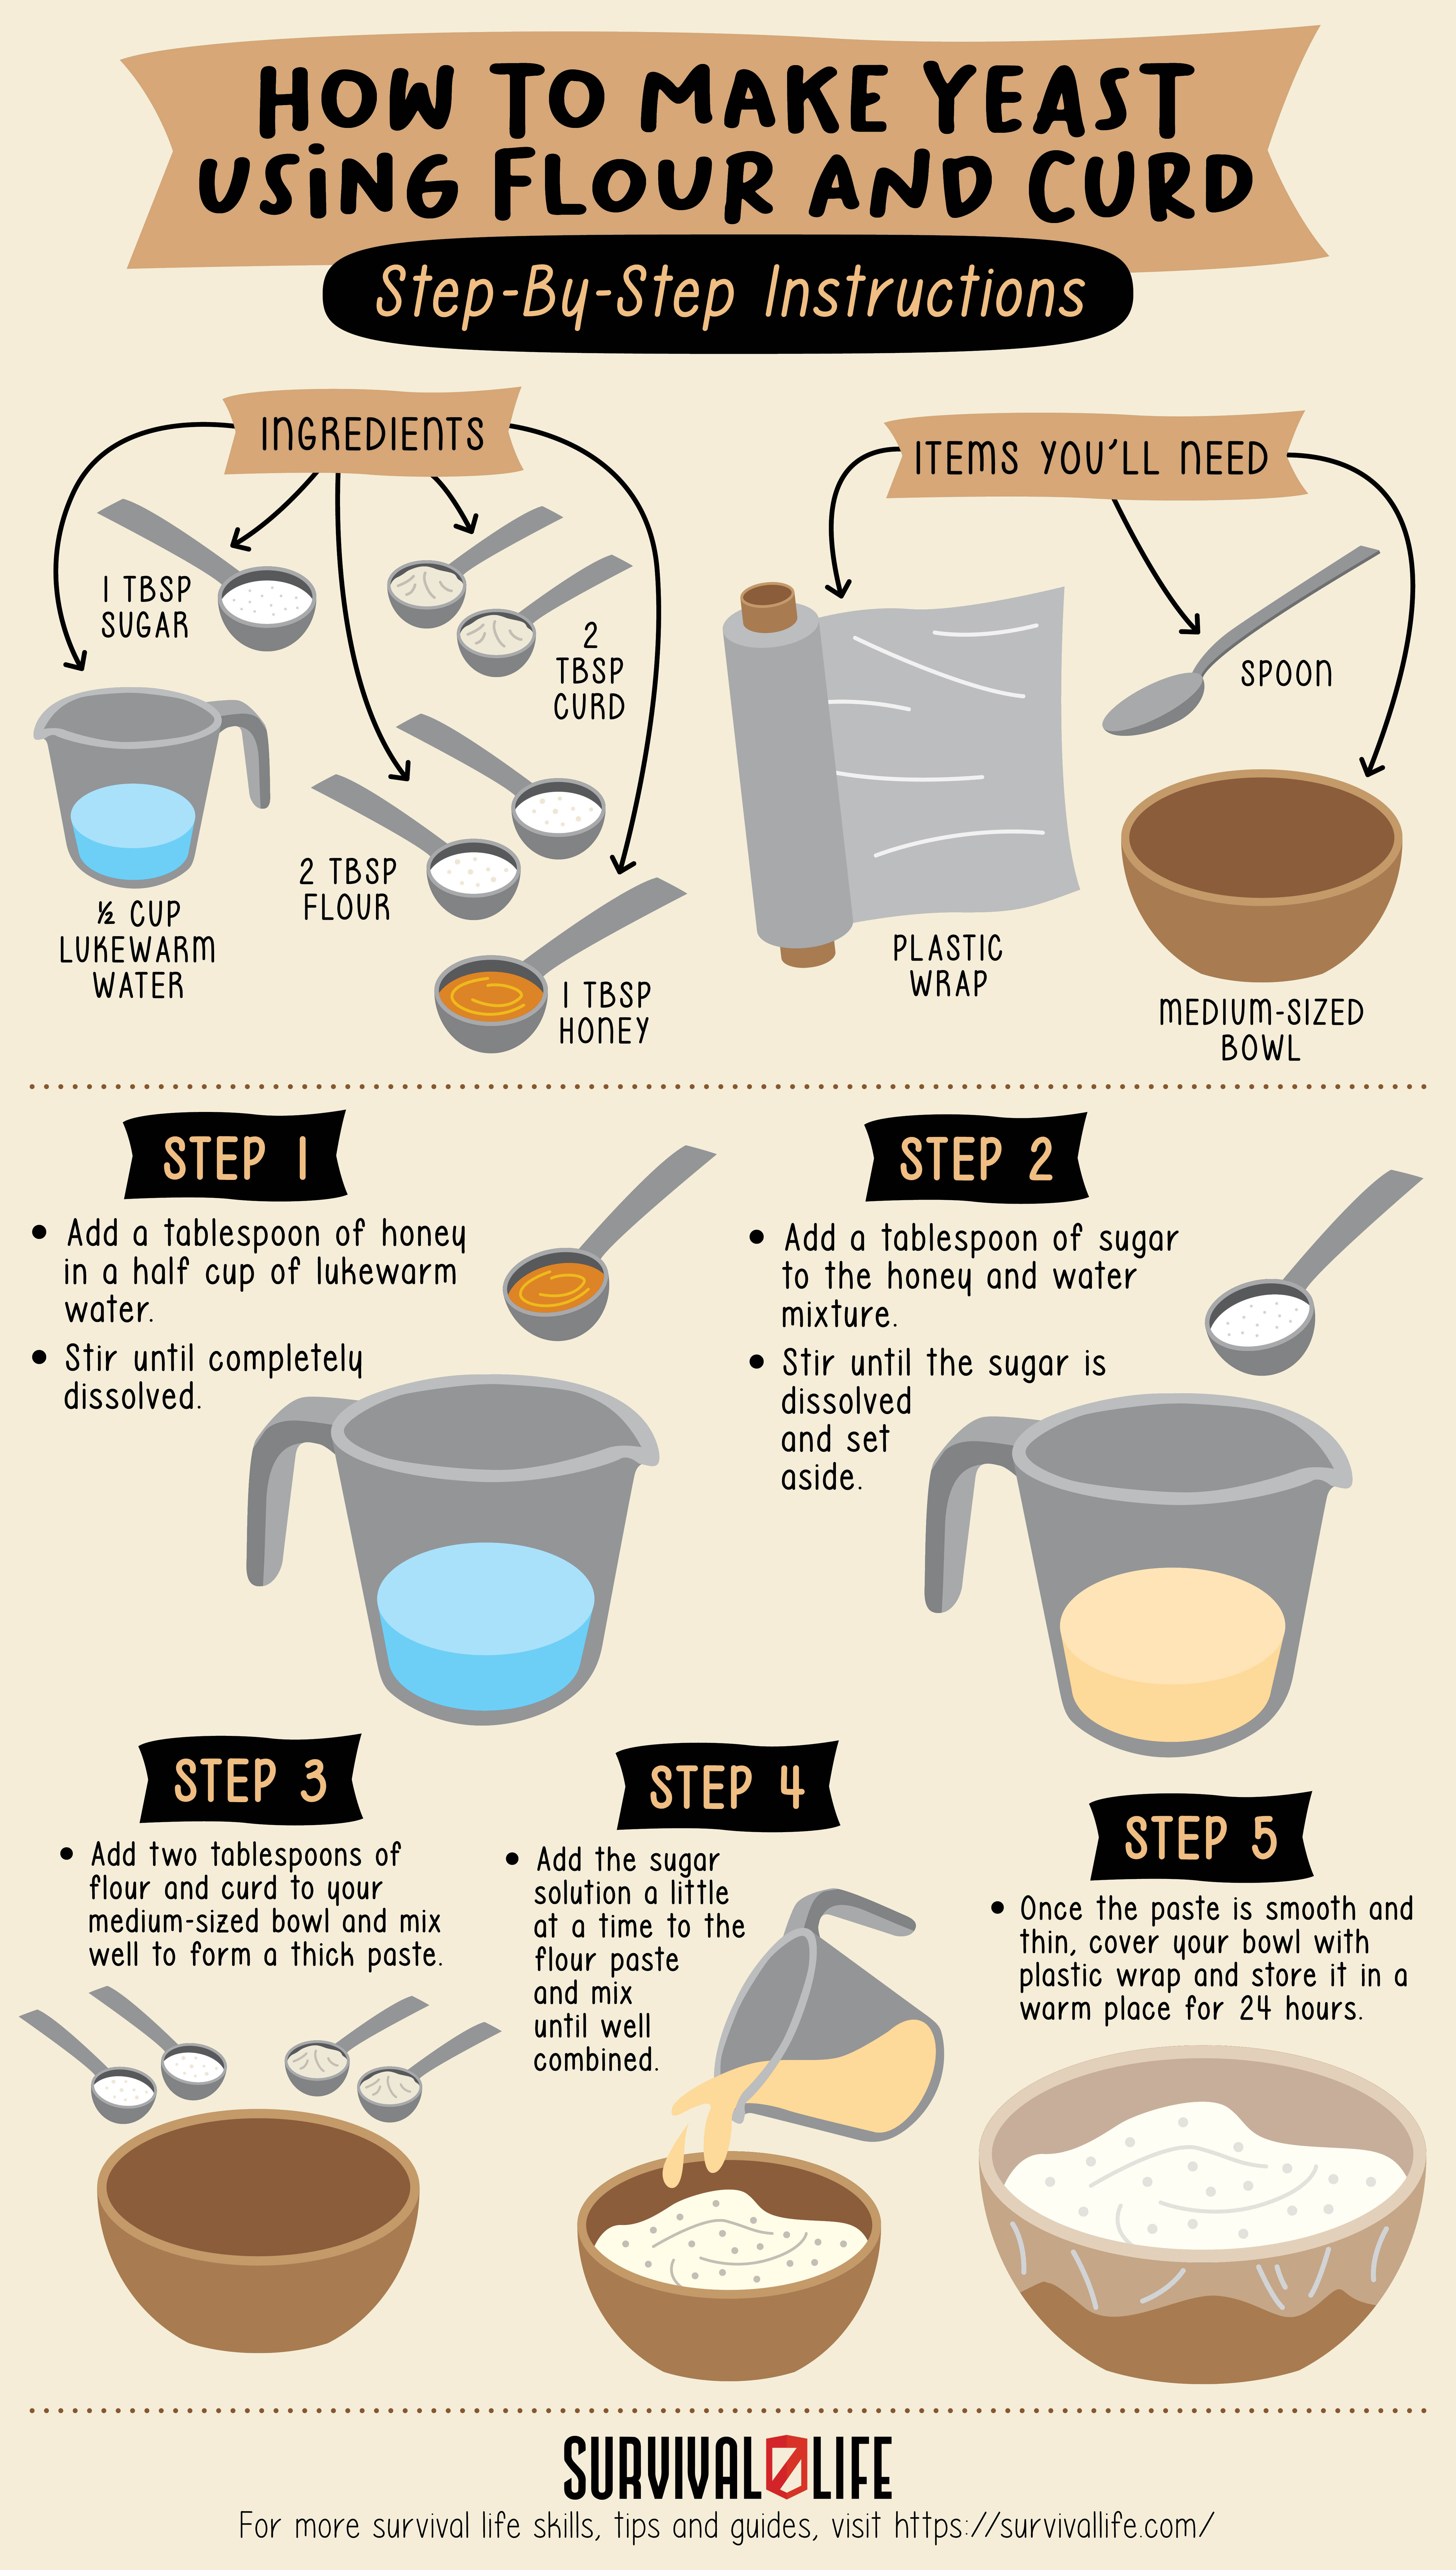
1. Add a tablespoon of honey and stir until completely dissolved in a half a cup of lukewarm water.
2. Next, add a tablespoon of sugar to the honey and water mixture and stir until the sugar is well dissolved and set aside.
3. Thirdly, add two tablespoons of flour and curd to your medium-sized bowl and mix well to form a thick paste. To mix the flour and curd easier, stir smoothly with a circular motion.
4. Next, add the sugar solution a little at a time to the flour paste and mix until well combined. Continue adding the sugar solution to the flour paste in batches until it combines with no flour lumps.
5. Once the paste is smooth and thin, cover your bowl with plastic wrap and store it in a warm place for 24 hours.
2. How to Make Yeast Using Flour and Water
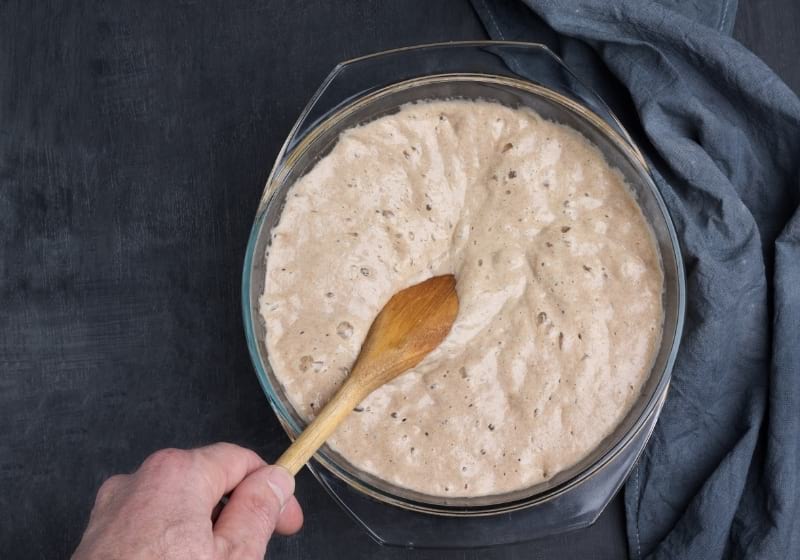
Ingredients
- ¼ cup whole wheat flour or white flour
- ¼ cup water
Items You’ll Need
- Small bowl
- Spoon
- Lid or towel
Instructions
1. Add equal parts of flour and water to your bowl and mix until well combined. The water helps activate enzyme amylase, breaking down the starch into sugars for bacteria and yeast to eat.
2. Next, loosely cover the flour and water mixture with a towel or lid and leave it on your kitchen counter. You can keep the mixture at room temperature but opting for an averagely warm spot will hasten the process of yeast colonizing the batter.
3. Lastly, add one to two tablespoons of water and flour to the mixture in the morning and evening. By doing this for three to five days, you will be feeding the yeast, which will cause it to start bubbling.
Note: The gas produced will have caused the yeast to double in size and be ready for use by the fifth day.
Tips:
- Test if your starter is fully ready by seeing if it floats in water
- If you don’t use all your yeast right away, feed it every day or once if you choose to refrigerate it
RELATED: 37 Survival Foods to Stock For Any Disaster
3. How to Make Yeast from Potatoes
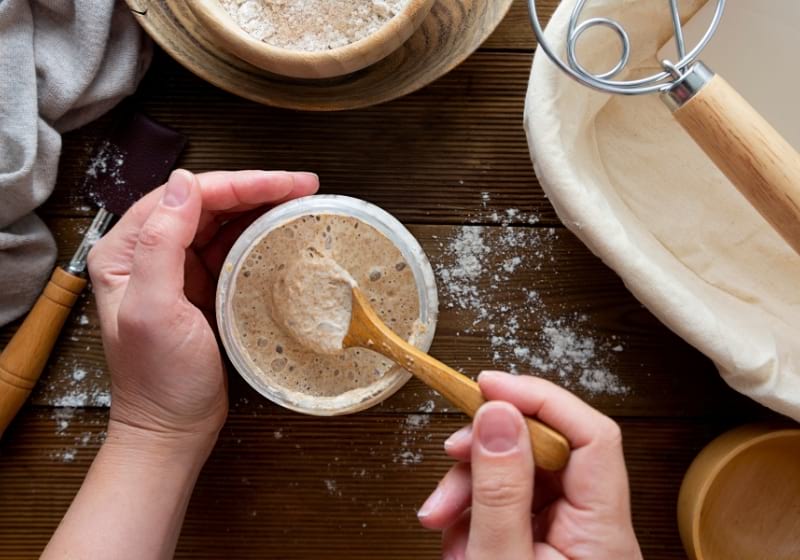
Ingredients
- 1 unpeeled medium-sized potato
- 4 cups warm water
- 1 teaspoon salt
- 1 teaspoon sugar
Items You’ll Need
- Masher
- 1-quart jar
- Lid
Instructions
1. First, wash the potato to remove dirt. Be careful not to scrub off the skin.
2. Next, cut it into small pieces and boil until perfectly cooked through.
3. Once cooked, drain the potato pieces and save the water
4. Here, add salt and sugar to the cooked potato pieces and mash. Using a masher will make your work easier, but you can also use a wooden spoon.
5. Once evenly mashed, set aside the potatoes to cool to room temperature. Stirring the mash will speed up the cooling process.
6. Now, add water to the mash such that the potato and water mixture equals a quart.
7. Cover with a lid and allow the mixture to ferment in a warm place for several days, and your yeast will be ready.
4. How to Make Yeast Using Fruit
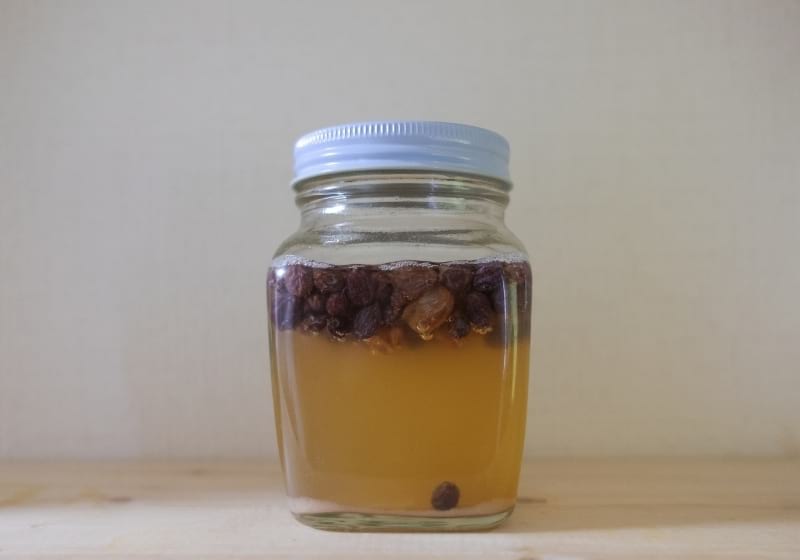
Ingredients
- Clean filtered water
- 3 to 4 Tbsp. Raisins
- Honey or sugar
Items You’ll Need
- Clean glass jar with lid
Instructions
1. Add three tablespoons of raisins to your sterilized dry glass jar and stir in a few tablespoons of sugar or honey to encourage fermentation.
2. Next, fill the jar ¾-full with water and lightly place the lid. Tightening the lid will prevent air from escaping.
3. Thirdly, place the glass jar in a spot where it will be at a constant room temperature. Any cold temperature will kill the yeast and stop the fermentation process.
4. Allow the mixture to sit for three to four days, stirring at least once a day.
5. You will know your yeast is ready when bubbles form on top of the mixture. The smell of wine-like fermentation and floating fruit are also good indicators that your yeast is ready for use.
6. Lastly, place the yeast in the refrigerator and use it as you would store-bought yeast.
Tips:
- Too much chlorine in water can kill your yeast
- Waxed or washed fruit may not be as effective as this method utilizes yeast traces found on fruit skins
Here’s an instructographic guide. Don’t forget to download, save, or share this handy instructographic for reference:
Watch this video by cuoredicioccolato on homemade yeast for wine, beer, and bread – how to make yeast from scratch:
That’s how easy it is to make yeast in your kitchen, fellow preppers. Keep in mind that making the yeast is only the first part of the process.
Regularly feeding your yeast with one cup of water and flour daily or once a week, as earlier mentioned, will ensure the yeast continues to grow. However, be sure to toss a cup of yeast after feeding on days you do not bake to maintain the ratios.
Have you made yeast before? What tips would you like to share with us? Let us know in the comment section below!
Up Next:
- How To Start Prepping On A Budget
- Prepping for Beginners: Here’s Where To Start
- Top 5 Best Folding Camping Cots Of 2021 | Portable Sleeping Camp Tent Bed
Calling all preppers, craftsmen, bushmasters, outdoorsmen, and all-around skilled people, Survival Life needs YOU! Click here if you want to write for us.
Don’t forget to stay connected with us on Facebook, Twitter, Pinterest, and Instagram!
-

 Do It Yourself7 months ago
Paracord Projects | 36 Cool Paracord Ideas For Your Paracord Survival Projects
-

 Do It Yourself9 months ago
How To Make Paracord Survival Bracelets | DIY Survival Prepping
-

 Do It Yourself9 months ago
21 Home Remedies For Toothache Pain Relief
-

 Do It Yourself10 months ago
Survival DIY: How To Melt Aluminum Cans For Casting
-

 Exports8 months ago
Are Switchblades Legal? Knife Laws By State


Esther Dee
March 18, 2023 at 4:59 AM
Thanks for the methods and information.
I am wondering what the approx expiration date of these are if not feeding them?
For the potatoes method, can it be stored in the fridge if not used immediately like the other methods?
At the end it says you can feed it either one cup flour & water daily or once a week, is that once a week when refrigerated or can you feed it only once a week at room temp? On the second method it is either missing some words or does it mean once only and never again? Would be good to get clarification
Cheers