Featured Articles
Paracord Rifle Sling | How to Make an Adjustable Paracord Rifle Sling

Carrying your gun when you’re hunting without a sling can tire you faster because of your firearm’s weight. Luckily, we have a step-by-step guide on how to make an adjustable paracord rifle sling for your convenience.
Now, you don’t have to worry about walking out in the woods and carrying your rifle at the same time. You just have to wrap it around your body and have it ready for when it’s time to use it.
RELATED: Paracord Projects | 36 Cool Paracord Ideas For Your Paracord Survival Projects
How to Make an Adjustable Paracord Rifle Sling
Click here to jump to the infographic
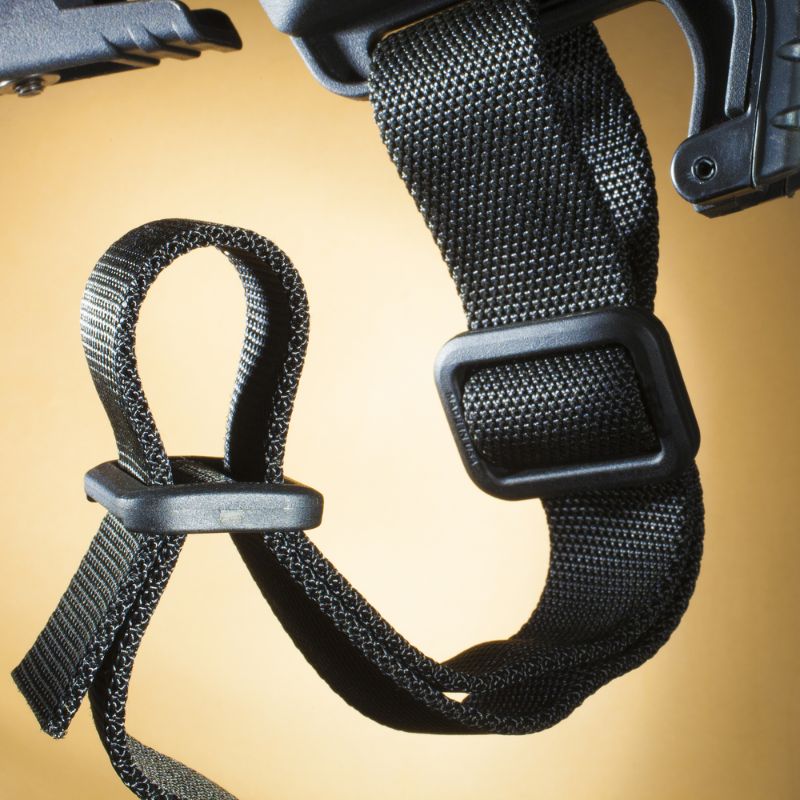
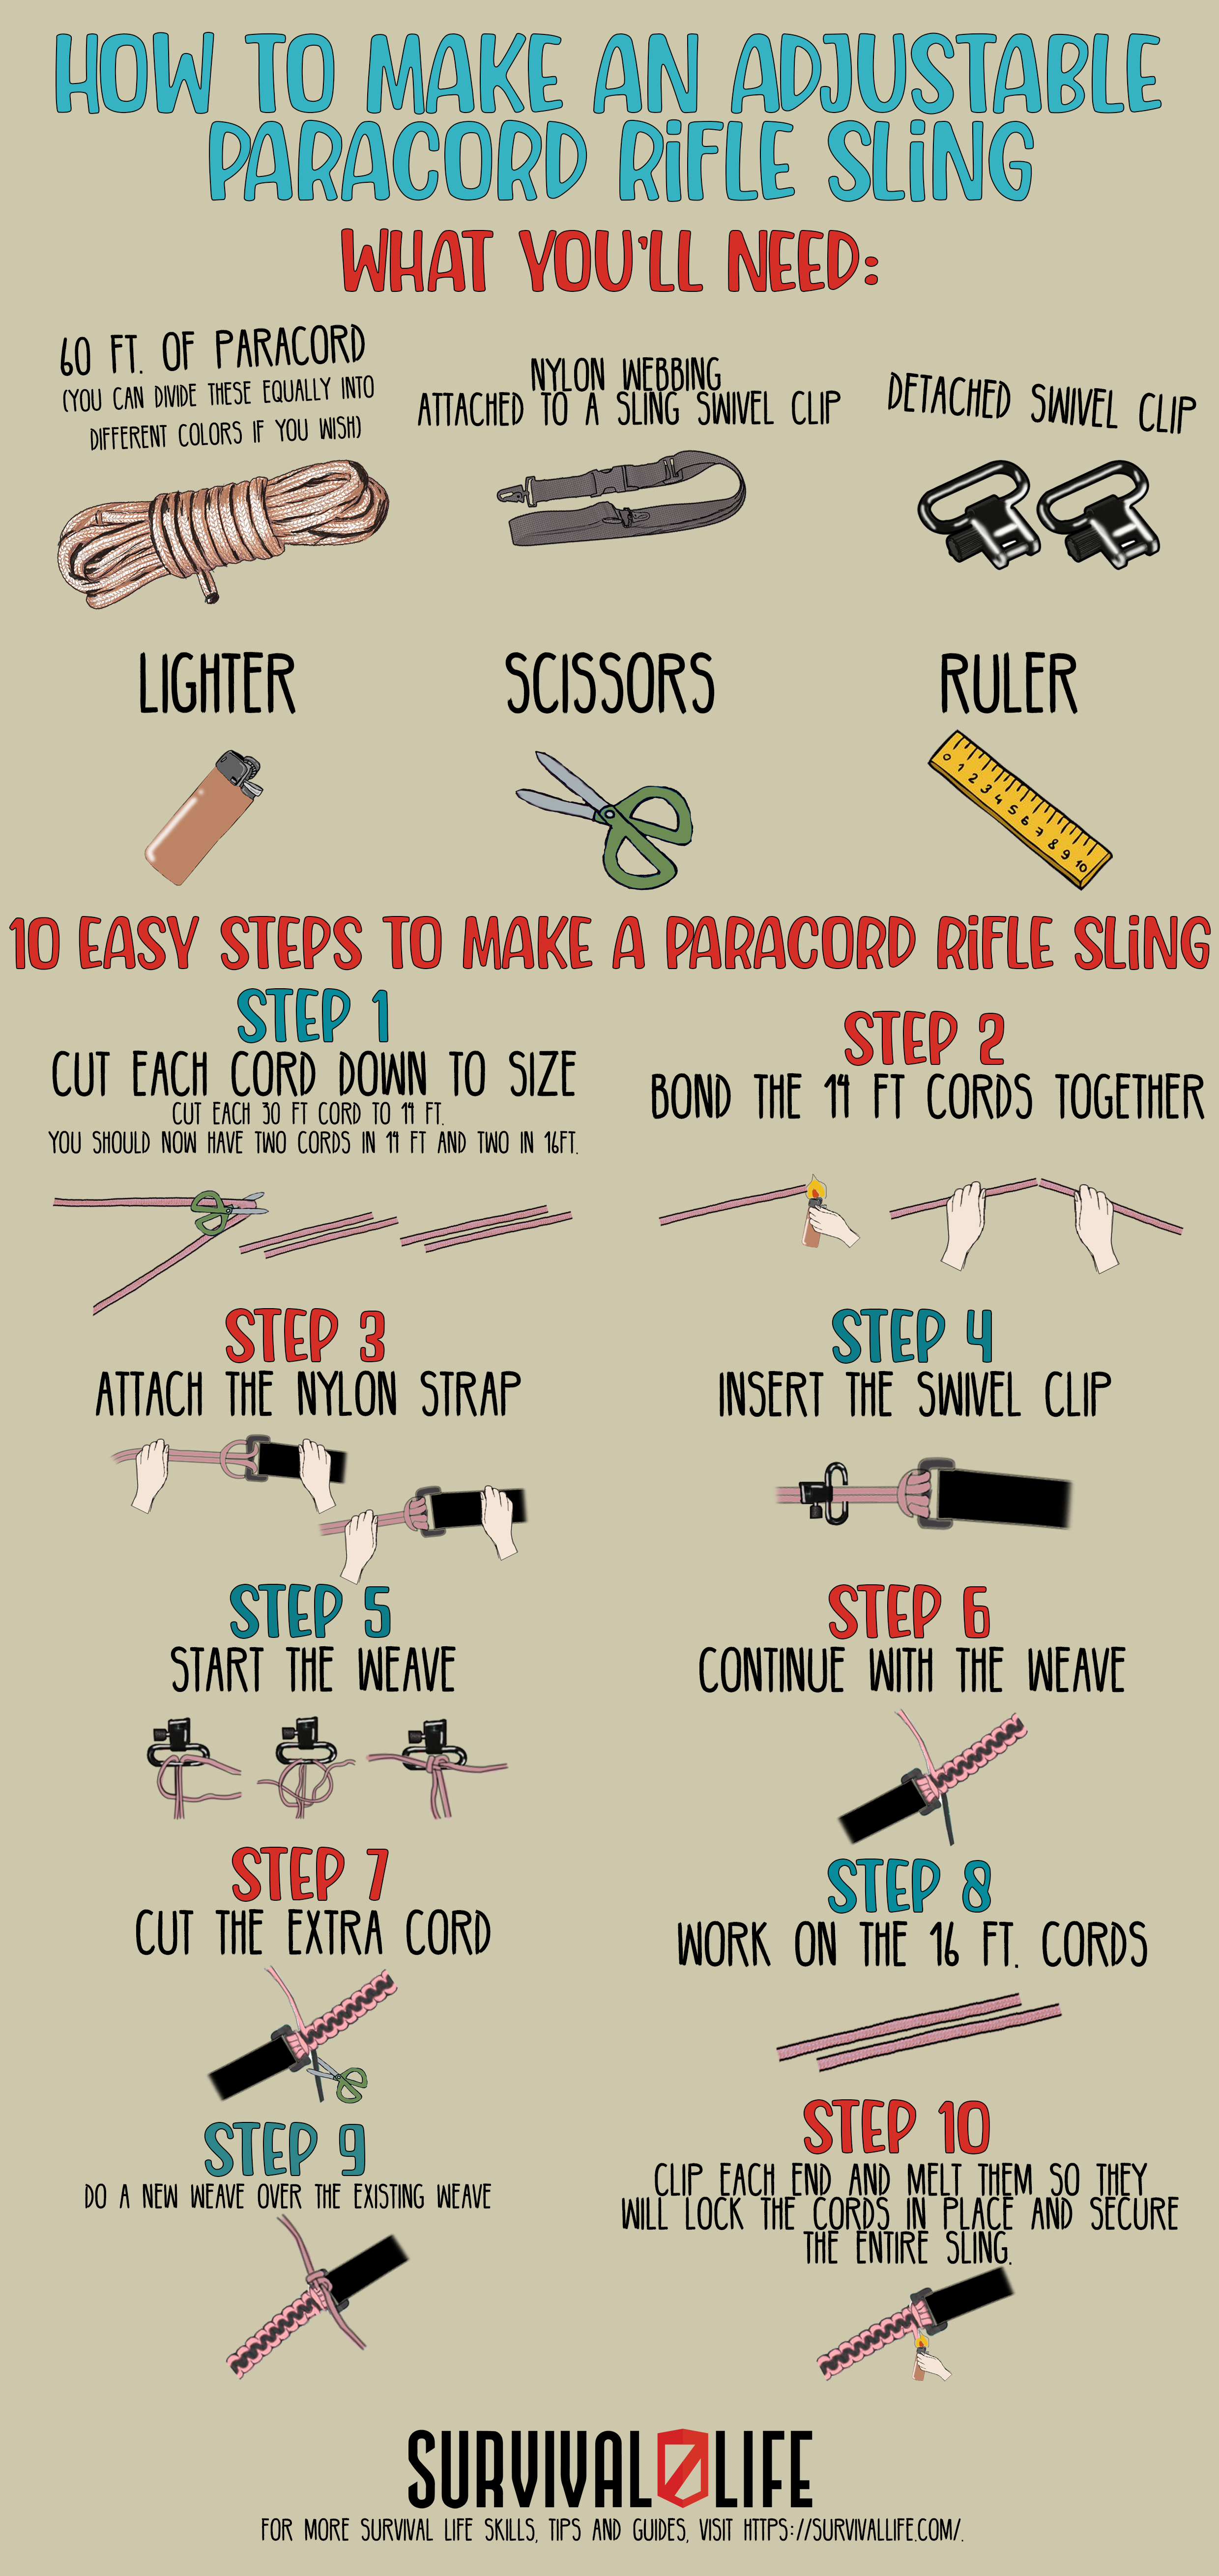
What You’ll Need:
- 60 ft. of paracord (you can divide these equally into different colors if you wish)
- Nylon webbing attached to a sling swivel clip
- Detached swivel clip
- Lighter
- Scissors
- Ruler
Instructions on How To Make an Adjustable Paracord Rifle Sling:
Step 1: Cut Each Cord Down To Size
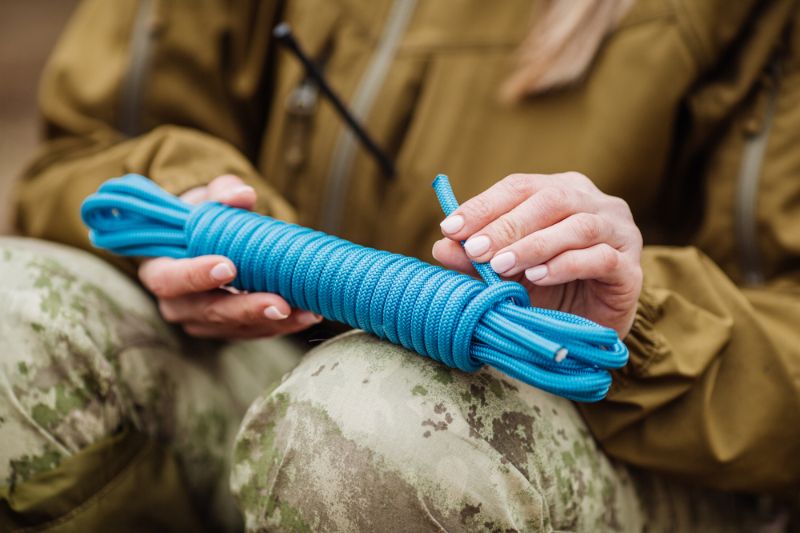
If you chose to have two different colors you probably have each color at 30 ft. The first step to do is cut each cord to 14 ft first. You should now have one 14 ft and another one in 16ft.
Light each end of the paracord with a lighter that you cut so they fray.
Repeat the same process to your other colored paracord.
Step 2: Bond the 14 ft Cords Together
Set aside your 16 ft cords and start with the 14 ft cords. Place each one side by side and melt the ends together using a lighter. Once the ends melt, stick the ends of each colored cord together until they dry.
Step 3: Attach the Nylon Strap
Once the two colored cords are attached take one inch of the cord on one side and use that point to loop the now 28ft cord around using a cow hitch to the plastic loop on the nylon strap.
Run the end of each cord again by going through the middle and through the loop, making two loops. This will give the loop more stability.
Your knot should have four loops going around the plastic end of the strap and one big loop that holds the four rows together.
Step 4: Insert the Swivel Clip
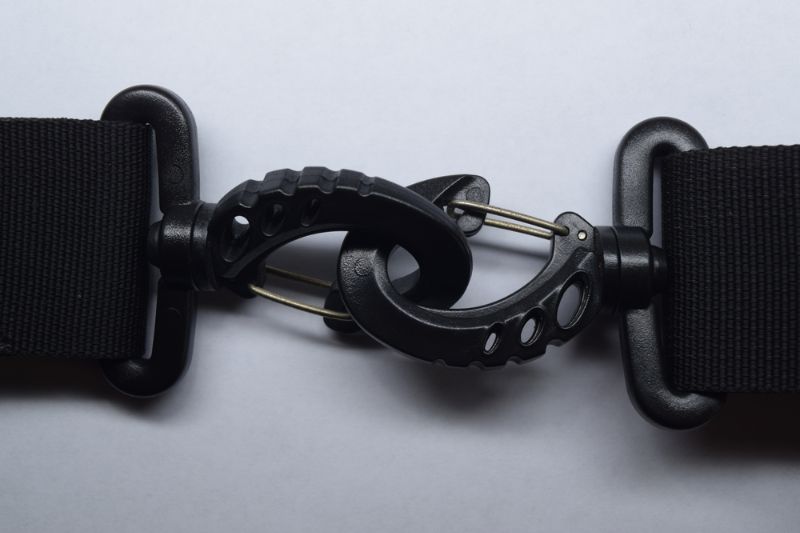
Insert the detached swivel clip through two cords and leave at least 22 inches between the loop and the swivel clip.
Once you have enough space, run each cord around the clip, looping each end.
Step 5: Start The Weave
Now that you have four rows of cord laid out around the swivel clip, start by laying the right cord on top of the middle cords.
Take the left cord, take it over the right cord, under the middle cords, and up top the loop created by the right cord.
Pull each end through and tighten it down. Now you have the right cord on the left and the left cord on the right.
This will secure the place of the clip. But make sure that it still measures 22 inches from the other end. Adjust if necessary.
RELATED: Best Knots For Camping And Survival
Step 6: Continue With The Weave
Now, continue doing the same loop but on the left side. You should be starting with one color and doing the same loop on the same cord until you run out of cords to work with or when it reaches the end.
Make sure you tighten the know every time.
Step 7: Cut The Extra Cord
When you reach the end, cut the extra cord off and seal it by lighting the end with a lighter to seal the ends off.
When the cords are still hot, you can use the side of each scissor to flat out the excess knots, making a seamless look.
This should also keep the knot from sliding through.
Step 8: Work On The 16 ft. Cords
Just like what you did with the 14 ft cords, melt the ends together and push them together while it’s still hot so you can merge them.
Step 9: Do A New Weave Over The Existing Weave
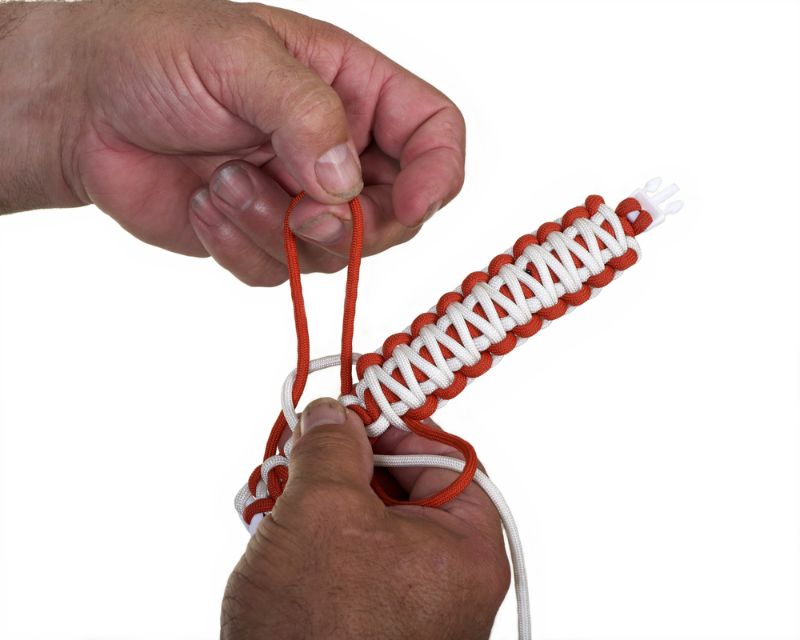
Place the joint of the longer cord behind the 14 ft cord weave and start the same weave around the existing one.
If you want the same color of cord in the middle, start with the same color and do it all the way through.
Again, don’t forget to tighten each loop every time you weave it through.
Make sure each knot is even and sits perfectly on the existing cord.
Step 10: Finishing Touches
When you’re done, clip each end and melt them so they will lock the cords in place and secure the entire sling.
Here’s an infographic guide that you can use. Feel free to download, save and share it with your loved ones:
Watch this How to Make an Adjustable Paracord Rifle Sling video by Paracord Planet for detailed instructions:
Now that you know how to make an adjustable paracord rifle sling, all you have to do is attach it to your rifle and you can go your own way into the woods and have your firearm ready for when you need to hunt.
Do you know how to make an adjustable paracord rifle sling? Have you tried making one your own? Share your thoughts in the comment section below.
Up Next:
- How To Make Paracord Survival Bracelets | DIY Survival Prepping
- How To Make A Millipede Survival Paracord Bracelet
- Protect Yourself Against Mosquitoes
Don’t forget to stay connected with us on Facebook, Twitter, Pinterest, and Instagram!
-

 Do It Yourself7 months ago
Paracord Projects | 36 Cool Paracord Ideas For Your Paracord Survival Projects
-

 Do It Yourself9 months ago
How To Make Paracord Survival Bracelets | DIY Survival Prepping
-

 Do It Yourself9 months ago
21 Home Remedies For Toothache Pain Relief
-

 Do It Yourself10 months ago
Survival DIY: How To Melt Aluminum Cans For Casting
-

 Exports8 months ago
Are Switchblades Legal? Knife Laws By State

