Do It Yourself
$10 DIY Alarm System That Calls Your Cellphone | Home Security Systems

Ever wanted to make your own DIY alarm system? Believe it or not, you can make your own wireless DIY home security for only $10 with a few simple hacks to a prepaid cell phone. You can easily catch intruders who set off the tripwire because this neat little gadget calls your cell phone right when it happens. Well, I’m going to show you how to make a cellular alarm system and all it’s going to take are a few common tools, a couple of hours, and a $10 Tracfone from Target.
DIY Alarm System | How to Make Your Own At Home
In This Article:
- Home-made Alarm System
- Supplies and Tools You Will Need
- How to Make a DIY Alarm System
- How to Set Up and Activate Your Tripwire
Home-made Alarm System
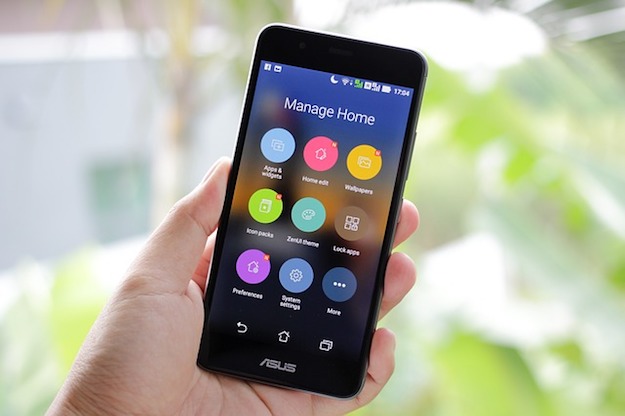
Follow these simple steps and you will soon have an awesome little gadget that alerts you to any unwanted intruders. DIY Alarm System alerts you on your cell phone when a paper or string trigger activates it. You will immediately get a call on your phone alerting you that your tripwire has been activated.
Supplies and Tools You Will Need
- 1 Pre-paid phone (We used a $10 Tracfone)
- 1 Soldering Iron (You can get a cheap one at Radio Shack)
- 60/40 Rosin-Core Solder
- Some wire
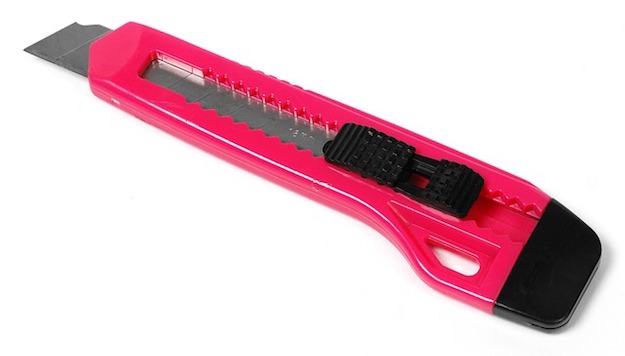
- Box cutter
- Small Phillips head screwdriver
- Hot glue gun with glue
- Tin Foil
- 1 Clothespin
How to Make a DIY Alarm System
Step 1: Activate the Phone
Begin by following the instructions in the manual to activate the phone. We went online to activate ours, but if you don’t have an internet connection there’s a number you can call as well. All of this information can be found in the box that the phone came in.
Step 2: Program the Phone’s Speed Dial Function
Select cell number 8 then select your name from the contacts list.
Next, we need to program the phone’s speed dial function to call your phone number when the number 8 key is held down.
First, enter your phone number into the phone by going to Menu >> Contacts >> Add New Contact
Once you’ve added yourself to the phone’s contact list, pair your number with the phone’s number 8 key by going to Menu >> Contacts >> Speed Dial List
Step 3: Disassemble the Phone
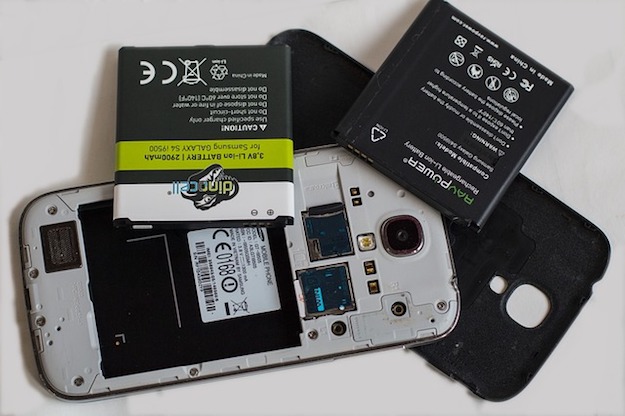
Remove the screws from the back plate and disassemble the phone. There are five screws in total.
Use a small Phillips head screwdriver to remove the screws.
Step 4: Separate the Phone Into Three Pieces
Once the screws are out, you can use your box cutter to pry the back plate from the front plate. It takes a bit of force and will make a loud snapping sound as it separates, so don’t worry about breaking it because you won’t. Once you’ve created some space with the box cutter, you can use your fingers to do the rest of the work.
When you’ve pried it apart, it will be in three pieces.
Step 5: Work With the Middle Piece
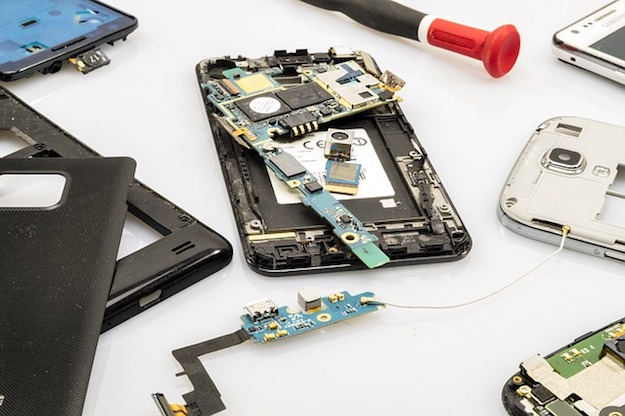
Locate the button that corresponds with the number 8 on the keypad by cross-referencing it with the rubber keypad on the front plate. Each foil circle is a button and you’ll notice that the layouts match up. The number 8 button on our phone is the second one from the bottom of the middle row. Once you’ve found it, cut the metal foil from it with a box cutter.
This will expose a copper ring with a copper circle in the middle of it. We need to solder a wire to each of them without crossing them.
Important Note: You need to know soldering basics.
If you screw the next step up, the phone will be ruined and you’ll have to buy another.
Don’t worry. It’s not that hard but you’ll probably want to practice on a circuit board before proceeding.
Tip: You can buy circuit boards like this from Radio Shack for $5. They also sell wire, solder, and soldering irons.

Once you can solder wires this close without having the solder touch, you’re ready to move on to the real deal.
Step 6: Solder the Wire
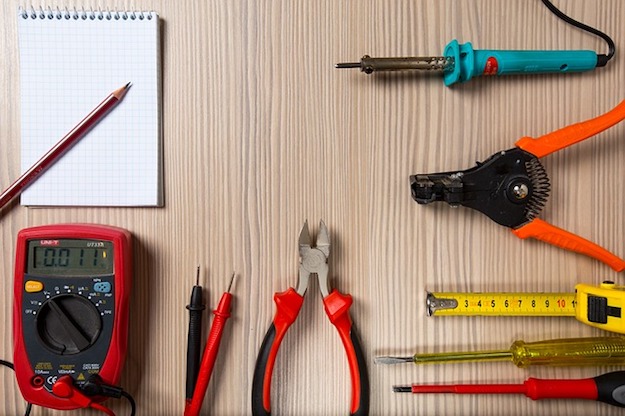
With a soldering iron, place a small amount of solder on the tip of a wire. Don’t go overboard.
Now, solder the wire to the copper circle in the middle of the copper ring. The solder cannot touch the gold ring around it or the button will be ruined. This is why you practiced first. 😉
Step 7: Solder the Outer Ring
Repeat the same steps with another wire, this time soldering it to the outer ring. Again, make sure the ring stays separated from the circle.
Step 8: Test Your Soldering
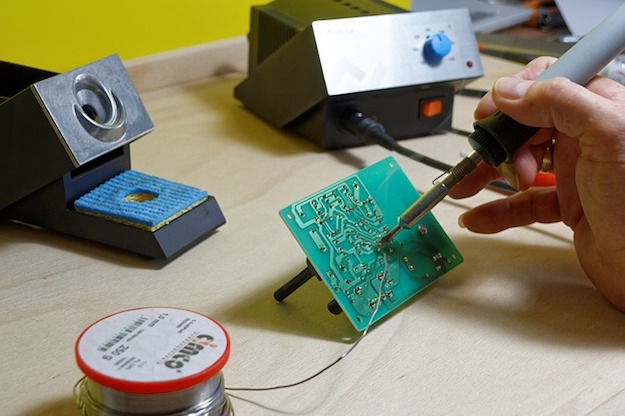
Test your soldering by touching the two wires together. The phone should work normally as if you were pressing the number 8 key on the keypad. If you screwed it up, nothing will happen.
Step 9: Cut Number 8
Use the box cutter to cut the number 8 from the keypad.
Step 10: Thread Through the Keypad
Thread the two wires through the keypad and then reassemble the phone. Once the phone is assembled, drip glue from a hot glue gun into the hole to keep the wires secure.
Step 11: Prepare the Aluminum Foil, Clothespin, and Hot Glue
Now, take a strip of aluminum foil and fold it over the end of one of the wires.
Using your fingers, bend the end of the wire back onto its original form.
Wrap the aluminum foil around the wire to secure the fitting.
Use a clothespin to clamp the end of the wire.
Fold the aluminum foil over the top of the clothespin and secure it into place with the hot glue gun.
Secure the wire onto the body of the clothespin with hot glue.
Step 12: Repeat Step 11 to the Other Wire
Repeat these steps with the other wire and fasten it to the other half of the clothespin.
Step 13: Braid the Wires
Braid the two wires together by twirling the clothespin.
Step 14: Attach the Clothespin
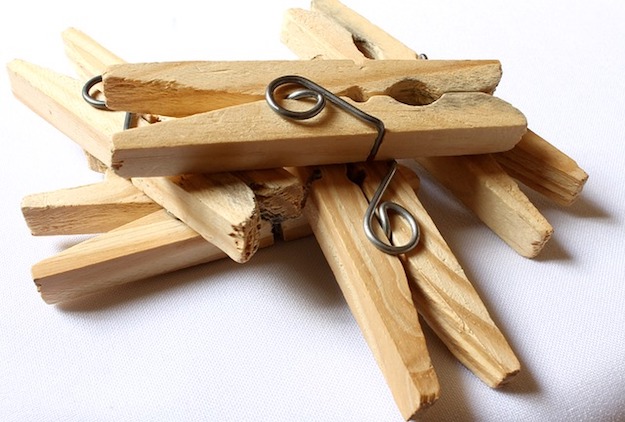
Fasten the clothespin to the back of the phone with hot glue. And your tripwire is complete!
How to Set Up and Activate Your Tripwire
1. The clothespin holds the number 8 key down on the phone and so you need to separate the two halves with a thin piece of paper. Receipts work great for this.
2. When the paper is removed, the contacts on the clothespin touch and the phone will speed dial your number.
3. You’re probably going to need to exit out of the door that you’re booby-trapping—I mean trip wiring—and so you’ll need to set it up like this:
4. Tape your tripwire device to the wall and drape the string over the doorknob.
5. Run the string under the door and make sure to give yourself enough slack to get outside.
6. Slowly close the door while pulling the string under the door toward you. Don’t pull it tight, but remove all the slack until you feel it tugging against the doorknob on the other side.
7. Just before you shut the door, tape the string to the threshold.
8. Now, cut it and shut the door.
9. You won’t be able to see it because you’ll be outside, but this is what your beautiful craftsmanship will look like from the inside.
Watch this video by Mr. Llega for an amazing homemade burglar alarm tutorial:
You’re suspicious that someone is entering your shed when you aren’t there. Your birdseed definitely isn’t where you put it. Tools are missing. You never forget to latch your toolbox, yet there it is, unlatched. If only there was a way to know for sure that someone has been groping your tools behind your back. If only you had a trip wire device that called your cell phone as it was happening. This way you could catch the villain in the act and make him repay you all the birdseed he practically stole right out of your gentle hands. This DIY alarm system will help you do just that!
What do you think about this affordable DIY alarm system? Share your thoughts in the comments section below!
Up Next: DIY Remote Controlled Home Security Camera
For more tactical and survival gear, check out our store here.
-

 Do It Yourself7 months ago
Paracord Projects | 36 Cool Paracord Ideas For Your Paracord Survival Projects
-

 Do It Yourself9 months ago
How To Make Paracord Survival Bracelets | DIY Survival Prepping
-

 Do It Yourself9 months ago
21 Home Remedies For Toothache Pain Relief
-

 Do It Yourself10 months ago
Survival DIY: How To Melt Aluminum Cans For Casting
-

 Exports8 months ago
Are Switchblades Legal? Knife Laws By State


Noaf Amin
April 18, 2014 at 2:06 PM
Without a video? 🙁
Razz
April 18, 2014 at 4:50 PM
You should check to see if the trigger phone has sufficient signal strength to make the alarm call when tripped. You can move the phone around the area before you anchor it to find the best spot before you do the hack.
Also, unless you want the phone to be seen when tripped and alert the perpetrator that he has been detected, find a mounting location somewhere out of the way (but that still has good ‘bars’) such as above the door jamb, or away from the door itself (your trip cord can be any length, and can look like just an old piece of twine.)
R
Ronnie
April 18, 2014 at 10:34 PM
cool when figure out a app that I be able monitor my who house using my laptop send me emil !
WTF?
January 1, 2015 at 12:27 PM
What? “monitor my who house”? Sprecken ze deutsch?
PawPawRon
April 18, 2014 at 10:34 PM
Excellent information and step-by-step guide! One questions comes to mind, however?
Since the $10 tracfone only gives you 60 days of airtime isn’t this a short term solution? Is there something I missed that would extend the life of the phone beyond the initial 60 days without having to load the time onto it at a rate of $10 a month? Not trying to take anything away from your great resource, just asking for clarification.
DC Kathy
April 18, 2014 at 11:34 PM
When you test this, put the Tracfone number into your cell with some wording that you’ll understand, such as “Shed Tripwire.” Otherwise, you’ll look at this strange number calling you and ignore it.
Mohammed's pink swastika
April 19, 2014 at 12:07 AM
Dude, seriously? Get a dog.
Anthonyk747
July 11, 2014 at 8:56 AM
Uhm, you do realize that someone might be inclined to kill the dog, right? It’s illegal, but the punishment isn’t jail time.
Also, the dog’s are easily convinced, i.e., give them a huge bone, some yummy treats, etc.
Ian Maley
April 19, 2014 at 1:20 AM
What a brilliant device, the only thing I would change is to use plastic rather than paper between the contacts, if you’re using this in a shed or somewhere damp the paper may fail first and not draw out of the peg.
Chet Schaeffer
April 19, 2014 at 9:08 AM
Great article, I can see numerous uses for this. As a precaution, please note that Trac phones are loaded with minutes AND days of service. (At least mine does). When you buy minutes you also buy a given number of days to use them. So it would benefit to mark your calendar when your days run out so you can add more at an appropriate time.
K
April 19, 2014 at 11:13 PM
Don’t forget to charge the phone very couple of days.While soldering to the phone, hook up an external mic and loud speakers. That way you can hear and talk
Pingback: 36 More Weekend Preparedness Projects | Self Reliance - DIY Ready | DIY Projects | Crafts
Pingback: 36 More Weekend Preparedness Projects | Survival Life - Survival Life | Preppers | Survival Gear | Blog
Pingback: DIY Home Security for Preppers | Badass SHTF Home Defense|SurvivalLife - Survival Life | Preppers | Survival Gear | Blog
Chuck
July 4, 2014 at 2:08 AM
What do you do when Tracfone sends one of those goddamn annoying spam texts telling you to buy extra discounted minutes, and you have to click “OK” to close the dialog before you can use the phone buttons?
Choice
July 11, 2014 at 7:05 AM
Hmm, I was trying to figure out what I was going to do when I was away from the cabin for several days or a few weeks. I didn’t want to get a security system, but this makes for a good option.
Anthonyk747
July 11, 2014 at 8:52 AM
So, it seems this “$10” fix costs much more than just “$10” judging by that first list, then you add the “practice” of learning to solder before-hand and it can go up higher! Also, judging by the fact that the minutes only last a certain number of days, this “$10” fix has to be constantly rechecked and maintained. So, what are we at now, $60-100 a year for this?
Bill
July 29, 2014 at 3:39 PM
This rig is nice.
What about a mercury switch (radio shack) instead of the crude contact switch?
Install somewhere hidden on your motorcycle.
Thief gets on your bike, you get a call.
Pingback: Vertical Gardening Best Home Security Systems Diy Wireless | Home Best Garden Trellis
Pingback: Prepper Home Protection Systems | Extreme Survival Guide
Pingback: How To Repurpose Wine Bottles And Glasses In An Amazing Way - Easy DIY
Pingback: RT @WoodWorkingTod: Pallet Dog Bowl Stand with Storage | Pal - Easy DIY
Pingback: Burlap Sack Pillow DIY out of a Coffee Bean Sack - Recycled - Easy DIY
Pingback: Raised gardening beds keep vegetables ... - #gardening #diy - Easy DIY
BigGaySteve
February 13, 2017 at 9:08 PM
Too bad I didn’t know this when I had a jew landlord.
Tony Pelliccio
April 22, 2018 at 10:55 AM
In my case I’ve got two $30 cameras that watch the front and rear entrances. I have audio and video alerting setup. Had to delete the app from my cell phone but I get emails every time an alert is triggered and those emails come up on my phone too.
Pingback: How to Make a Perimeter Alarm for Your Home | Survival Life
Pingback: Simple, Low-Tech, High Security Perimeter Alarm - Survive!
Pingback: How To Make A Perimeter Alarm | Survival Go Bag
Pingback: cool gadgets to make with homemade objects - Kobo Guide
Pingback: cool things to buy on amazon for your room - Kobo Guide
Pingback: 12 Highly effective Methods for Peace of Thoughts – outdoorequipmentguide.com