Homemade Survival Equipment
How to Build a Hunting Bow

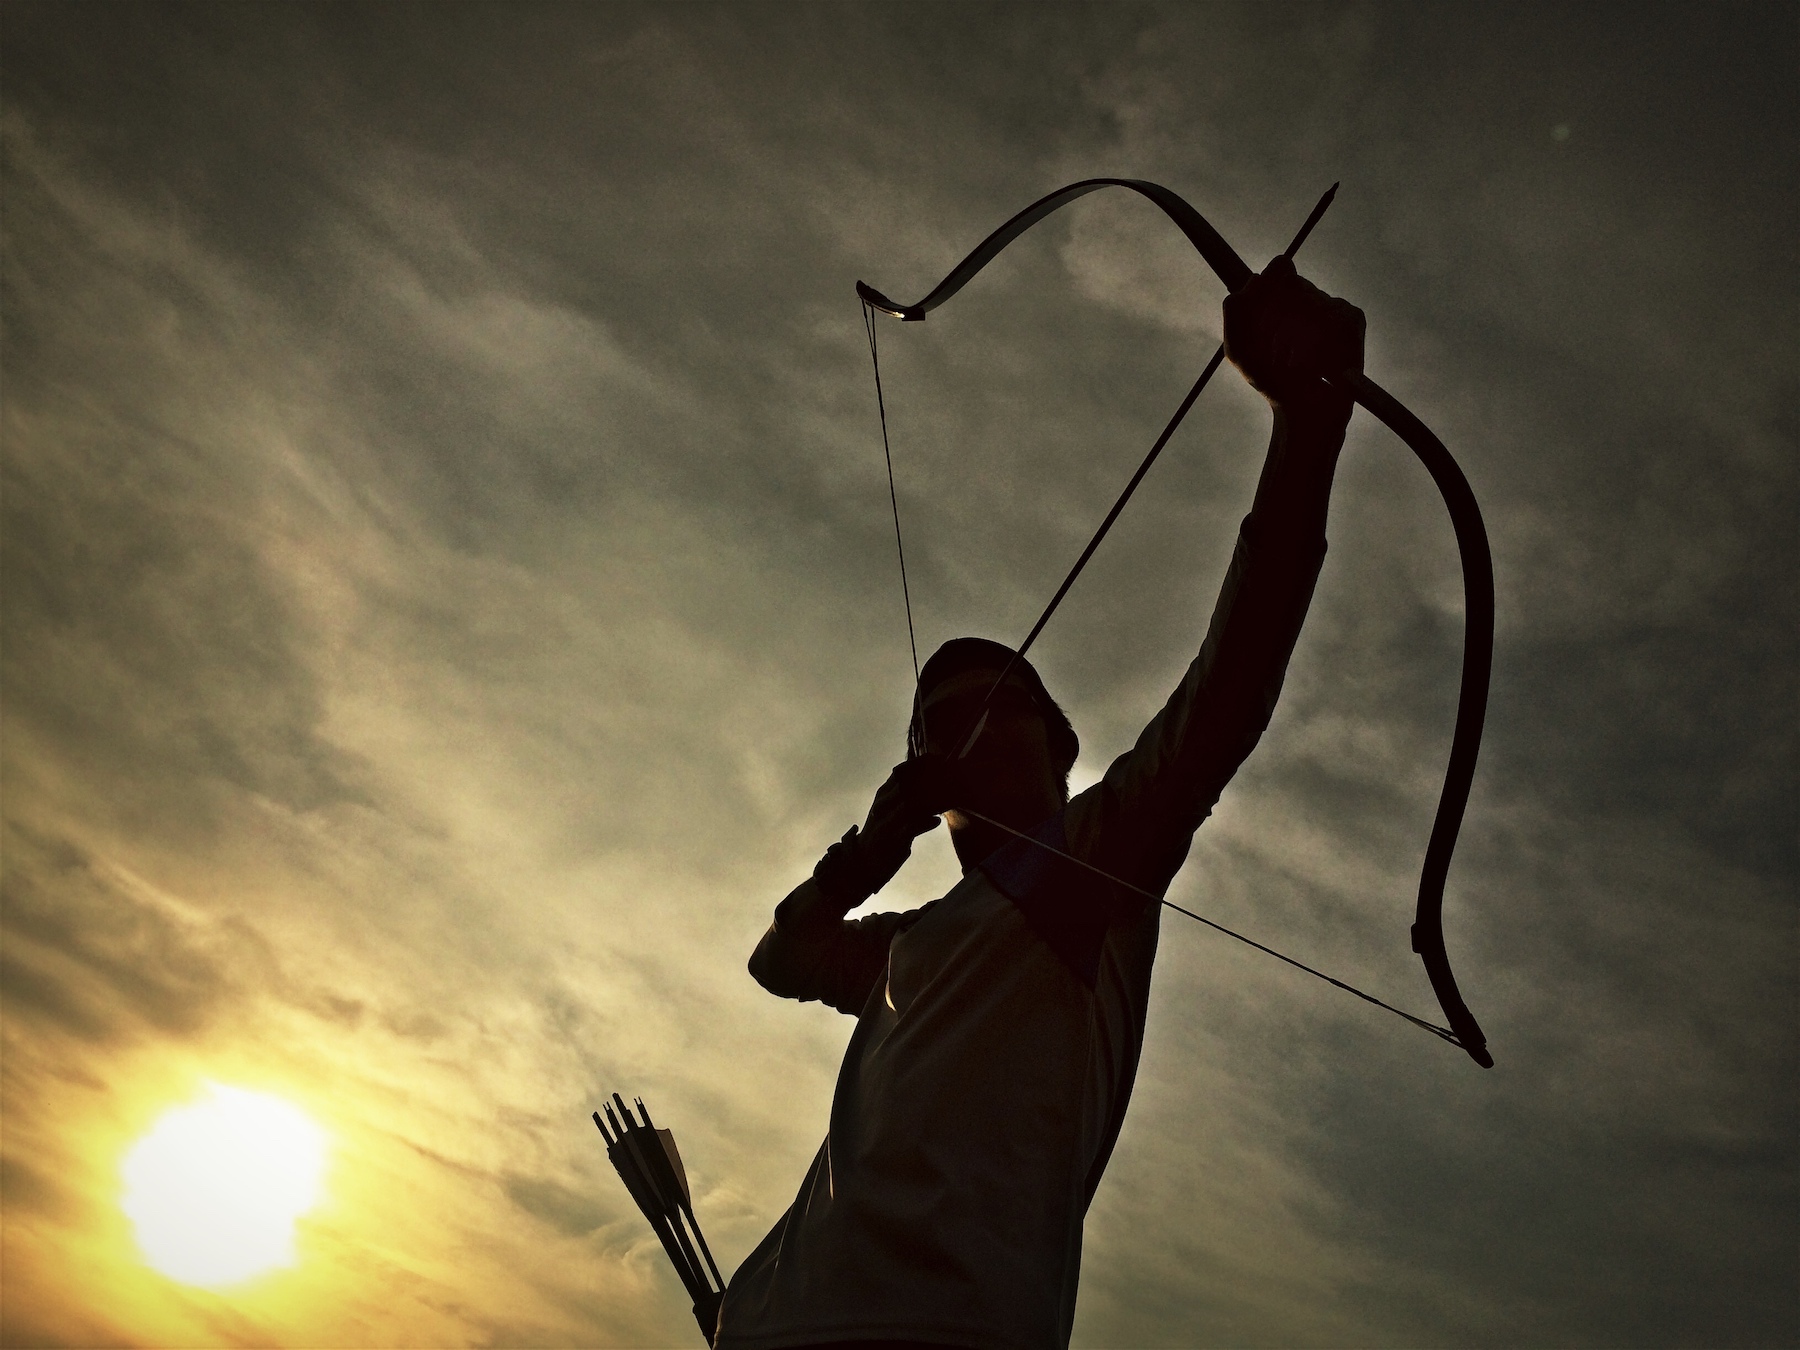
Everyone can enjoy and appreciate homemade bows and arrows. Even children can learn this growing sport of archery. And constructing your own bow and arrow is a great family activity for even for the very young. If you are not in the wild you can buy materials in the local lumber yard and use a pencil eraser for the tip of the arrow to practice target shooting. This is a great family activity to construct a bow and arrows together for target shooting.
There are also bow making courses available to help you learn in more detail as to how to make a bow when you are not in a hurry or when you want to learn more about the sport of archery or hunting when making bows and arrows. Even the construction of bows and arrows is a hobby in and of itself and this is one hobby that is not just for fun, but is also for survival when SHTF.
1. Look for the Right Branch

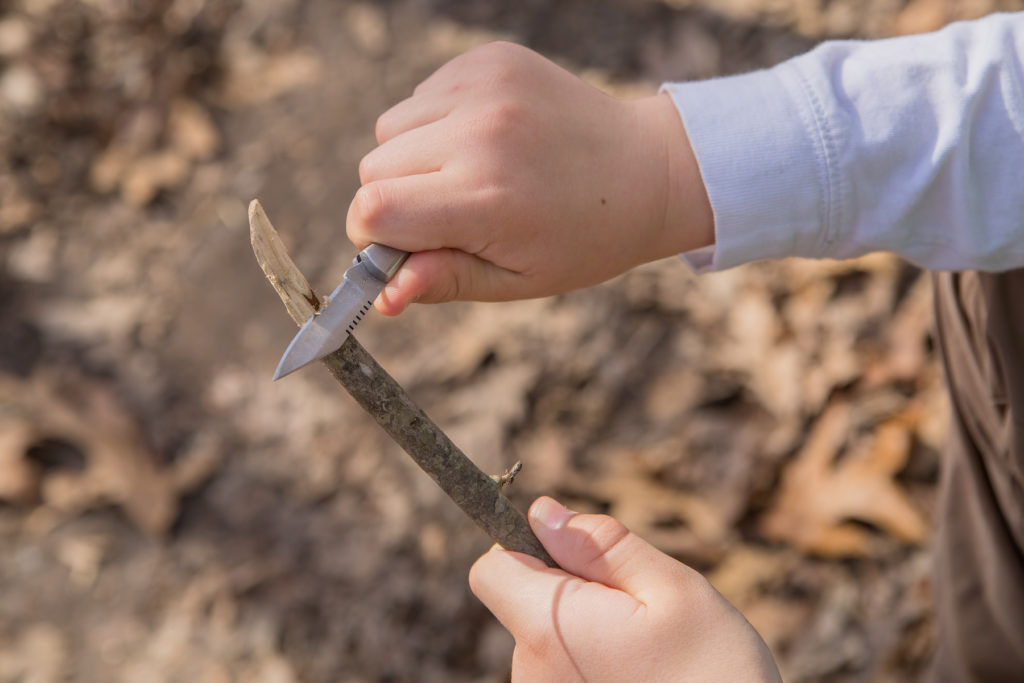
Shaping wood with knife
It should be a long piece of wood for the bow. You need to do is locate the type of wood that you’ll be working with to create your survival bow. Most hardwoods will be ok, with oak, hickory and maple saplings being perfect to use. Once you’ve located a few saplings that may be best for your survival bow, make sure to inspect them for a few key elements:
- Is the sapling relatively straight and absent of curves or twists?
- Does the section of sapling have branches or knots?
- Is the section in question long enough for your bow?
When answering the third question, keep in mind that you’ll want your survival bow to be between five and six feet in length. It’s always a good idea to begin with a longer piece, especially because when you work on the bow you will lose a few inches off of each side once it’s time to clean it up.
2. Shape Your Bow
The belly of the bow is the inside bend of the bow. This can be observed by standing the bow upright, placing your palm on top of the bow and holding it in place while the bow is allowed to gently swivel to a standstill. The back of the bow is the outer bend of the bow. This is the side facing toward the target and away from the shooter.
When making a survival bow, it is crucial to leave the back of the bow in its natural state and without modification. This portion of the bow will have the most tension when the bow is drawn, and any unnecessary whittles or notches will create weak points that may cause the bow to break. That would be the worst thing. You might be stuck eating protein bars from your hike all night.
The middle of the bow is just what it sounds like; this is where your bow’s grip will be. You can find the middle by taking a piece of string or loose material – such as a shoelace – and stretching it out across the length of the bow, and then doubling it over to find the middle.
Once you’ve determined these three elements, it’s time for you to shape your bow by carefully removing wood from the limb to ensure it will bend evenly when drawn. Don’t remove too much wood. When shaping your bow, always keep one thing in mind: You can always remove more wood, but you can never put it back. Always make sure that you take your time when shaping your bow.
3. String the Bow
Now that your bow has taken a more recognizable shape, it’s time for you to apply the bowstring. If you’re in a survival situation, the perfect bowstring may be hard to come by, which may require you to get a little creative. You can use nylon rope, twine, sinew or other lines suitable for the bow.
Finding the line that will most likely be your biggest challenge. Just keep in mind that whatever material you choose, make sure that it is not elastic or stretchy. Your bow’s power is derived from the limbs, not the string, so a stiff bowstring is always preferable.
Once you’ve found a suitable bowstring, you’ll then need to notch your bow to provide a place for your string to rest. When notching your bow, take one end of your bow and begin cutting out two notches, one on each side, without cutting into the back of the bow. Repeat the process for the other end of your bow. Notches should only be deep enough to hold your bowstring securely in place.
After you have notched and strung your bow, you are ready to perfect your bow through a process called tillering. Tillering is a continuation of the shaping stage for the purpose of producing a refined, parabolic curve in the bow before completion. Two things are essential for proper tillering: A sharp tool and a little patience. You should carefully remove wood bit by bit while testing for stiff points throughout the length of each limb.
If you are in a big hurry to get some game, you may not have time for tillering, but it is an important step. During a camping situation when eating is of prime importance you may not want to take the time but have the patience to do it as diligently as you can.
Continue to follow the process of flexing your bow, then removing wood a little at a time, then flexing it again until you have created a bow that bends equally and uniformly throughout its length.
Arrows
Arrows are difficult to make. Again, you have to find saplings to be able to shape. There is no way you have time to find arrowheads at this juncture of your journey. The idea is to whittle the shape of the sapling you have chosen so the tip is in the shape of a very sharp point. This will have to suffice as the arrow point. As luck would have it, there are almost always some kind of feather around for the ends. These should be attached to the ends of the arrows to help with the balance and the lift. If you don’t have feathers, try shredding some lightweight paper or even toilet paper. Then you have to create a notch in the end of the arrow so it will fit in the line of the bow.
Ready for the Hunt
Now with the bow and arrows, you are ready to hunt some game. You will not starve or eat just protein bars. You will have a hot meal and be ready for your friends tomorrow and ready for more hikes in these beautiful mountains. You really are the badass survivor people think you are!
-

 Paracord Projects1 year ago
Paracord Projects | 36 Cool Paracord Ideas For Your Paracord Survival Projects
-

 Paracord Projects2 years ago
How To Make Paracord Survival Bracelets | DIY Survival Prepping
-

 Medical Care1 year ago
21 Home Remedies For Toothache Pain Relief
-

 Knife Laws1 year ago
Are Switchblades Legal? Knife Laws By State
-

 Do It Yourself2 years ago
Survival DIY: How To Melt Aluminum Cans For Casting


Angella
December 13, 2020 at 8:06 AM
An excellent description of making a hunting bow. I think resharpening of the stick should more preciously and try to make it more curve. if you would give a clear idea about what animal can we hunt the readers would get more benefit. I also had gone through https://thebowguide.com/.
I think this will also help your reader.
Pingback: DIY Bow and Arrow | Follow These Simple Steps – My WordPress
Pingback: Kevin Estela Talks with Bow-Huntress, Dayna Monroe, about her Experience Working in the Outdoor Industry [PODCAST] – Bulletproof Survivors
Pingback: DIY Bow and Arrow | Follow These Simple Steps - WildSurvivalDigest.com
Pingback: 9 Ways To Hunting With Bow And Arrow | Spent Brass