

There’s nothing like the sweetness of honey, and when SHTF you can sustain yourself with a supply of it. Beekeeping gives us many useful products and food, including honey and beeswax. Beeswax is used for both candles and soap, and honey has dozens of uses.
Bees are the Livestock for Serious Preppers
While bees are much smaller than the animal livestock that come to mind, they produce many products that are useful and can be kept in storage for years.
- Hives do not take up much space. This makes it sustainable as far as land use. Bees pollinate all flowering plants. If you have a hive and a garden, the garden has nearby pollinators to keep vegetables growing throughout the growing season.
- Honey is the perfect food and can last for centuries. A good, healthy hive can produce 50 pounds of honey. When supermarkets close, and sugar and sweeteners are hard to come by, a reliable source of honey will be valuable. Honey is a great source of calories if you are ever in a situation where food is scarce. It boosts the immune system and can be used in canning and baking.
There are primarily two different kinds of honey that beekeepers harvest from their hives. The most common type of honey is liquid honey extracted from the comb. This is easily extracted with centrifuge equipment called an extractor. Most beekeepers use ready-made extractors, but some make their own.
The second form of honey produced is known as comb honey. This is when the honey is left within the original wax combs. Comb honey is a lot less common than liquid honey, but many people prefer the more natural flavor. - Beeswax provides light and soap. This can be used to make slow burning candles perfect for grid down situations. Beeswax can also be used in soaps and this soap lasts longer. Beeswax helps to waterproof leather and other textures that have to be out in weather.
Bees For Healing
There are medicinal properties to honey that go far beyond allergy prevention. Propolis is the glue that bees make to repair and weatherproof their hives. This has antibiotic properties that can be used to fight infection. And some research indicates that propolis also has anti-inflammatory, anti-viral, and wound healing properties. Propolis can be collected from hives and needed when pharmacy shelves are bare.
Bee pollen is one of the most complete and compact foods in nature. It is loaded with vitamins, minerals, proteins and enzymes. It’s been used for centuries in Chinese medicine to boost energy, fight acne, fight depression, improve blood pressure and aid in digestion. Install pollen traps on your hives to collect the left-over pollen.
How to Start a Beehive
- Bees can usually be kept anywhere, but be sure to check with local county regulations. Rural preppers will have less trouble finding a convenient spot for a hive. Suburban preppers can keep a hive in the backyard. A small fence is recommended as a precaution to keep kids and pets away. You want bees to fly higher past an obstacle such as a fence, so a stream of bees won’t go into your neighbor’s face.
- Check with surrounding neighbors before getting started. If anyone has a big problem with your plan, this is the time to resolve issues. Some people are deathly allergic to bees, so you may have to reconsider. Set up in another location with a friend or family member, and offer to share the benefits.
- Buy or build the beehive. Beehives are available on Amazon or your local beekeepers organization can help you. Beehives can be made from a variety of materials.
- Buy necessary equipment. This includes a queen catcher, bee smoker, bee feeders, and other accessories that you will learn more about as you get into beekeeping.
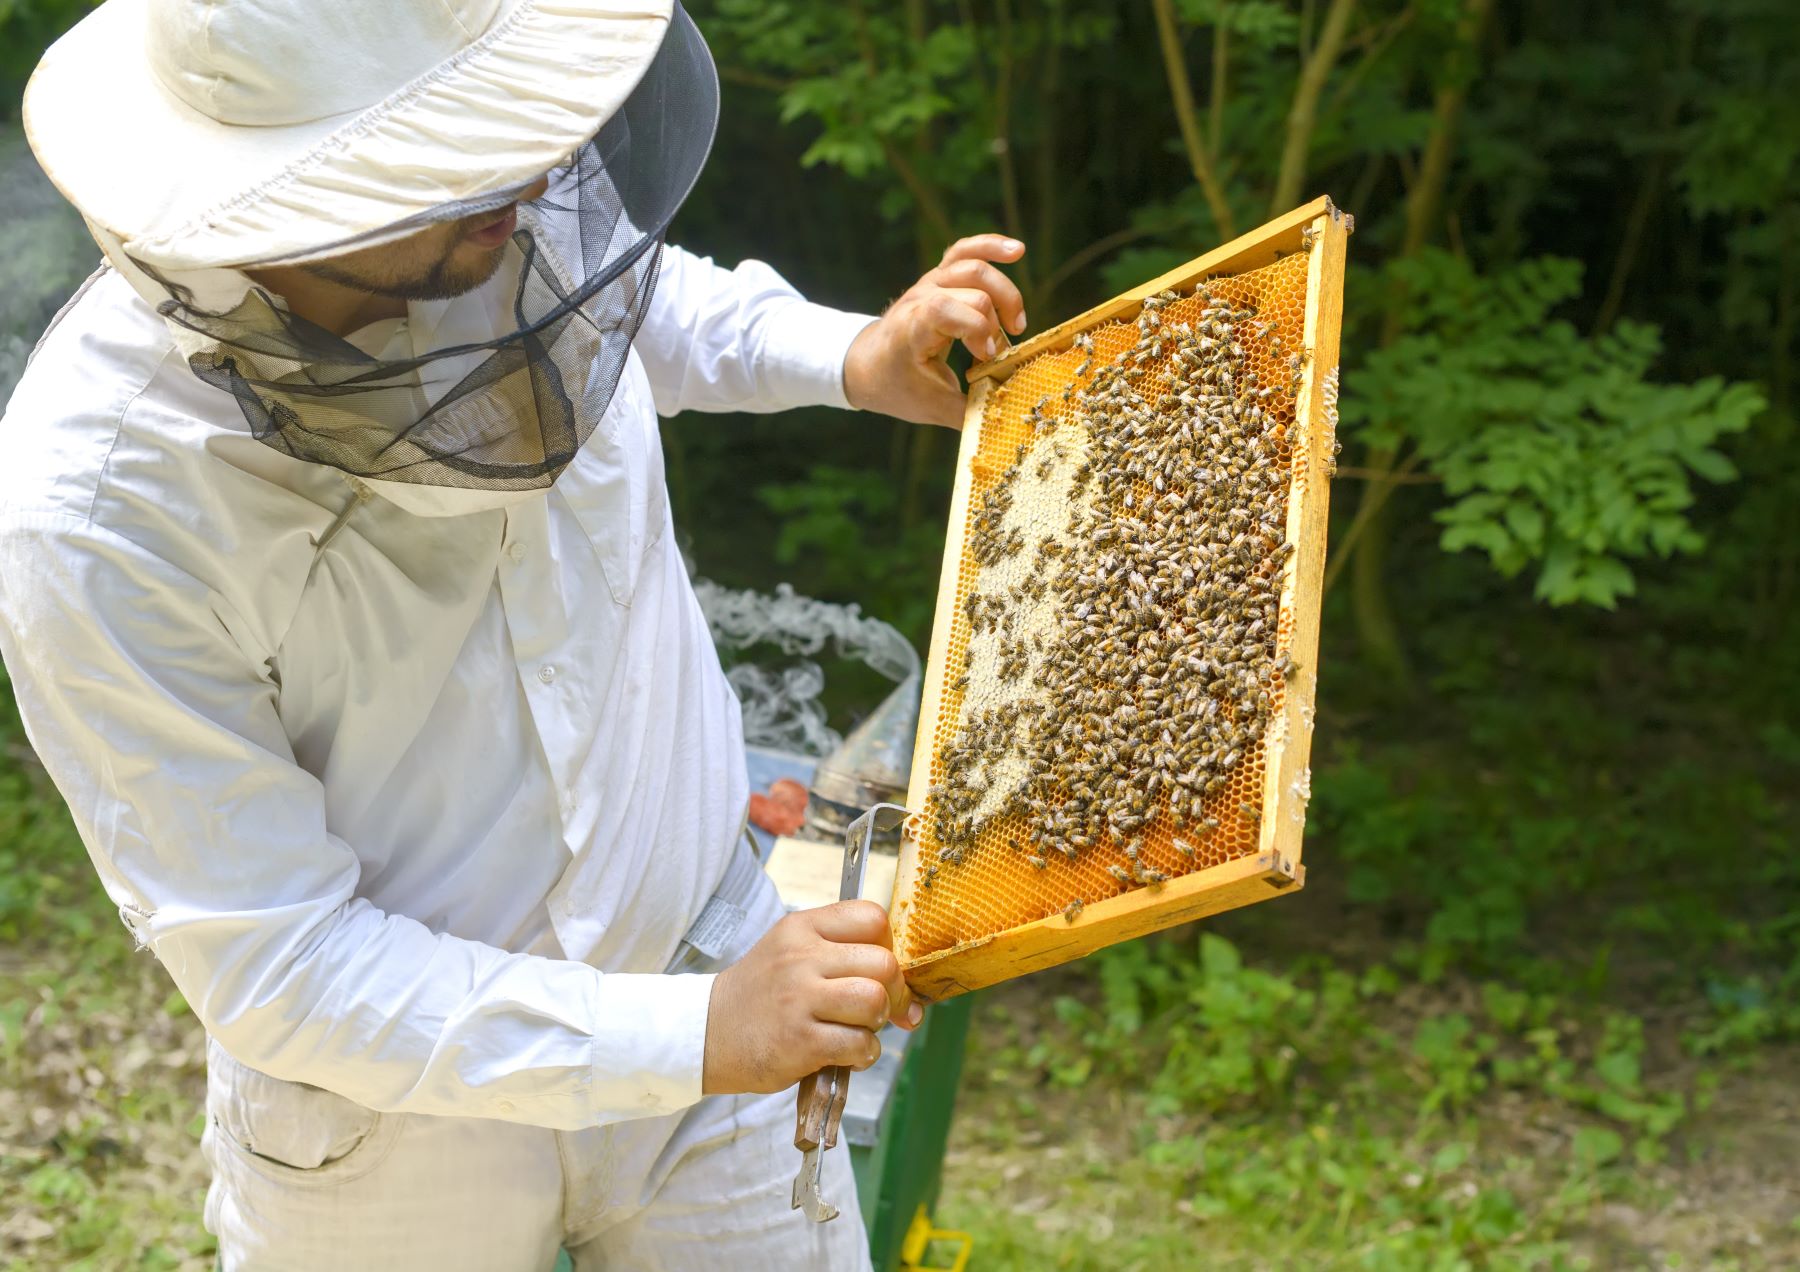
- Purchase safety gear such as a beekeeper suit. This will include a hat, veil, safety footwear and gloves.
- Purchase bees for the new colony. Make sure you buy these bees are from a reputable source. Your orders should be placed by February at the latest. Apiaries will begin shipping orders in March and April, depending on your location. Most will ship with the United States Postal Service. The queen bee will come in a separate container. The rest of the bees will be feeding on a sugar solution while they are being shipped.
Installing Bees into the New Hive
Step 1
– Meet your bees
Before opening the package, spray some sugar syrup outside of the box to prevent the bees from flying around. Make sure your smoker is lit and smoking nicely. You may not need it as the bees will be docile from transportation, but you want to be safe just in case. Pry open the box with your hive tool and dislodge the bees by vigorously shaking the package.
Step 2 – Remove the queen
If your bee package has the queen in a separate cage, leave the queen until after all bees have been installed in the hive.
Step 3 – Remove hive frames
Remove some frames from the top of the hive. The number of frames to remove and the placement for the false bottom will depend on the size of your new colony.
Usually, it is recommended to place the false bar about 10 bars from the front of the hive. This way you can establish a brood nest right in front of the hive.
Step 4 – Put the bees in the hive
Empty the package into the hive through the opening. This is where your bee brush or feather will come in handy. Scatter any clusters around the bee cage and ensure that all bees are transferred from the package into the hive.
Additional Notes after Installing Bees
- Don’t touch the hive for at least a week. The bees need time to accept the queen. If the queen has been released from her cage, then she has been fully accepted by the colony. If not, you may need to give the hive a helping hand.
- Keep the feeder full during this time.
- Bees will be very confused and fly haphazardly. In no time they will adjust and become more coordinated.
- When you notice undertaker bees taking out the dead bees, then you’ll know that the colony is doing well. Also, look out for bees gathering pollen, this is another sign that the colony is thriving.
After a successful installation, you’ll need to give the bees time to adapt to their surroundings. Inspect the hive and ensure that they have started gathering pollen and nectar. They should begin to build the comb.
Starting a Hive without Buying Bees
If you are going to catch bees in the wild to start your own hive, the easiest swarms to collect are bees on tree branches. All you really need to do is cut the branch and gently place or shake the branch inside a container.
Bees on a fence post or flat surface are not that easy to collect. You will need to guide the bees into the box by brushing them gently with a bee brush or cardboard. They can also be guided to the container by using a smoker to direct and encourage them to move in the opposite direction.
Using a smoker will entail spraying the box with a sugar and water solution to attract the bees and keep them in the container. Then placing the smoker in the direction that you DON’T want the bees to go. Sometimes using more than one smoker may be necessary to get the swarm where you want them.
To transfer the bees from the container to your hive, gently shake the container and give them a nudge. Make sure the hive is ready to receive the new bees.
Don’t forget to wear safety clothing. Also, it’s a good idea to take a smoker on your bee collection adventure so that you can calm any ill-tempered bees down. Basically, follow the rest of the steps the same way to get the bees and the queen used to your hive.
Bees are not as aggressive as their reputation often lends them to be. Bees tend to focus on their roles in their colony. Beekeeping does require a bit of work and a new skill set. But, if it fits your lifestyle, this could one day prove to be one of your most valuable preps.