Self Defense
How To Make A War Hammer

Did you know you can make a war hammer with a few metal rods and the tools you already have in your shed? Learn with us in this guide on how to make a low-budget but functional war hammer.
RELATED: DIY Survival: How To Make A Crossbow From Scratch [Video]
Making a War Hammer in Six Simple Steps
Things You'll Need:
- A flat steel bar (1½ x ¼ x 36) inch
- Zinc plated flat steel bar with holes (1 3/8 x 1/16 x 36) inch
- An angle iron (1 ¼ x 1/8 x 36) inch
- 14 sets of 3/8-inch nuts, bolts washers, and lock washers
- 1/4 -inch wood or board
- Paracord
Tools You'll Need:
- A 3/8-inch drill bit
- An angle grinder with a grinding wheel and a cut-off wheel and
- A drill
- Vise
- C Clamp
- Ratchet
Step 1. Mark Out the Steel Bars
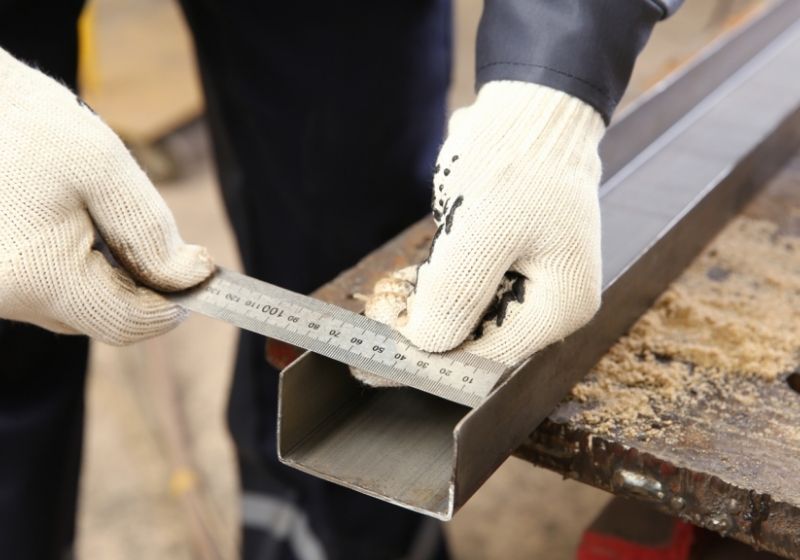
Firstly, use a sharpie to draw big lines at every five inches on the outside of the angle iron. The line should cover both sides of the angle iron. Here you should have four five-inch sections.
Next, measure two inches in from the corner and then drop a diagonal line. Do this on both sides of the first two five-inch sections.
On the third five-inch section, measure two inches from the corner and only drop a diagonal on one side. Do the same on the last five-inch team but on the alternating side.
Secondly, mark out a 2 ½ inches section on the flat bar. Next, measure out another four-inch and mark it out. Next, from the border of the two areas, measure two inches into the four-inch section and drop a diagonal.
Step 2. Cut the Marked-Out Bars
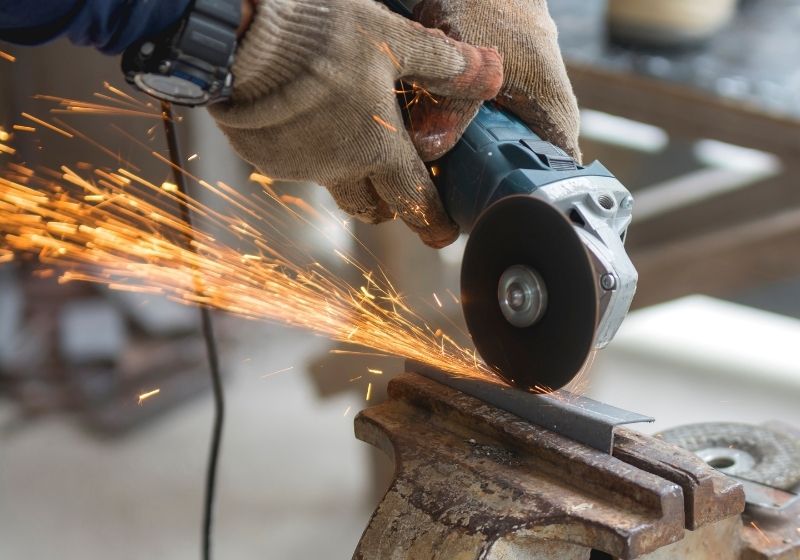
Now, use an angle grinder with a cut-off wheel to cut the angle iron and the flat bar to size. You can save the pieces of steel you will not use for another project.
Next, use the same angle grinder to cut off the end of the zinc-plated steel bar with a half hole to match the other straight end. Now, use your sharpie to mark four sections on the zinc-plated bar.
The first three should have seven holes each, while the last one should have 13 holes. Use the grinder to cut the zinc-plated bar to size.
Tip: If you are not using a bar with holes, measure out 5 ¼ inches for three small sections and 9 ¾ inches for the more extensive section.
Step 3. Bend the Zinc Plated Pieces to Form Brackets
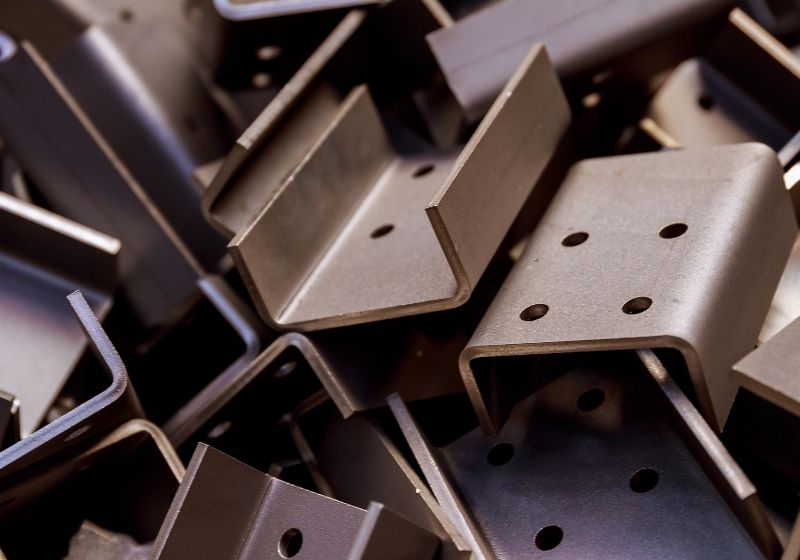
Here, take a section of your ¼ -inch flat bar, align it with the center hole on one of your zinc plated flat punch. Next, clamp it onto your vise and bend the upper part of your zinc plated bar over the flat bar as tightly as you can.
You can use a blacksmith's or regular hammer for this. For this step, use two of the three smaller pieces of the zinc-plated bar.
Do the same for the remaining zinc-plated punch pieces. The only difference here is that you are going to bend them over two stacked flat bars. For this, use a tape measure to mark out a 22 ½ -inch and then cut it using a grinder.
Note: Stack your 22 ½ -inch flat bar with any other bar for the second layer of brackets. It doesn't have to be the same length.
RELATED: How To Make A Spear | DIY Survival Spear
Step 4. Bracket the Hammerhead Parts
Firstly, take two angle iron pieces with different edges (one with two diagonal lines and another with one diagonal line. Align them on a flat surface such that the straight edges match.
Next, take one of the small brackets and slide it onto the aligned iron pieces. Do this from the straight edge and slide it as far down as it can go.
Now, tightly clamp the opposite edge on the vise and then use a C clamp to hold the bracket in place as you use a hammer to slide the bracket further down. There should be no space left between the bracket and the angle bars. Repeat this step for the remaining set of angle iron rods and one of the smaller brackets.
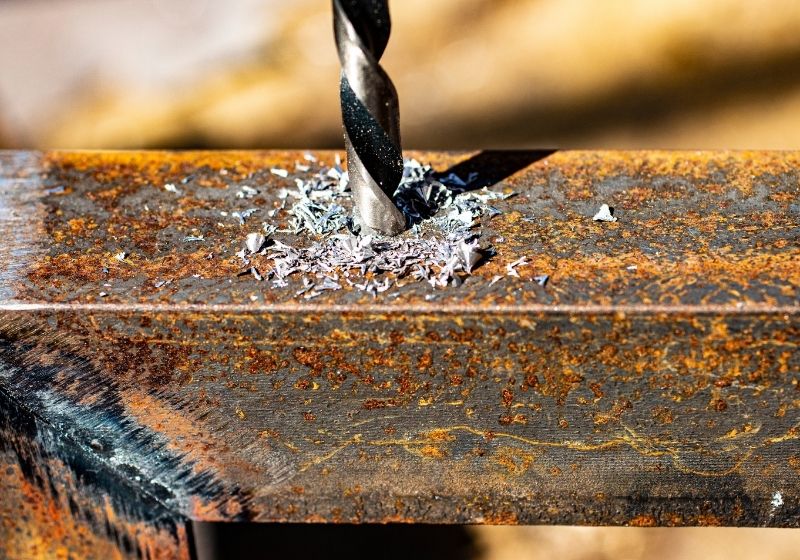
Once done, clamp the bracketed angle iron bars with a C clamp to keep everything in place. Next, clip the iron bars onto the vise. Afterward, remove the C clamp and use a drill to make holes on the bracketed angle bars.
This is simple as you will only need to go through a hole on one side of the bracket and drill until you come out through the bracket hole on the opposite side. Once done, insert a bolt, washer, lock washer, and tighten the nut with a ratchet.
Next, flip the hammerhead part and do the same for the third punch hole. After drilling a hole and tightening the nut, you should have one undrilled hole in the middle. Repeat this with the other bracketed set of angle iron bars.
Step 5. Assemble the Hammerhead
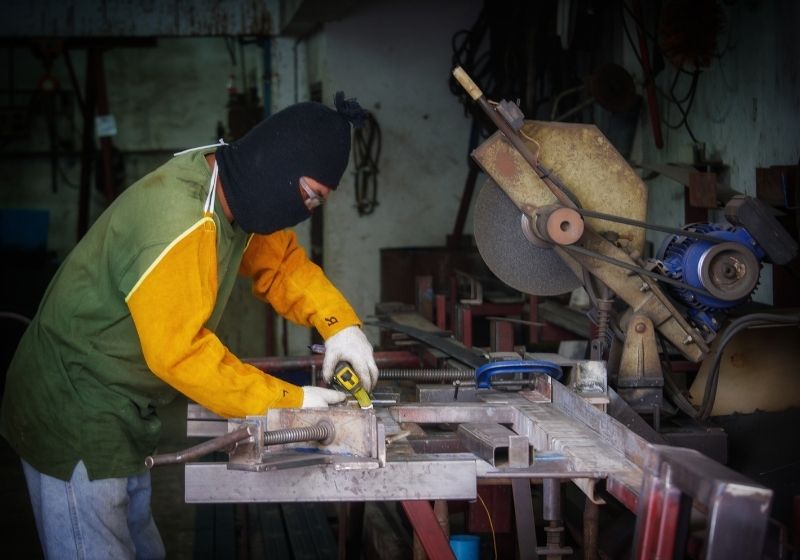
Now align the two sets of bracketed angle iron bars such that they are symmetrical with each other. This way, you will end up with one straight edge with no diagonal cut on the side of the hammerhead.
To this edge, slide on the large zinc-plated bracket. Next, slide the remaining small bracket on the other edge of the hammerhead. Slide it from the straight end. Keep in mind that these two brackets will have loose-fitting.
Next, flip the hammerhead and fit your 2 ½ -inch spacer between the two angled pieces of the hammerhead. You can use another metal to push the spacer to place. Once the spacer is in place, the two brackets will now fit snugly.
Now drill more holes onto the two new brackets and tighten your bolts. Ensure that your two new bolts do not interfere with your previously added bolts.
Step 6. Attach the Metal Handle and the Punching Spike
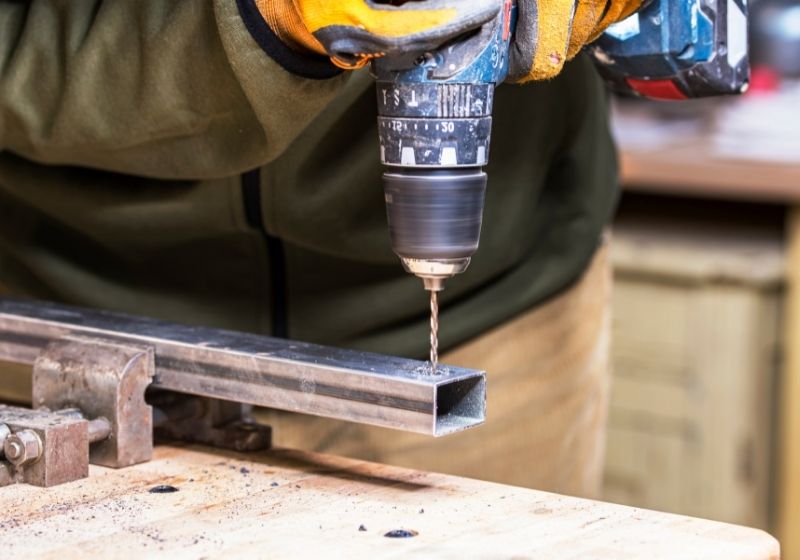
Once the hammerhead is assembled, slide the 22 ½ – inch flat rod through the space between the two angled parts of the head. Ensure that it is firmly pressed against the first spacer you inserted. When in place, drill two more holes and insert the bolts to hold them in place.
Next, slide the armor punching spike onto the back of the hammerhead and drill in two holes for the two bolts that will keep it in place. Lastly, screw on the handle and wrap it with a paracord for comfortable handling.
Note: If you decide to paint your war hammer, take the hammerhead apart, paint everything except the brackets and bolts, and then reassemble it.
Watch this video by ZNA Productions on how to make: the war hammer:
There you have it, preppers. With this simple illustration, you make easily make a war hammer at home. What's more, it does not require much, and therefore you will not have to spend a fortune to own one. Get creative and customize yours to your needs and taste.
[poll id=”23″]
Where will you use your war hammer? Let us know in the comment section below!
Up Next:
- 82 Uses for Paracord That Will Surprise You
- How To Make A Millipede Survival Paracord Bracelet
- The Modern Economic Survival Mindset [PODCAST]
Calling all preppers, craftsmen, bushmasters, outdoorsmen, and all-around skilled people, Survival Life needs YOU! Click here if you want to write for us.
Don’t forget to stay connected with us on Facebook, Twitter, Pinterest, and Instagram!
-

 Paracord Projects1 year ago
Paracord Projects | 36 Cool Paracord Ideas For Your Paracord Survival Projects
-

 Paracord Projects2 years ago
How To Make Paracord Survival Bracelets | DIY Survival Prepping
-

 Medical Care1 year ago
21 Home Remedies For Toothache Pain Relief
-

 Knife Laws1 year ago
Are Switchblades Legal? Knife Laws By State
-

 Do It Yourself2 years ago
Survival DIY: How To Melt Aluminum Cans For Casting


power tools
May 23, 2021 at 11:02 PM
I really wanted to make a Hummer. Someone read the review today, I had a lot more courage that I can make a Hummer.
Thank for Sharing
Caroline Marie Martin
May 26, 2021 at 1:41 AM
please stop sending me these emails
Joe
June 15, 2021 at 8:20 PM
Of what earthly interest is this? If one needs this thing after the SHTF how will it be made with no electricity? Buying something like this makes a lot more sense than this complicated Rube Goldberg thing.