Family
You Asked For It: Nana’s Biscuits Recipe

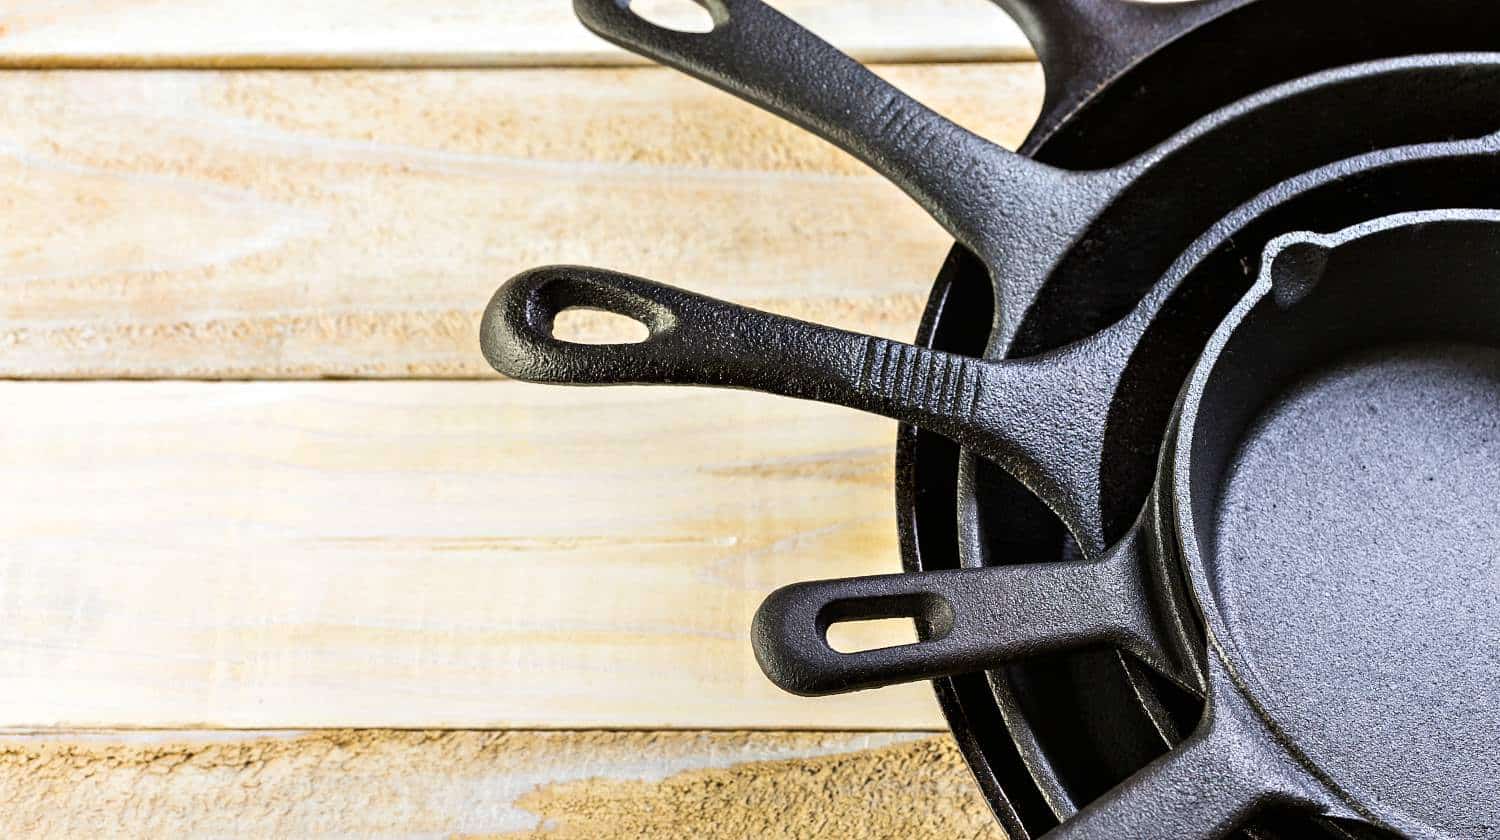
A few weeks ago I posted an article about cast iron cooking. While replying to comments, I reminisced about my grandmother's homemade biscuits that she cooked in her decades old Cast Iron.
Afterwards I was amazed that I had so many of you ask me for her recipe. Unfortunately I had to decipher measurements like a pinch, dash, and handful; this is not an easy task since she knows from feel alone what the right texture is for the biscuits.
After speaking to her at length and making them alongside her for the first time since I was a little boy, I finally got the basics of the recipe down. For a treat that is so much a part of my childhood I was shocked at how easy they were to make. Find the recipe below and take it with a grain of salt (pun fully intended) as you may need to alter the amounts slightly to get the right consistency.
Ingredients:
2 cups all-purpose flour
2 cups buttermilk
1 teaspoon salt
2 teaspoons baking powder
2-3 tablespoons Oil/Grease
and a Cast Iron Skillet
Directions:
Preheat your oven to 425°.
Heat your skillet on medium high heat with your oil in it. Nana recommends using left over bacon or sausage grease to add to the flavor. You want enough to fully coat the bottom of the skillet and lightly fry the dough.
Mix all of your dry ingredients in a large mixing bowl don’t forget the baking powder, otherwise your biscuits will fall flat. They will still taste great but they will not be fluffy at all.
Add half of the buttermilk to the mixture and mix well. You do not want to add all of the buttermilk at once simply because you are looking for dough that sticks to your spoon and takes a good shake to knock it off. If it runs like pancake batter you have added too much buttermilk and need to add more flour.
This is very important: Make sure that the skillet is very hot; otherwise you will have a pan of bread instead of biscuits.
Take a dollop (think an overfilled tablespoon) of the dough and “drop” it into your skillet. Nana doesn’t actually drop them as this will cause the grease to splatter and burn you. The technique for this is to use your index finger to slide the dough off of the spoon and lay it gently in the hot grease. You should immediately hear the dough sizzle in the oil.
You will want to wait a few seconds before you drop each additional biscuit. This will allow the bottoms of the biscuit to crisp up and helps to separate them after cooking.
You should be able to get between 5 and 9 biscuits depending on how big your skillet is.
Once the skillet is full you want to place it in the oven and bake until the top has a nice golden brown color.
Once they have gotten the correct coloring take them out of the oven.
You need to remove them from the skillet to stop the cooking process
If you properly greased your cast iron you should be able to just flip the biscuits out of the skillet onto a plate.
The only step you have left is to decide how to eat them. I typically grab that trusty cast iron and whip up a quick batch of sausage gravy with extra black pepper, or I’ll grab some fresh butter and slather it in some of Nana’s home canned grape jelly.
Do you have a different recipe? I’d love to hear about it.
Want to know more? Check out other recipes from our site:
Homemade Corn Tortilla Recipe
20 Genius Campfire Recipes
Venison Recipes to Try This Hunting Season
-

 Paracord Projects1 year ago
Paracord Projects | 36 Cool Paracord Ideas For Your Paracord Survival Projects
-

 Paracord Projects1 year ago
How To Make Paracord Survival Bracelets | DIY Survival Prepping
-

 Medical Care1 year ago
21 Home Remedies For Toothache Pain Relief
-

 Knife Laws1 year ago
Are Switchblades Legal? Knife Laws By State
-

 Do It Yourself1 year ago
Survival DIY: How To Melt Aluminum Cans For Casting


Marilyn
November 8, 2012 at 12:53 PM
Can you tell me on Nana’s biscuits if you’re using buttermilk from the grocery or if you’re using “buttermilk” from making butter? What did she use? I have tons of “buttermilk” left over after making butter from cream. But . . . the turkeys around here get most of that with whole oats mixed in. (They get fat quickly LOL). Just a question –
Joe
November 8, 2012 at 2:53 PM
We usually just use the store bought kind I’ve never had it with fresh buttermilk. You should try it out and let me know how it turns out 🙂
Jean
November 8, 2012 at 12:59 PM
Surely you don’t mean 2 cups of flour to 2 cups buttermilk, do you???? Seems like that would make soup!!!!
Joe
November 8, 2012 at 2:51 PM
Hi Jean,
Haha, that’s why I said to make sure that you only use half of the milk at first. Remember I am doing this based off measurements that include bits and dashes. The 2 cups is highly dependent on your flour, how compact you make your cups or how much they overflow. also any excess milk could be used to help make the gravy that goes along with it 🙂
Jason
February 7, 2016 at 4:23 PM
I usually end up using 1-1/2 cups of buttermilk.
James
November 8, 2012 at 1:13 PM
I have a recipe that is almost the same that my grandmother used some 85 years ago (I am 90)that my mother and my wife used; same ingredients as yours but added 1-1/2 Tablespoons sugar and 1 Tablespoon bacon grease. Cornbread was made same way but as 1 large piece and with 2 Tablespoons minced onion added as well. I am now a widower, still cook my own meals, and and still use the same recipe.
Joe
November 8, 2012 at 2:52 PM
Nothing beats a good pan of cornbread in a cast iron. Have you ever made “hot water cornbread” its a bit like a hush puppy but my grandmother makes them to go along with her potato soup.
Nick
November 8, 2012 at 5:13 PM
Nothing beats a good pan of cornbread in a cast iron..
a cornbread, a buttermilk food and that name Nana .. sounds Georgian, are you?
Joe
November 8, 2012 at 5:54 PM
Haha, no Nick, I am a Texas boy through and through. Originally from the deep end of the piney woods national forest, not far from the Louisiana border
Howard
November 8, 2012 at 3:47 PM
If you want a simpler recipe, use 2 cups of self rising flower and 1/4 cup of heavy cream to start. Mix with a fork and add just enough heavy cream for the dough to stick together. Bake in a 400 degree oven or cast iron pan with the lid on until golden brown. Easiest recipe I have found and is just as good as my Grandmothers and Mothers biscuits.
Highpockets
November 8, 2012 at 11:51 PM
I’m gonna hafta try making some of those biscuits. Sounds wonderful. I’m trying a different process for seasoning my cast iron and it seems to be working out really nice. I’m using flax oil in VERY thin coats and baked at 500 deg for an hour. (Use the gas grill first time to avoid setting off the smoke detector!) After about 5 or 6 rounds it takes on a nice black patina and water beads up just like Teflon! HP
Joe
November 9, 2012 at 2:38 PM
wow, that’s crazy, i didn’t realize that flax oil had that high of a smoke point! I’ll have to look into it
Pappy
November 9, 2012 at 8:55 PM
Mine are a little different. I melt about 1/2 stick of butter in the skillet, make the batter fairly stiff, add the 2-3 tblsp of oil to the batter, cut biscuits with a small juice glass, dip each biscuit in the butter and flip over. Bake like yours but the butter makes the tops brown nicely.
Pap
Joe
November 9, 2012 at 9:43 PM
Hey Pappy,
I have had biscuits like those as well, those are a bit more of a traditional biscuit, they usually come out a bit fluffier than my Nana’s. Hers end up being more of a pull apart biscuit. but I bet yours taste delicious with all of that butter on them 🙂
Donna
December 7, 2012 at 5:43 PM
For you primitive biscuit cookers
I have cooked a biscuit recipe with my friends in a dutch over a fire along with pies and cobblers. You will reek hell trying to regulate the temperature, changing lid coals and stirring coals under the pot, but if watched, they turn out great. My great grandma who cooked biscuits primitive in a dutch oven used a wire hotplate trivet in the bottom to prevent scorching since the pot is laid directly on the coals. (Biggest complaint in dutch oven baking is scorching) A pie pan to hold the dough is laid on top of the wire trivet. This also helps circulate the heat around the pot and act like an oven when coals are placed on the lid.
This was done when my great grandma pioneered the north before her home was built in the 1890’s while living in a tent and using campfires for cooking. In survival conditions, you may not have the oven available. I hoped those who use the dutch oven for baking primitive find this additional info helpful, and it would be fun to try your recipe this way.
Pingback: Nana's Homemade Biscuit Recipe DIY Ready | DIY Projects | Crafts - DIY Ready | DIY Projects | Crafts
Pingback: Nana's Homemade Biscuit Recipe - Homemade Recipes
Pingback: Really Amazing Women | Nana’s Homemade Biscuit Recipe
Charlene McLain
August 29, 2019 at 6:31 PM
I watched my Mother make biscuits many a morning. She had a biscuit pan that she stored her sifter in. She never measured anything either! She sifted flour in her biscuit pan, like i said she did`t measure at all. After sifting the flour in the pan she wallowed out a hole in the center with her hand ( she mixed with her hand ) or fingertips really. Slowly mixing in dry flour till it gets to where you can handle it. The less you mix the more tender they are.Slowly pinch off the amount you want. Keep your hands floured, so you can handle it. She also used plain flour, Bacon grease, baking powder, salt, and buttermilk. They were sooo good! My brother buttered his biscuits and lined them around his plate. Then filled the plate with syrup (cane syrup ) No one could copy her rec. But they were so good!! No one!!!Not even me!!I don`t know if anyone makes them like this anymore!! When my daddy retired then he made the biscuits the kind you whop on the table. We called them whop biscuits.