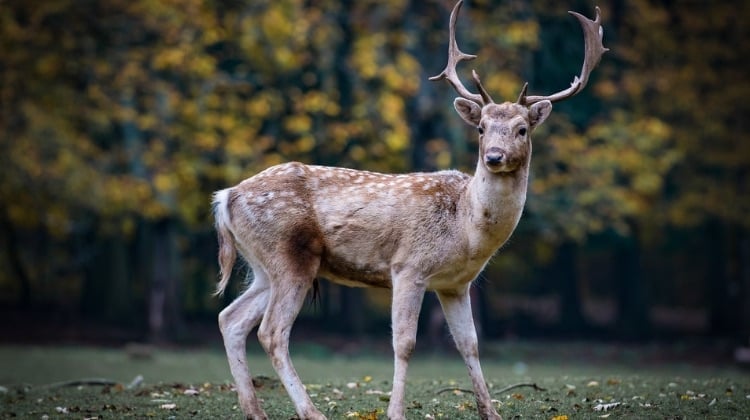


Learning how to skin a deer is a simple task. Make it even easier by having the right tools for the job. This includes a knife, a rope, a saw, and a gambrel. We will cover how to field dress (removing the entrails). In this post, we will assume that you have already field dressed the animal and all you need to do is get the skin off.
Learn How To Skin A Deer The Correct Way
The first thing you want to do when learning how to skin a deer is get the animal stable to make it more manageable. This is done by hanging the deer from a structure, maybe even a tree. Once it is in front of you, you can address it by standing and working, rather than being bent over to do it. Use your knife to cut slits near the rear ankle joint of the animal, taking care not to cut the tendon. You will feel a small pocket in this area, near where the animals’ scent glands are. I prefer to remove those scent glands during the field dressing process.
I also go ahead and cut the front legs off the second joint. You can do this with a saw very easily. It can also be done with a knife, but it takes a fair amount of practice. Simply cut the tendons between the joint and release the two bones connected there.

Once those slits are cut, then slide a gambrel or very stout stick between the two slit marks. The stick should be about three feet long and allow you to spread the legs open. Tie a roundabout and half hitch to your gambrel, and then hoist the animal up to the desired height.
The first step in skinning is to cut a line from near the anus up to the two slits you cut near the ankles. You do this by placing your knife between the muscle tissue and the skin and sliding it toward the end of the leg with the sharp side of your knife up and away from the muscle tissue. If it is down, you will make cuts into the undesirable muscle tissue. Once you get to the end, you can “ring” the hide around each of the legs. This will be the first part that you can then grab firmly and start to pull it away from the muscle tissue.
The next obstacle is the tail. It is mostly tissue you can cut through with a good, sharp knife. I pull the hide off the tail first, like I am pulling a sock off my foot. I then take my knife and cut it very near to the spot where the spin and anus meet.
From that point all the way down to the neck is a process of getting a handful of skin and hide and rolling it away from the muscle tissue, repeatedly. Most of the hide will come off with just your hands if you have decent grip strength. There will be stubborn portions of it as well. For those, you will need your knife. Pull the hide away from the muscle tissue until it gets “stuck” and does not come away with just the strength of your hands. In those spots, take your knife and cut the connecting tissue. Look for the portions that are very thin. The portion you are cutting is nearly transparent. Cut that, and it will release the hide from the surrounding tissue. Continue this process until you get to the front legs and neck area.
Notice on the front legs that there is a distinct line of hair that is white on the underside and dark on the outside. I place my knife between the hide and the muscle tissue and cut along it until I reach the neck. It can get a little tricky where the front legs meet the neck, so be patient, and you will get there.
Once you reach the neck, take it up as far as you can by continuing to tug and pull. Cut where it gets stubborn. Ring the hide around the neck, and you will have the hide completely off. You can then process it if you desire to do so.
Some things to keep in mind are that you will occasionally make cuts into the muscle tissue if you are new to this. As soon as you make a cut and see deep red muscle tissue, STOP. Get another hold on the hide and pull it at a different angle. Cut the connecting tissue rather than the muscle tissue.
Thanks for taking the time and effort to literally take processing your own food into your own hands! Let us know if these steps helped you learn how to skin a deer! For more details, you can check out this link on how to skin a deer.

Up Next: Beginner’s Guide To Having an Outdoor Herb Garden | Survival Gardening
If you’re looking for useful survival gear that you can’t make at home, check out the Survival Life Store!