

Creating a fire is one of the best (and oftentimes worst) test of any survivalist.
Using a lighter and some gasoline is one way to do it but when you take the time to create a fire using your own hands, the comfort from that fire is so much sweeter.
Crafting a Friction fire is an essential skill that every survival and prepper should know.
Unfortunately it is also extremely difficult and even skilled “fire masters” don’t get it right all the time!
I wanted to show you a few tips that might help your personal fire crafting skills:
Using the bow-drill method
Before you start your bushcraft fire you will need to collect some dry wood, leaves and foliage from the surrounding area to use as fuel for your campfire.
Keep these items as dry as possible.
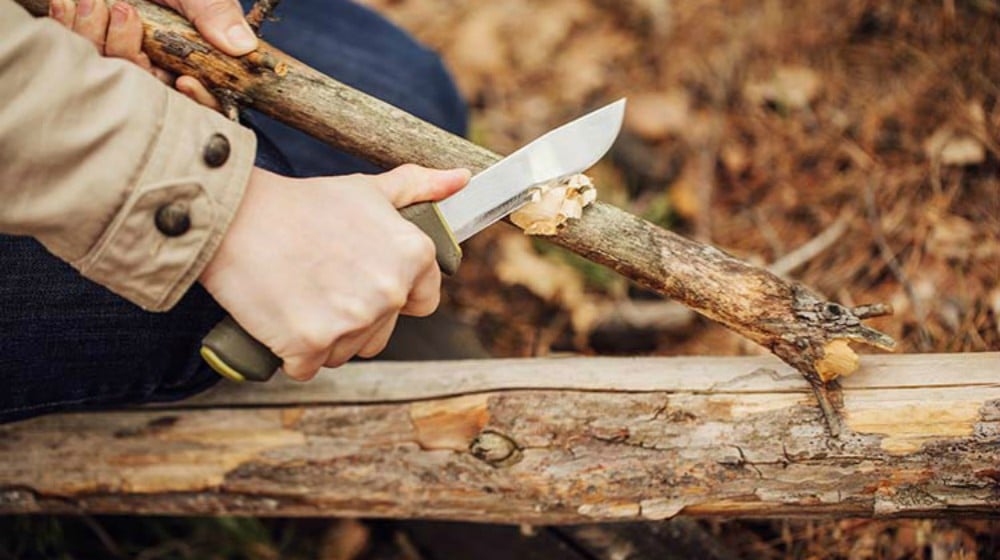
To light a bushcraft fire you will need to create friction. Taking to sticks of wood and rubbing them together will create friction, but this will take far to long to light any campfire.
One of the better alternatives for lighting your bushcraft fire is the bow-drill method. To make a bushcraft fire using the bow-drill method you will need to collect the following items from the surrounding area: –
- 1 X 8″ long stick (drill) – hardwood
- 1 x 24″ long stick (sturdy sapling capable of bending into a bow)
- 1 x flat stone (approx. 3″ round with small indent) or wood with notch in middle.
- 1 x flat peace of wood approx. 12″ long and 4″ wide
- 1 x Length of Para cord or bootlace.
- Tinder such as Maya dust or cotton wool
1. Take the 8″ stick (drill) and sharpen one end to a point like a pencil then round of the other end.
2. Take the 24″ sapling stick and fix the bootlace to one end.
3. Twist the bootlace once around the dowel stick, tie the remaining end of bootlace to the other end of
sapling stick to form a bow.
4. Next take the flat peace of wood approx. 12″ long and 4″ wide and make a small notch on the side
with your bushcraft knife. The rounded end of the drill will sit onto this notch.
5. Place the flat peace of wood on to level ground and place tinder into and around the notch.
6. Whilst kneeling on one knee hold the wood in position with your other boot.
7. Hold the bow and drill in one hand with rounded end of drill placed into the notch.
8. Place the indented stone onto the pointed end of the drill and apply downward pressure.
9. Slowly use a sawing motion, moving the bow back and forth allowing the drill to spin and generate friction, which in turn will create heat and then fire. If the drill is not moving freely release downward pressure slightly.
10. You will need to increase speed until the tinder begins to smoulder.
When you have a smouldering bushcraft fire, you can start to slowly add the dry wood, leaves and foliage. Do not add too much until you are sure your buscraft fire is going well. Remember to keep a stock of wood near by to keep adding to you campfire.
Original Article Written by: Indu Dennis
This is just one single method of starting a fire in the wild… but depending on the conditions a bow drill might not even be your best bet for a hot fire.
Make sure that if your survival hinges on your ability to keep warm, your not left out in the cold!
Click here to learn more:
https://survivallife.com/temper-your-skills
Have any other tips or tricks for a friction fire that you want to share?
Leave them below!