Survival Tip of The Day
Water Safety Tips | Make Your Own Water Pasteurization Indicator (WAPI)
Did you know you don’t have to boil water to make it to safe to drink? With a WAPI you can make water safe to drink without boiling it! Check out the steps below to learn how.
Make Your Own Water Pasteurization Indicator (WAPI)
Have you ever heard of a WAPI?
A WAPI (Water Pasteurization Indicator) a simple tool that uses a ball of wax to indicate when your water reaches the perfect temperature for pasteurization. These tools are mainly used in solar cooking but are a fantastic addition to your bug out bag, especially if you live in areas where firewood is few and far between and you may not be able to wait for your water to boil.
(Did you know that it takes twice as much energy to raise the temperature of your water from 200 degrees to 212 degrees as it does to bring your water from freezing to 200?)
You can purchase these online for around $9.00 or you could make your own with a few common household items.
What you’ll need to make your own WAPI:
- 1 clear plastic straw
- Super glue
- Needle
- Lighter
- Fishing line
- A metal washer
- Beeswax
- Eyedropper
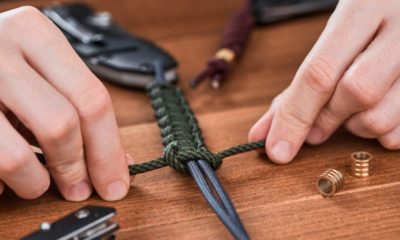
How to make your WAPI:
Step 1: Squeeze a bead of super glue into the end of your straw about ½ inch down the straw.
Step 2: Pinch it flat.
Step 3: Heat the tip of the pin with the lighter and poke a hole in the flattened end.
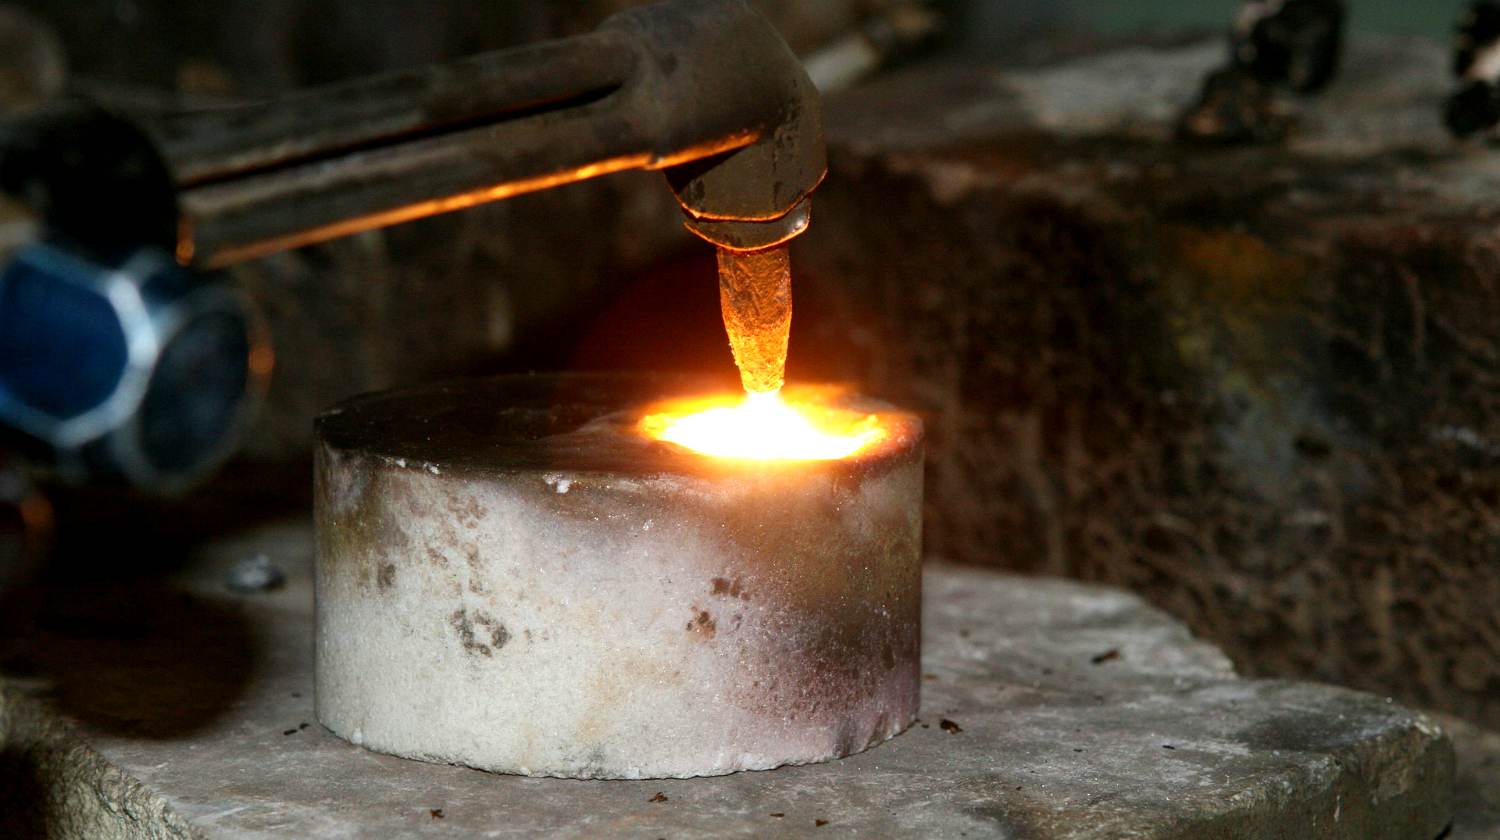
Step 4: Melt your wax.
Step 5: Fill your syringe or eyedropper with the melted wax and quickly drip it into the open end of the straw until you have a pool of wax about ¼ of an inch tall.
Step 6: Seal the remaining open end of the straw with super glue.
Step 7: Push the fishing line through the hole made earlier insert it through the washer and tie a loop to secure it together.
Step 8: Test it by submerging it in water to make sure it doesn’t leak.
That’s all you need to do to create your own WAPI.
Note: Pure beeswax melts at around 149 degrees Fahrenheit so place the WAPI in the water and once the wax melts it should be safe to drink. This should only be used in a survival situation, if you question whether or not the water is safe, always leave it longer.
These are the basic instructions to build a rudimentary WAPI. If you’d like to build a better WAPI that will last a lifetime, check out this short video below:
This is just one way to make sure that your water is safe to drink. How do you get fresh water in the wild?
For awesome survival gear you can’t make at home, check out the Survival Life Store!


-
 Do It Yourself7 months ago
Paracord Projects | 36 Cool Paracord Ideas For Your Paracord Survival Projects
-
 Do It Yourself9 months ago
How To Make Paracord Survival Bracelets | DIY Survival Prepping
-
 Do It Yourself9 months ago
21 Home Remedies For Toothache Pain Relief
-
 Do It Yourself10 months ago
Survival DIY: How To Melt Aluminum Cans For Casting
-
 Exports8 months ago
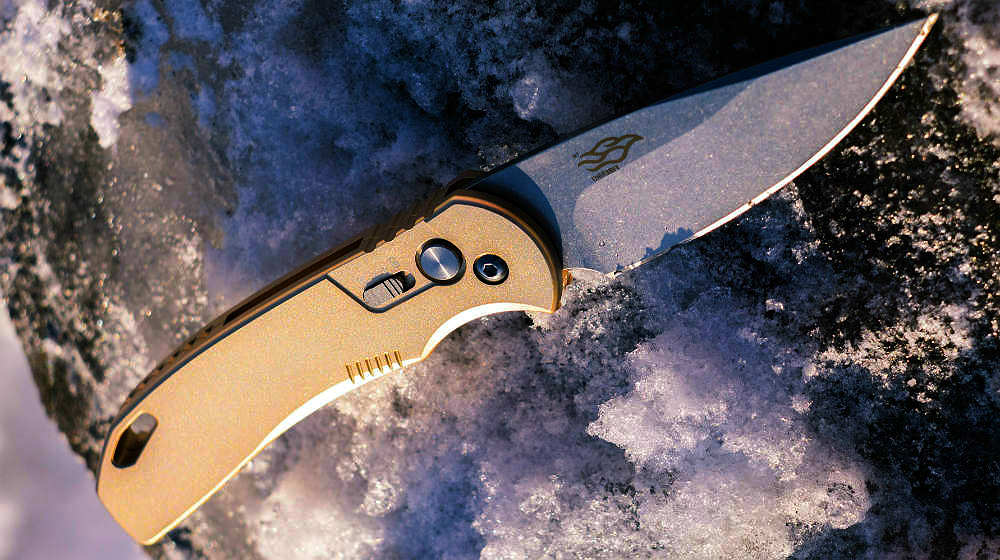
Are Switchblades Legal? Knife Laws By State
Evangeline williams
September 20, 2012 at 11:48 AM
I think I will like these e-mails. Thanks. I have a question, Why not just use the same gaget that we check the doneness of our meat to ck the temp of the water?
Joe
September 20, 2012 at 2:03 PM
Hi Evangeline,
Great Question, I like the WAPI better than a standard thermometer as it has less of a chance to break than a standard glass thermometer and there is no chance of mercury in the WAPI ( I believe mercury was only fully being phased out of thermometers as of 2009). I also don’t like the use of a meat thermometer as I have stabbed myself on one of them and I wouldn’t want to do that again while rummaging around in my BOB. Also the WAPI is a set it and forget it gadget. with a thermometer you have to make sure that it does not touch the metal or you will get an inaccurate reading. Thanks again for the comment and I look forward to hearing more from you!
Millie
September 23, 2012 at 7:07 PM
Evangeline –
I still like your idea best.
I have an old, still accurate, metal meat thermometer with the glass encased in metal except for 1 1/2″. I know not to touch bone so not touching metal is a given. If the end is sharp, just stick it into a cork. Too hot to hold? I think a pot holder or tongs would do it.
Joe
September 23, 2012 at 7:59 PM
Hi Millie,
Thanks for the other tips. As the old saying goes there is more than one way to skin a cat! thanks again and I look forward to hearing more from you!
Mike Byrne
November 9, 2012 at 9:42 PM
If you get a washer just big enough to fit the straw through you can put it on before you flatten the second end. The flattened ends will stop it coming off.
teabag
June 8, 2013 at 1:26 AM
why not just heat the water until it starts to boil? in fact, the army survival manual says you should boil it for 10 minutes! i think that’s unnecessary, but there seems to be little agreement online about what temperature kills microbes. guess i should check with the CDC.
teabag
June 8, 2013 at 2:24 AM
CDC, FEMA and the red cross say to keep water at a rolling boil for at least one minute; WHO says you only have to bring the water to a rolling boil. i’d guess the 10-minute recommendation is outdated.
bob
September 27, 2014 at 10:50 AM
The actual critical temp is 168F. Without something to check it( wapi or thermo ) the only way to visually determine you got there is to see it boil. even to start boiling does it
Bill
September 27, 2014 at 9:21 AM
Add a bit of crayon to the beeswax melt and you can color your wax for better visibility.
Jo
September 21, 2019 at 12:58 PM
Excellent suggestion, Bill. Please keep on sharing your ideas.
Other Mike
September 27, 2014 at 4:45 PM
Uhm, how does it work? Why the fishing line and the washer? The video uses 3 washers. Why?
Doug
September 29, 2014 at 11:57 AM
For lack of better terms, the fishing line and small washers are basically a reversible, sliding handle. After the initial use, the wax melts and runs from the top of the tube to the bottom. The large washer holds the tube down, while the small washers just keep the line from coming undone. So, you have a length of line with the tube on it. Hold one end of the line, and slide the tube to other end of the line, oriented so that the wax ball is at the top of the tube. Put in the water container, lifting it up and checking every so often to see when the wax melts and runs down. Once it does, pull it out and let it cool down. Slide it to the other end of the line, and you’re ready to go again.
BillSF9c
April 17, 2018 at 8:31 PM
Interesting as a crude scientific instrument. I bought beeswax a few times in my life, before getting bees. I have bought 6″ “pocket” thermometers for 2.99 USD($,) less than most beeswax nowadays. They are all metal. I have several.
You discuss only water. Food is also an issue. Botulism toxins can be destroyed by 212F. The spores live on and need the 240F of a pressure cooker. But botulism is everywhere. The amount is the issue. Boiling takes more twig gathering but adds a certain safety factor… even with water.
Then there was 16 drops if bleach ler qt for dirty water and 4 for clear water, shake, and wait 20 minutes.
Or get a few survival straws from sharper image.
Beeswax? Why the drama of making a tool??? Put a pea sized piexe into the water. Oh! It floats!?! Yeah. When it melts you have hit 135-145F. Dunno where 149 came in…
BillSF9c