Do It Yourself
How To Make Rope Out Of The Yucca Plant
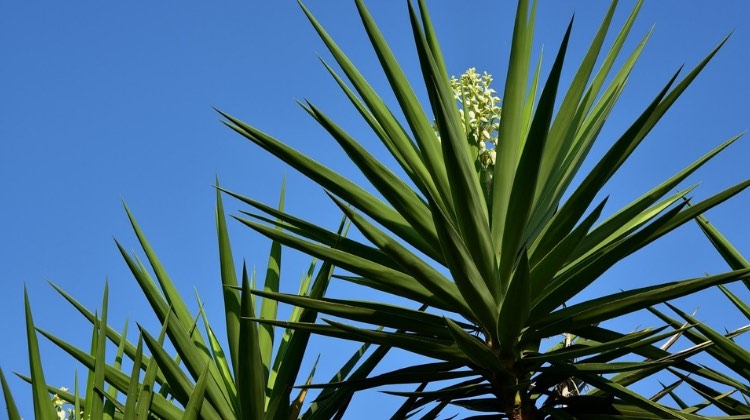
Whether you are an inexperienced outdoorsman trying to figure out which skills to learn or a seasoned prepper looking to add to an already impressive skillset, may I suggest that you investigate the yucca with me, and together we will learn how to use this amazing shrub for a myriad of survival situations.
How to Make Rope Out of the Yucca Plant
The yucca is a perennial shrub with pointy, evergreen, sword-like leaves that extend every direction from its base, giving it a look like a ball with long green spikes. Somewhere in the middle of it, a stem grows straight and tall that, in the late spring and summer, has flowers and fruits growing from it.
There are many different species of yucca. Some have wide leaves, and some have narrow leaves. They are generally found throughout most of the continental United States on roadsides, open fields that get a lot of sun, and in sandy woods.
A few of the many uses for the yucca include:
- Rope
- Soap
- Shampoo
- Food
- Hand Drill
- Tinder
None of those uses are difficult to master. It just takes time, patience, and persistence. Today I will show you how to make rope from the leaves of the yucca.
The fibers of the leaves of the yucca plant are very strong, and will, if processed properly, yield a sturdy rope. To prepare for making rope, you will need access to a yucca, a knife, a solid and flat space on which to work, a rock with a flat edge, and a rock or stick for crushing the leaves. If you are in a controlled environment, you could use a tack hammer, a butter knife, scissors, and a durable table.
Step 1
Select a few long, straight leaves that are still very green. With the scissors, cut the leaves close to the base. Also cut off the needle. Lay your yucca leaves on the table.
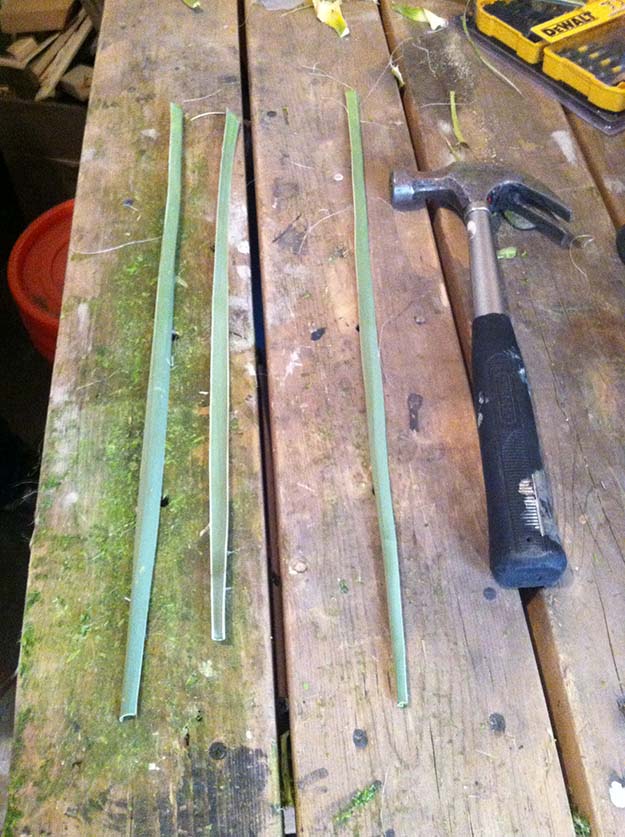
Step 2
You need to remove the outer layer of the leaves to expose the fibers beneath. Pound the leaves with the tack hammer. Turn them over and pound some more.
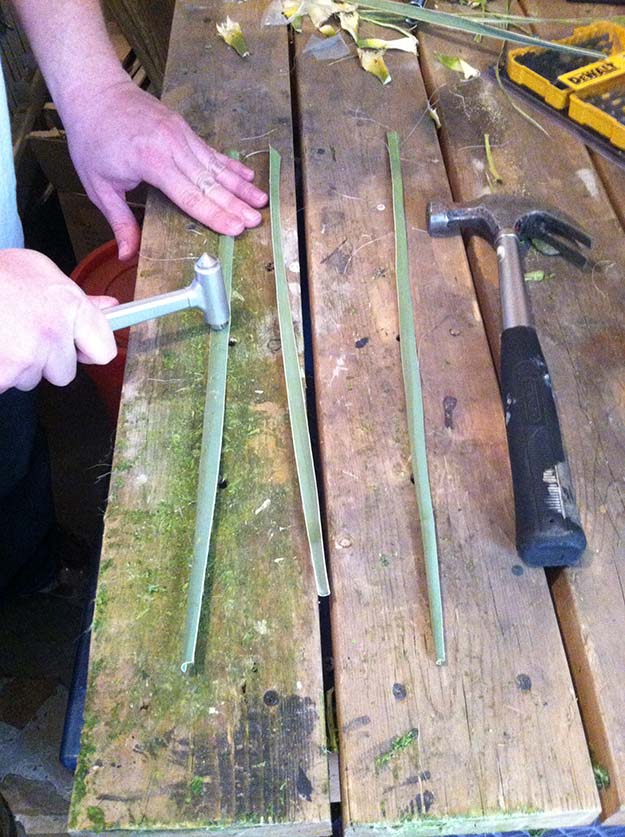
Take the butter knife and scrape the outer layer of the leaves. You will see the darker green begin to come off, and you will also see the fibers beneath.Ideally, you want to remove all of the darker green from the leaves, and be left with just the fibers. This is a tedious process, and it takes a while.
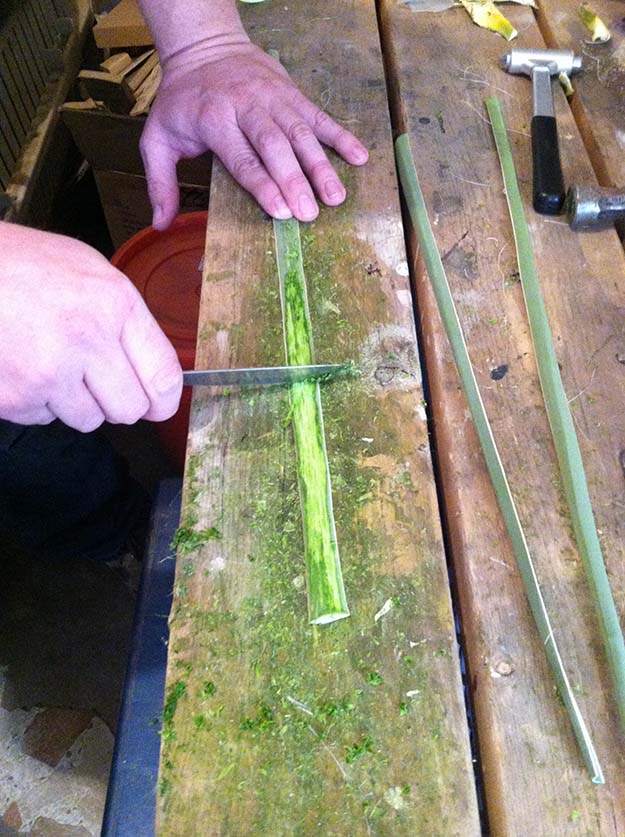
Step 3
With only the fibers left, you are ready to begin making the rope. Depending on what you need your rope to do, the thickness of the rope and length of it will vary. The longest rope you might ever need to make for yourself would be used to suspend your gear between two trees to keep the bears off of it. The shortest and thinnest you might need may be for a snare. There are a couple of ways to make your rope. You can twist your fibers, or you can braid them.
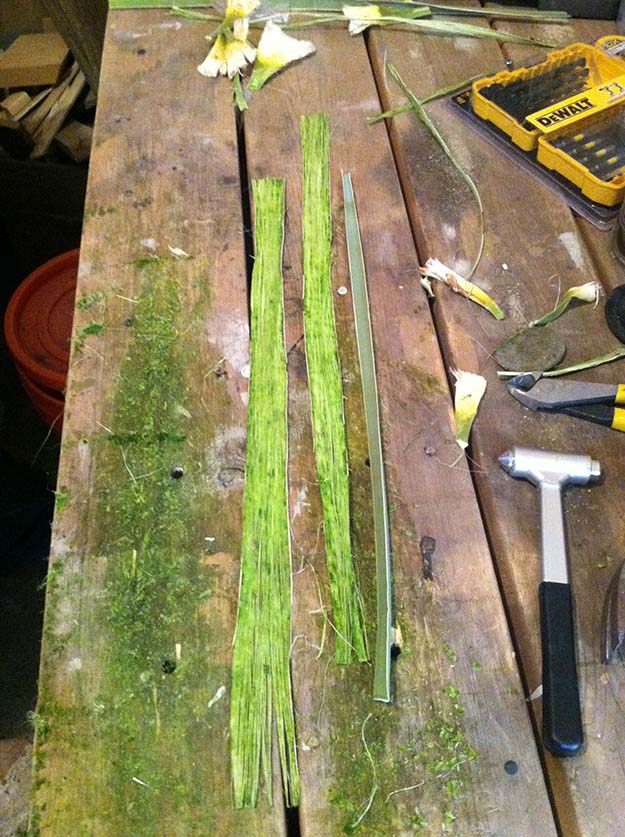
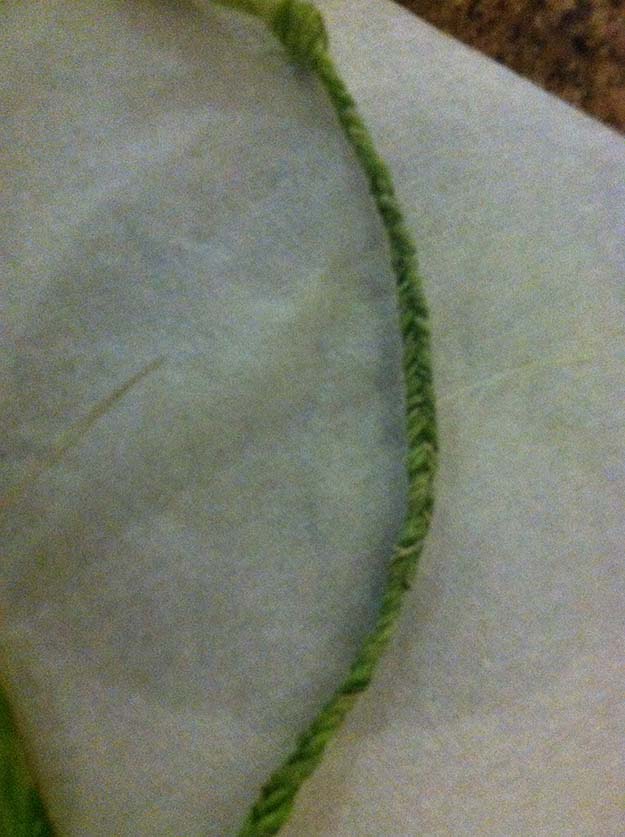
To Braid: Start with four sections of fibers, all of about the same thickness, and tie them together at one end with an overhand knot.
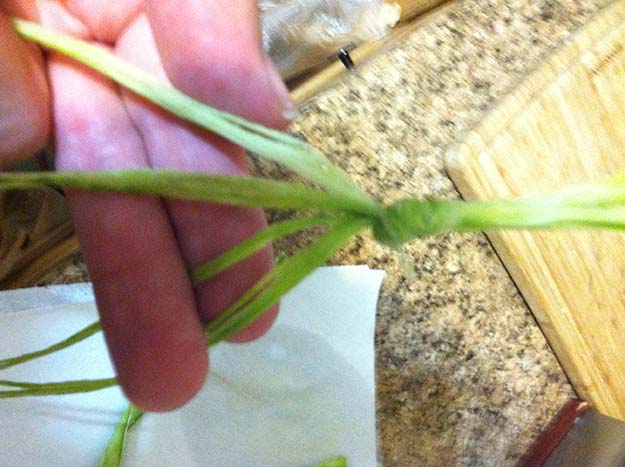
When you have the four strands in your hand, take the one on the far right and send it over two, and the one on the far left goes over top of the one that just came from the right.
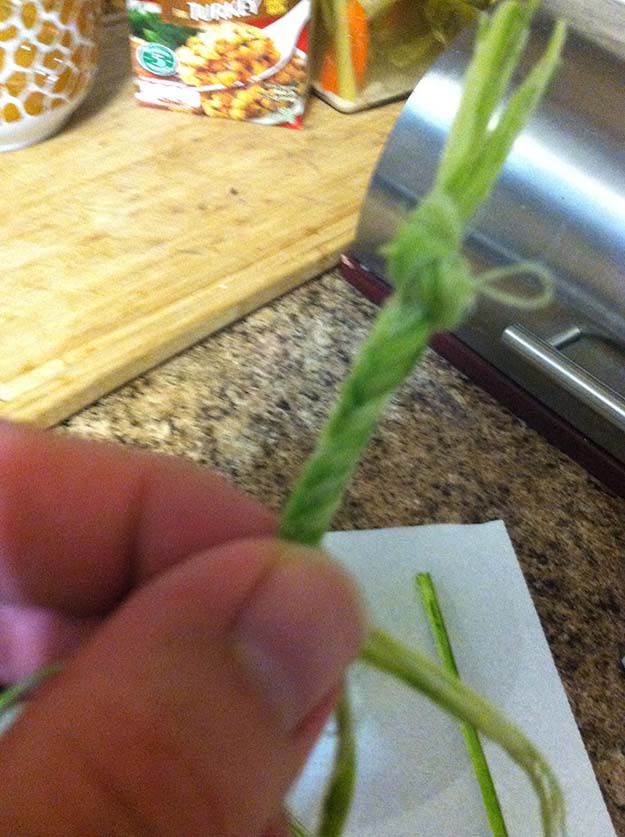
Keep the braid tight, keep a good grip just above the loose strands. Eventually you will need to tether your rope to something so you can keep working on it. When you need to add strands to your rope, lay a strand in the track where the one from the right is supposed to go. Take the strand from the right and lay it on top of the new strand, and braid them both together.
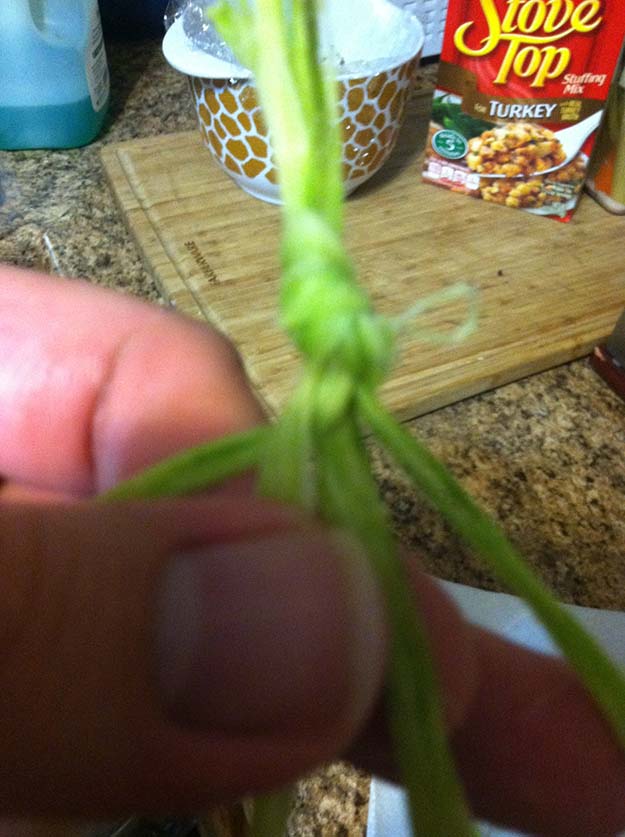
Stagger the new strands so they do not all get added at the same time. When your rope is finished, tie off the end in an overhand knot. Clip stray fibers.
To Twist: Start in the middle of one strand of fibers and twist in opposite directions. This will produce a kink.
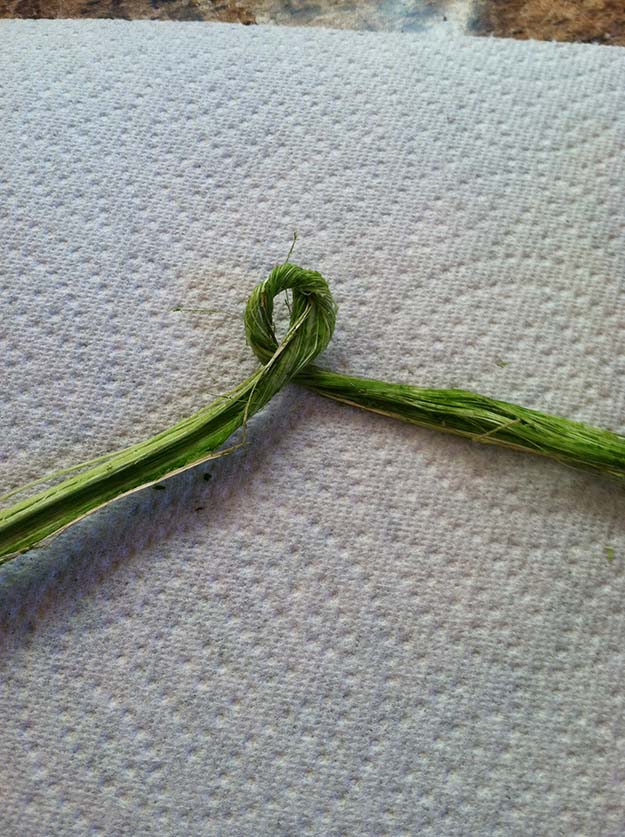
Hold the place where the strand crosses itself. One side will be on top of the other. Grab the strand that is on top between thumb and index finger and roll it towards the other strand. With your middle finger, grab the other strand and rotate your hand back the way it came. This action sends the bottom strand over the top one.
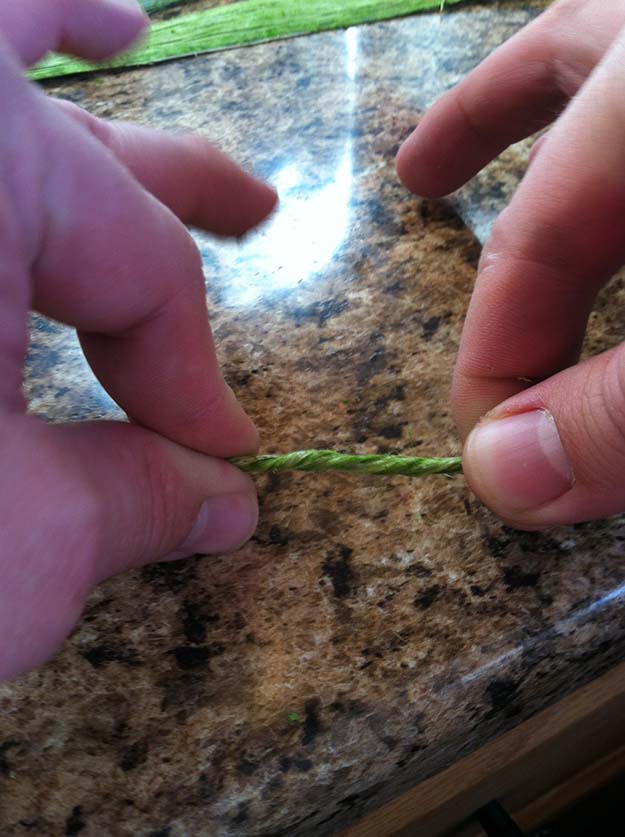
Repeat this process, keeping your rope tight as you go. When you need to add more strands to make longer rope, fold your new strand in two and push it as tightly in to the mix as you can.
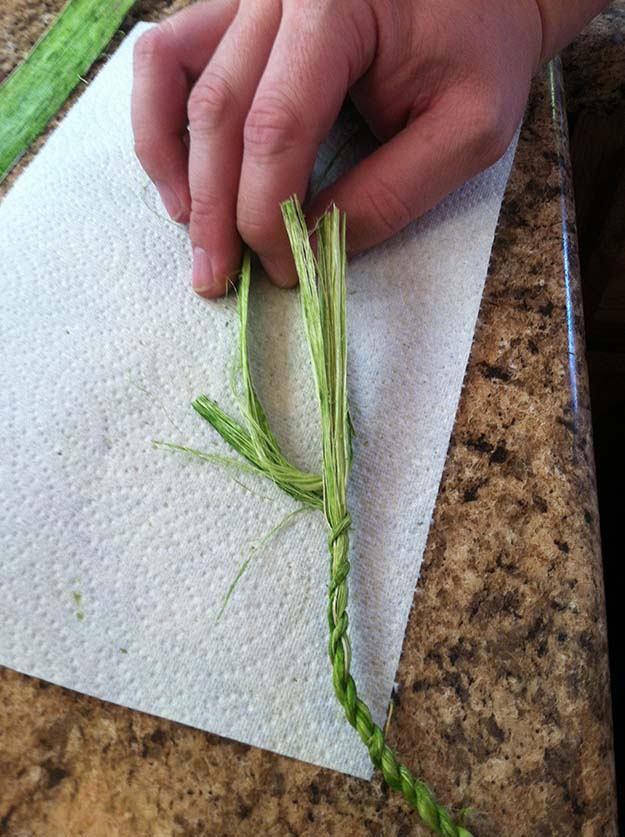
Make sure half of the strand goes with one, and the other half goes with the other. Twist the new strand in with the old one. When your rope is to its desired length, and overhand knot will finish it.
Using these simple steps to make rope from the yucca plant, you can make a number of different things with it. You can make snares, shoelaces, lashes, a bow drill string, a tourniquet, shelter support, booby-traps, a fishing net, and primitive weapons. With access to the yucca, and the time and tools to work with it, the possibilities are numerous.
Did you like our tutorial on making rope out of yucca leaves? Check out these related articles for more DIY survival tips and tricks!
DIY Cordage: How To Make Your Own Rope
Paracord: Everything You'll Ever Need to Know
36 More Weekend Projects For Preppers
-

 Paracord Projects1 year ago
Paracord Projects | 36 Cool Paracord Ideas For Your Paracord Survival Projects
-

 Paracord Projects1 year ago
How To Make Paracord Survival Bracelets | DIY Survival Prepping
-

 Medical Care1 year ago
21 Home Remedies For Toothache Pain Relief
-

 Knife Laws1 year ago
Are Switchblades Legal? Knife Laws By State
-

 Do It Yourself2 years ago
Survival DIY: How To Melt Aluminum Cans For Casting






Anonymous
November 8, 2017 at 5:30 PM
Very good,thank you!
Pingback: How To Build An Overnight Bushcraft Camp | Tutorial For DIY Survival
Pingback: How To Build An Overnight Bushcraft Camp | survivalisthandbook.com