Archives
Pet Emergencies: How to Prepare
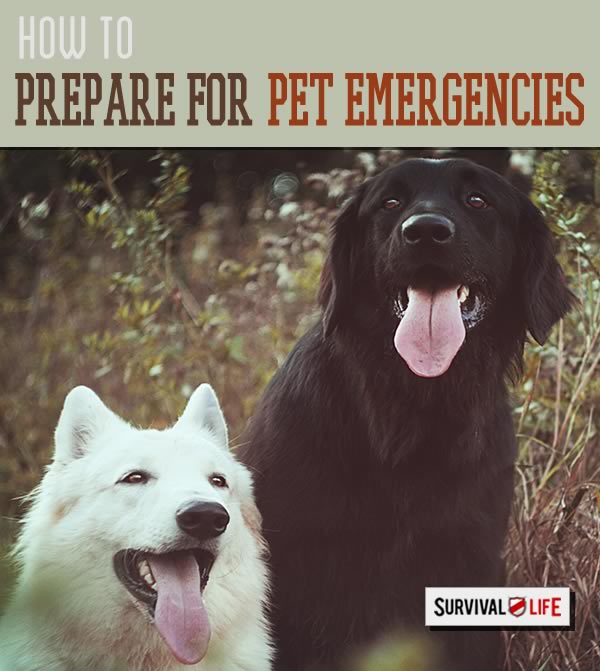
We've already discussed prepping with pets in a previous article, and you all let us know how your pets are a part of your family and how you've included them in your survival plan.
For many of us, our pets are like our kids. We wouldn't dream of leaving our pets behind when SHTF.
But even day to day life can be dangerous for our pets. Sometimes they eat things they aren't supposed to or get into situations that can get them in injured. If such a thing happened to your beloved pet, would you know what to do?
Gaye Levy from Backdoor Survival has some tips on dealing with pet emergencies. Read on to learn more, and be sure to visit Backdoor Survival for more awesome prepping tips.
When it comes to our four legged friends, being prepared goes beyond having the proper pet supplies in our bug-out bags and in-home emergency kits. There is also the component of pet healthcare and the need to recognize and then act quickly and decisively during a pet emergency.
In my opinion, this is a topic that is not addressed often enough in the preparedness community. The truth is that while it is easy to use a proactive approach with our own healthcare, most of us are at a bit of a loss when it comes to our pets.
Let’s face it. We can count on our pets body language and demeanor to tell us that they are not feeling well but other than that, they cannot verbalize their aches and pains and other woes like a human can.
With that introduction, today I share suggestions and tips to help you be prepared for pet emergencies. As much as for myself as for you, I have put together the following list of solutions to pet accidents and illnesses that may occur following a disaster or other catastrophe when professional help is not around.
Disclaimer: I am not a health care professional or veterinarian. The information below was gathered from what I believe to be credible sources. That said, if you have any questions, please consult with your pet’s own veterinarian for expert advice on what to do in an emergency situation. Also, please remember that in almost all of these circumstances, it is preferable to transport your pet to your veterinarian than to treat the illness yourself.
Checking Your Pet's Vital Signs
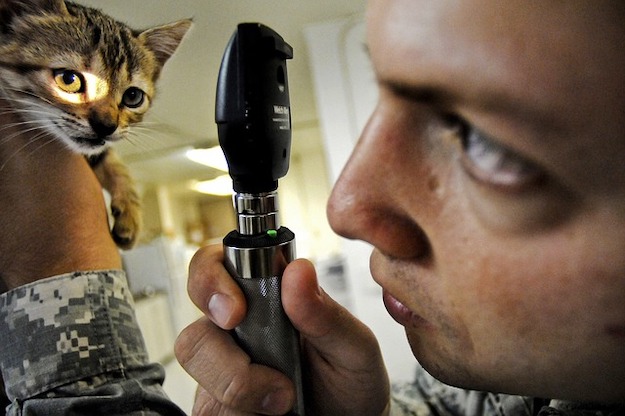
If your pet is ever in distress, it is helpful to be familiar with your dog’s vital signs. So what should those vital signs be? The best thing to do is to determine your pet’s “normal” or baseline vital signs so that you can make a comparison to this baseline during times of stress, accident or illness.
The vital signs you want to measure are heart rate, breathing rate and body temperature.
According to Dr. Rebecca Jackson:
A normal heart rate for dogs is between 60 and 140 beats per minute. To determine your dog’s heart rate, put your hand to his chest and count how many pulses you feel in 15 seconds, then multiply by 4 to get the number of beats per minute. If you have trouble detecting heart beats in the chest area, try placing two fingers on the middle of your dog’s thigh near where the leg joins the body. There, you should be able to feel the femoral artery pulsing each time the heart beats.
Next, you want to determine your dog’s rate of respiration, at rest (in other words, not right after a game of Frisbee). A healthy dog takes between 12 and 24 breaths per minute. To measure breathing rate, count the number of times the chest expands in 10 seconds and multiply by 6. You can do this either by watching your dog or resting your hand on the ribs. Normal respirations should not make any noise, and should require very little effort. Of course, if you have a brachycephalic breed like a Pug or English Bulldog, a little snort from time to time can be expected!
The final vital sign to measure in your pet is body temperature; a normal temperature is around 100.5 degrees Fahrenheit to 102.5 degrees Fahrenheit. And yes, the best measure of true body temperature is taken rectally, so you might want to distract your dog with a treat or toy while you take the temperature. If you (or your dog) aren’t comfortable with that particular method, the next best tool is an ear thermometer or “touch-free” infrared thermometer that is made for animals.
Once you have taken your dog’s vitals, keep a log of his normal numbers in your pet first aid kit, in the event you ever need to grab it and go. The three main vitals you want to measure are the heart rate, breathing rate and body temperature.
How to Deal with Common Pet Emergencies
Poisoning and Exposure to Toxins
Poisoning is a pet emergency that causes a great deal of confusion for pet owners. In general, any products that are harmful to people are also harmful for pets. Some examples include cleaning products, rodent poisons and antifreeze. But you also need to be aware of common food items that may be harmful to your pet since many foods that are perfectly safe for humans, can potentially be deadly to dogs and cats.
To be safe, keep the following food items out of your pet’s menu:
- Coffee grounds
- Fatty foods
- Tea
- Chocolate
- Avocado
- Alcohol
- Yeast dough
- Grapes/raisins
- Salt
- Macadamia nuts
- Onions
- Garlic
- Chewing gum, candy and breath fresheners containing xylitol
In addition, always keep garbage out of a pet’s reach since rotting food often contains molds or bacteria that could produce food poisoning.
If your pet’s skin or eyes are exposed to a toxic product (such as those in many cleaning products), check the product label for the instructions for people exposed to the product; if the label instructs you to wash your hands with soap and water when exposed, then wash your pet’s skin with soap and water – just make sure that you do do not get any into its eyes, mouth or nose. If the label tells you to flush the skin or eyes with water, do this for your pet as soon as possible.
Bee or Wasp Stings

Neutralize the sting. Since bee stings are acidic, you can neutralize them with baking soda. On the other hand, wasp stings are alkaline and should be neutralized with vinegar or lemon juice. After neutralizing the sting, apply a cold pack plus calamine or antihistamine cream,
Seizures
In the event of a seizure, keep your pet away from any objects (including furniture) that might hurt it. Do not try to restrain the pet. Time the seizure and after the seizure has stopped, keep your pet as warm and quiet as possible.
Fractures

If your pet has a fractured bone, he will be in pain and may act erratically. It is important to muzzle your pet so that you can treat him. After doing so, gently lay your pet on a flat surface for support. Attempt to set the fracture with a homemade splint, but remember that a badly-placed splint may cause more harm than help. Only do this if it is your only choice.
External Bleeding
First muzzle your pet then press a clean, thick gauze pad over the wound, and keep pressure over the wound with your hand until the blood starts clotting. This will often take several minutes for the clot to be strong enough to stop the bleeding. Instead of checking it every few seconds to see if it has clotted, hold pressure on it for a minimum of 3 minutes and then check it.
If the bleeding is severe and on the legs, apply a tourniquet (using an elastic band or gauze) between the wound and the body, and apply a bandage and pressure over the wound. Loosen the tourniquet for 20 seconds every 15-20 minutes.
Internal Bleeding
The symptoms of internal bleeding include bleeding from nose, mouth, rectum, coughing up blood, blood in urine, pale gums, collapse, weak and rapid pulse. If your pet is exhibiting these symptoms, keep him as warm and quiet as possible. Alas, there is nothing much you can do unless you can transport your pet immediately to a veterinarian.
Burns
For chemical burns, first muzzle your pet then flush burn immediately with large quantities of water. For other types of sever burns, muzzle then quickly apply an ice water compress to burned area.
Choking
The symptoms of choking are difficulty breathing, excessive pawing at the mouth, choking sounds when breathing or coughing of blue-tinged lips/tongue. Use caution since a choking pet is more likely to bite in its panic.
Look into the pet’s mouth to see if a foreign object is visible. If you see an object, gently try to remove it with a pliers or tweezers, but be careful not to push the object further down the throat. If you can not remove the object or your pet collapses, place both hands on the side of your pet’s rib cage and apply firm quick pressure, or lay your pet on its side and strike the rib cage firmly with the palm of your hand 3-4 times. The idea behind this is to sharply push air out of their lungs and push the object out from behind. Keep repeating this until the object is dislodged.
Heatstroke

Pets can succumb to heatstroke very easily and must be treated very quickly to give them the best chance of survival. If your pet is overheated, move him to a shaded area and out of direct sunlight. Place a cool or cold, wet towel around its neck and head (do not cover your pet’s eyes, nose or mouth).
Remove the towel, wring it out, and rewet it and rewrap it every few minutes as you cool the animal. Pour or use a hose to keep water running over the animal’s body (especially the abdomen and between the hind legs), and use your hands to massage its legs and sweep the water away as it absorbs the body heat.
Monitor your pet’s temperature with a rectal thermometer. When his temperature drops to 103 degrees, dry your pet off.
Shock

The symptoms of shock are a weak pulse, shallow breathing, nervousness and dazed eyes. Shock usually follows a severe injury or extreme fright.
If you pet is in shock, keep him restrained, warm and quiet. If your pet is unconscious, keep head level with rest of body.
Not Breathing
If your pet is not breathing, stay calm and check to see if your pet is unconscious. Open your pet’s airway by gently grasping its tongue and pulling it forward (out of the mouth) until it is flat. Check the animal’s throat to see if there are any foreign objects blocking the airway (see the section above on Choking).
Perform rescue breathing by closing your pet’s mouth (hold it closed with your hand) and breathing with your mouth directly into its nose until you see the animal’s chest expand. Once the chest expands, continue the rescue breathing once every 4 or 5 seconds.
No Heartbeat – CPR for Pets
Do not begin chest compressions until you’ve secured an airway and started rescue breathing (see the section above, “Not Breathing”).
- Gently lay your pet on its right side on a firm surface. The heart is located in the lower half of the chest on the left side, just behind the elbow of the front left leg. Place one hand underneath the pet’s chest for support and place the other hand over the heart.
- For dogs, press down gently on your pet’s heart about one inch for medium-sized dogs; press harder for larger animals and with less force for smaller animals.
- To massage the hearts of cats and other tiny pets, cradle your hand around the animal’s chest so your thumb is on the left side of the chest and your fingers are on the right side of the chest, and compress the chest by squeezing it between your thumb and fingers.
- Press down 80-120 times per minute for larger animals and 100-150 times per minute for smaller ones.
- Don’t perform rescue breathing and chest compressions at the same exact time; alternate the chest compressions with the rescue breaths, or work as a team with another person so one person performs chest compressions for 4-5 seconds and stops long enough to allow the other person to give one rescue breath.
- Continue until you can hear a heartbeat and your pet is breathing regularly, or you have arrived at the veterinary clinic and they can take over the resuscitation attempts.
Please remember that your pet’s likelihood of surviving with resuscitation is very low. However, in an emergency it may give your pet its only chance.
The Pet First Aid Kit
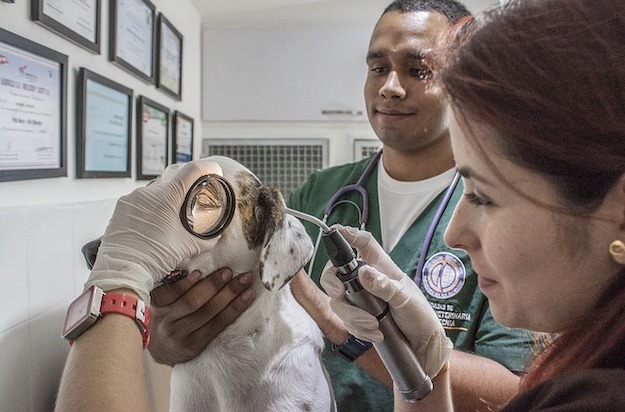
The items below are suggestions for a pet first aid kit. As you read through this list, you will see that many of these items can perform double duty as first aid in your human first aid kit as well. I leave it up to you to decide whether you want to create one kit – for you and your pets – or separate kits for each of you. Note that you will find links to many of these items in the bargain bin.
- Digital thermometer (normal temperature is around 100.5 – 102.5 degrees; a couple degrees above that is a likely sign of infection (fever) and a few degrees below can signal shock.
- KY jelly (to lubricate thermometer before your insert into the pet’s rectum)
- Kaopectate (to stop diarrhea – be careful to only give amount appropriate for the pet’s weight)
- Syringes without needles or an eye dropper (to administer liquids into pet’s mouth)
- Bandages – gauze pads, non-stick Tefla pads, cotton gauze (to cover wounds; gauze can also be used as a make-shift muzzle but NOT in cases of vomiting)
- Anti-bacterial ointment (to speed healing and prevent infection) or some DIY Miracle Healing Salve
- Cotton swabs (to clean wounds)
- Small splint (to stabilize a broken limb)
- Vet Wrap or Medical tape (to keep bandages or splints in place)
- Scissors (to trim hair from wound site and shape bandages as needed)
- Tweezers (to remove dirt, pieces of glass from wounds)
- Locking hemostatic forceps (to clap off a blood vessel or to help remove porcupine quills)
- De-ticker tool (good for removing all kinds of ticks)
- Hydrogen peroxide – (to induce vomiting; use ONLY with veterinary instruction as some poisons can cause more damage if they travel back up the esophagus)
- Activated charcoal (absorbs poisons – again, use ONLY with veterinary instruction)
- Rubbing Alcohol (to clean and disinfect wound)
- Dawn dish washing soap – to wash off toxins or skin irritants that they may have rolled in)
- Saline solution (to flush out eyes)
- Instant cold pack (to lower body temperature of hypothermic patients)
- Muzzle (for dogs to protect you from bites if your pet is in severe pain and cannot quietly tolerate your care)
- Rescue Remedy (to calm distressed animals)
- Blanket (to calm as well as keep the pet warm)
- Hot water bottle (to keep the pet warm if you suspect hypothermia or shock)
- Honey & a bottle of water (to ward off hypoglycemia)
- Lavender essential oil to calm and to treat wounds (dogs only)
Essential Oils for Dogs

No article about first aid for pets, and especially dogs, would be complete without a brief mention of the use of essential oils.
According to well-known expert Valerie Worwood:
Dogs have a very good instinct for the essential oils and even seem to know what is good for them. If you put an oil that is digestive on one hand, and a pesticide oil on the other, a dog with a stomach upset will invariably come forward to lick the hand that will do him most good.
Remember though that dogs have a much stronger sense of smell than humans, so generally aim to use a minimum quantity of essential oil and increase the quantities if and when necessary.
The nice thing about EOs for dogs is that the very same basic essential oils you use on yourself can be used on dogs. These include Lavender, Melaleuca (tea tree), and Frankincense among others. As with humans, these oils can be used to sooth and calm and to treat cuts and wounds so that they do not become infected.
As a basic rule of thumb, dilute your EOs first, starting with 1 drop of essential oil to 9 drops of carrier oil. With pets, especially, less is more.
Note that in this discussion, I am specifically referring to dogs. The use of essential oils on felines is somewhat controversial and beyond the limitation of my knowledge. I would suggest that if you have a cat, discuss the use of essential oils with your veterinarian first.
Additional Resources
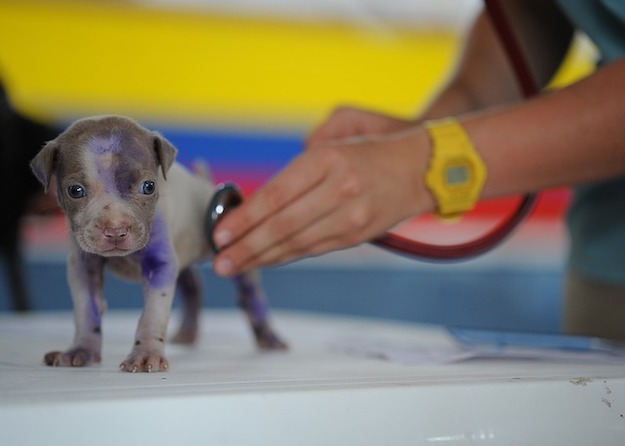
For more information, visit the American Veterinary Medical Association (AVMA) and First Aid Tips for Pet Owners.
The AVMA brochure Household Hazards offers a summary of what foods and common household items may pose a danger to your pet. (Select “download” to get this for free; do not add to the cart.)
Get a Free Rescue Alert Sticker. This easy-to-use sticker will let people know that pets are inside your home. Make sure it is visible to rescue workers, and that it includes 1) the types and number of pets in your household; 2) the name of your veterinarian; and 3) your veterinarian’s phone number. If you must evacuate with your pets, and if time allows, write “EVACUATED” across the stickers.
The Final Word

Emergency treatment and first aid for pets should never be used as a substitute for veterinary care. But if professional help is not around? As with our own medical self care, we just may need to take matters in our own hands. Having the the basic knowledge and a proper pet first aid kit may actually save your pet’s life. Let us hope so.
For tips on creating a pet preparedness plan, see the recent article Tips for Creating a Pet Preparedness Plan.
Want to know more? Check out these related articles:
If You Are Cold, Your Pets Are Too
9 Disaster Preparedness Tips for Pet Owners
A SHTF Plan For Your Pets | Bugging Out With Man’s Best Friend
Enjoy your next adventure through common sense and thoughtful preparation!
Gaye
-

 Paracord Projects1 year ago
Paracord Projects | 36 Cool Paracord Ideas For Your Paracord Survival Projects
-

 Paracord Projects2 years ago
How To Make Paracord Survival Bracelets | DIY Survival Prepping
-

 Medical Care1 year ago
21 Home Remedies For Toothache Pain Relief
-

 Knife Laws1 year ago
Are Switchblades Legal? Knife Laws By State
-

 Do It Yourself2 years ago
Survival DIY: How To Melt Aluminum Cans For Casting





Pingback: Pet Emergencies: How to Prepare | Patriot Powered News
Pingback: Pet Emergencies: How to Prepare | My Emergency Preparedness Blog
Pingback: Survival Tips: Prepping with Pets | Survival Life | Blog
Pingback: Smart Fire and Electrical Tips To Keep Your Pets Safe – Homestead Survivalism