Do It Yourself
Giving Seeds What They Need to Survive in Stasis
If you are a prepper, you need to be ready for just about anything. This includes a long-term or permanent breakdown in the food transit system.
If this happens you need to be sure that you have the ability and knowledge to grow your own food, not just for one season, but indefinitely.
First, consider what seeds you plan on storing and know that only a small amount of seeds are actually considered to be drying-tolerant seeds (meaning that they can bear the process of drying out). Virtually all common herbs, vegetables, and a many trees fall into this category.
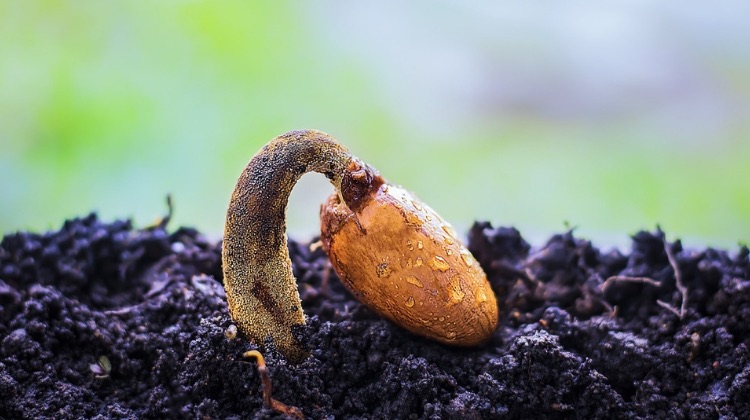
You can usually tell if a plant is drying-intolerant simply by viewing how they react under normal circumstances. In their natural setting, drying-intolerant seeds typically fall to the ground and immediately germinate.
A broad range of seed types can be stored for years and some even have an indefinite lifetime, which is of course, assuming optimum storage conditions are maintained.
So just what are those ideal conditions?
As a rule of thumb, humidity levels within the storage environment should be maintained somewhere in the range of 25-35%. The average home during winter is exceptionally dry, often dipping well below 20%. Low humidity draws moisture from delicate seed structures and negatively impacts seeds vitality and germination rate. If your seeds are mistakenly dried to below the recommended moisture level, this has the potential to seriously reduce the amount of viable seeds, if not destroy them completely.
Controlling Humidity: Once seeds have cured to the correct moisture level, they need to be properly stored. You will most likely not have a precisely-controlled “clean room” like the ones utilized in professional seed companies.
This doesn’t mean that storing your personal seed collection for years to come is an impossible feat.
Simply store your seeds in sealed, air-tight containers like glass jars or doubled Ziploc bags. In the highly variable and less than ideal environment of a home or small farm, paper envelopes, cloth bags, cardboard boxes, etc. will allow for exchange of far too much of a flux in moisture control for any long-term storage.
To further help in moisture control, consider adding silica packets or another desiccant to soak up additional water. If you have access to a hygrometer this will help you to maintain a constant control over the moisture level in your storage containers.
Controlling Temperature: Temperature must be maintained within a relatively narrow range. I’ve heard it said that the home freezer is the best place. Personally, I question the advisability of freezing temperatures in one- to two-season storage.
While it is true that many seeds will store almost indefinitely if deep-frozen, The information that I have found typically recommends short-term home storage of seeds from just above freezing to about 40 or 45 degrees.
Controlling Light Exposure or lack thereof: is the last, but still equally important condition that needs to be controlled.
Be sure to keep in mind that it is a combination of certain conditions (namely moisture, temperature and light) that stimulate and support the entire germination process. Much like any number of chemicals and foods exposed to light, seeds rapidly deteriorate and lose viability when exposed to light. They need to be kept in a cool dark place.
You need to make sure that wherever you store the seeds, you maintain constant conditions that do not vary widely. The worst possible scenario in your seed storage is a sudden change to warmth, elevated humidity, and light during mid-winter storage immediately followed by chilling, drying, and return to darkness. If this happens you can kiss your harvest good bye.
So just how long can your seeds be stored?
Below is a short list of vegetable seeds and how long they can be stored for.
Please note that these storage lengths are under the most optimal conditions and your conditions will most likely not be optimal.
| VEGETABLES | |||||
| Seed Type | Years | Seed Type | Years | ||
| Asparagus | 3-4 | Mustard | 5-8 | ||
| Beans | 3-6 | Okra | 1-2 | ||
| Beets | 3-4 | Onions | 2-4 | ||
| Broccoli | 4-5 | Parsley | 3-5 | ||
| Brussels Sprouts | 4-5 | Parsnips | 1-3 | ||
| Cabbage | 4-5 | Peas | 4-6 | ||
| Cantaloupe | 6-10 | Peppers (all) | 3-5 | ||
| Carrots | 3-5 | Potatoes (real seed) | 5-7 | ||
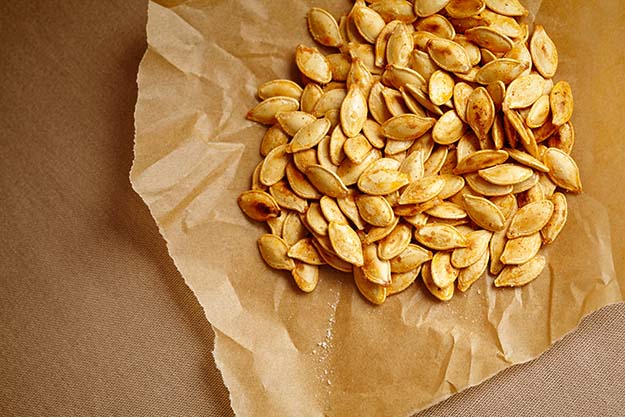
| Cauliflower | 4-5 | Pumpkins | 3-5 | ||
| Celeriac | 4-5 | Radish | 3-5 | ||
| Celery | 3-5 | Rutabaga | 3-5 | ||
| Chicory | 4-5 | Salsify | 3-4 | ||
| Collards | 4-5 | Scorzonera | 3-4 | ||
| Corn | 4-6 | Spinach | 3-4 | ||
| Cucumbers | 5-7 | Squash (all) | 3-5 | ||
| Eggplants | 3-5 | Strawberry | 3-6 | ||
| Escarole/Endive | 3-4 | Sunflower | 4-6 | ||
| Kale | 4-5 | Swiss Chard | 3-4 | ||
| Kohlrabi | 4-5 | Tomato | 4-7 | ||
| Leeks | 2-4 | Turnip | 5-8 | ||
| Lettuce | 3-4 | Watermelon | 4-6 | ||
Common Storage Problems
-Mold and Mildew: Seeds that are not dried to the proper moisture levels before being sealed in glass or plastic will more than likely rot.
There is a simple test that will help you to determine whether or not your seeds have been dried correctly: After your initial drying cycle has been finished, place the questionable seeds in closed glass jars or plastic bags and wait.
The appearance of condensation on the inside of those containers within a few hours is a big red flag and indicates that the seeds are not fully dried. You need to be very sure that your seeds are dried properly or they will rot very quickly.
-Insects: Weevils, borers, and small beetles are common pests and may go unnoticed until after they seeds are stored.
These little devils will wreak havoc on stored seeds. Adding a bit of food grade diatomaceous earth (DE) is a safe, nontoxic, and inexpensive insurance policy against insect damage.
DE is available at most garden centers and small amounts are available online at retailers such as amazon.com. It doesn’t take much; just be sure to lightly coat all seeds before they are sealed for storage. Avoid the use of powerful commercial insecticides as you will be directly ingesting them later.
-Rodents: Seeds in storage, unless precautions are taken, can provide a veritable buffet for mice and other vermin. Prevent damage by placing labeled seed containers in either metal or plastic storage containers, or enclose them in an unused picnic or camp cooler.
Following the above easy guidelines will ensure longevity and viability of the seeds and minimize the amount of seeds that are lost each season.
Take advantage of the autumn weather and get your survival seeds ready for next spring!
And remember that practice makes perfect.
**Attention Urban Preppers and Survivalists**
If you think that because you live in an apartment or have a house with a small backyard that seed storage and gardening is not for you… Think again.
I have created a book and made it available on amazon that shows you how t0 create a garden that produces enough food to sustain a single person in as little as 2 square feet. You can grow this garden just about anywhere that you can put a lamp. I also give a ton of tips on household composting. ( its a lot less fragrant than you might think!) I’ve gotten my publishers to reduce the cost of my book to $2.99 and if you have amazon prime its free! If you are interested in gardening and producing your own fresh, chemical free fruits and vegetables please download my book and would much appreciate it if you would leave me a review when you finish it!
Remember, we’re all in this together!
‘Above Average’ Joe
6 Easy Steps to Growing Wild Mushrooms at Home
Tips for Growing Food in Small Spaces
5 Plants You Can Grow in Buckets
-
 Do It Yourself7 months ago
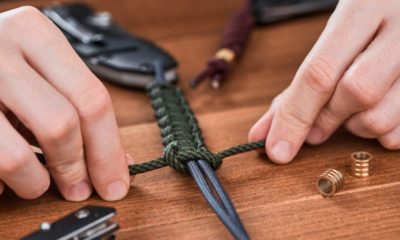
Paracord Projects | 36 Cool Paracord Ideas For Your Paracord Survival Projects
-
 Do It Yourself9 months ago
How To Make Paracord Survival Bracelets | DIY Survival Prepping
-
 Do It Yourself9 months ago
21 Home Remedies For Toothache Pain Relief
-
 Do It Yourself10 months ago
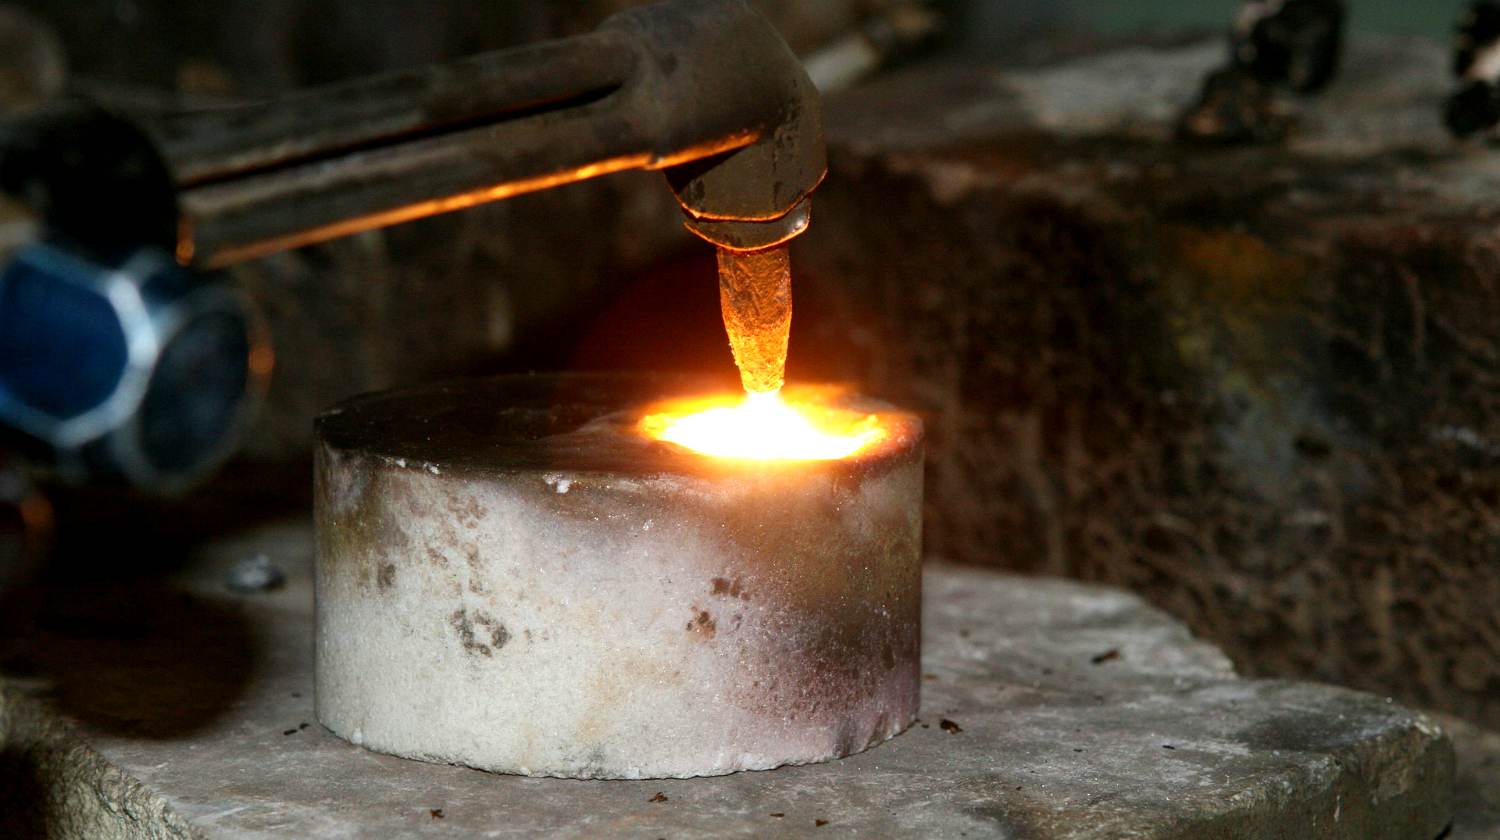
Survival DIY: How To Melt Aluminum Cans For Casting
-
 Exports8 months ago
Are Switchblades Legal? Knife Laws By State
Great Grey
October 11, 2012 at 1:15 AM
What???? Since when is plastic rodent proof? While plastic may be good for controlling moisture and air, most rodents can gnaw though any household plastic and some metal containers. And they won’t stop trying until they succeed or are dead, or otherwise separated from access to the container.
“Rodents: Seeds in storage, unless precautions are taken, can provide a veritable buffet for mice and other vermin. Prevent damage by placing labeled seed containers in either metal or plastic storage containers, or enclose them in an unused picnic or camp cooler.”
Joe
October 11, 2012 at 1:46 PM
If you read the last part of the sentence I talk about placing the items in a cooler, while it is not “fully rodent proof” they will have to get through the plastic and insulation before they can get to your items. You can also coat the plastic with a bittering agent to keep them from coming anywhere near the cooler. I have used Bitterlicks and it keeps everything away. Trust me that is some nasty stuff. It is made to keep horses from cribbing on their stalls but it will also keep some ( not all) dogs, racoons, mice, rats, etc from getting in to your cooler or even a trashcan. I have personally tested this stuff and it is NASTY, if you use it wear a paper mask and gloves to keep from getting it on you. The only thing I can compare the taste to is that of the bitterness of an orange rind, only about 1000 times worse.
Pingback: How to Grow Seeds in Eggshells and Egg Cartons | Survival Life