Fishing, Hunting, & Trapping
Trap For Your Life (Part 4)

Trap for Your Life (Part 4)
The Run-Through Snare
After reading our first three articles regarding survival trapping, I hope you have gained more confidence in your survival skills. If you haven’t read the rest of our series yet, check out the links below:
When you construct a survival trap, your goal is to use the least time, effort, resources, and energy as you can. Your energy is critical, so knowing how to construct the easiest snare you can make with your limited energy and resources is a must! You must gain knowledge of all survival traps to figure out which design you can make with the least effort. Knowing all these different trap designs will enable you to figure out which trap is the easiest to make in the environment you’re in.
I only hope you will continue learning different trap designs, so that you might find the easiest and most efficient way to trap for your life. In this article, I will be going over the run-through snare, which will only require gathering two sticks and a few more supplies that you should have with you. It will be easy to construct and will save you energy.
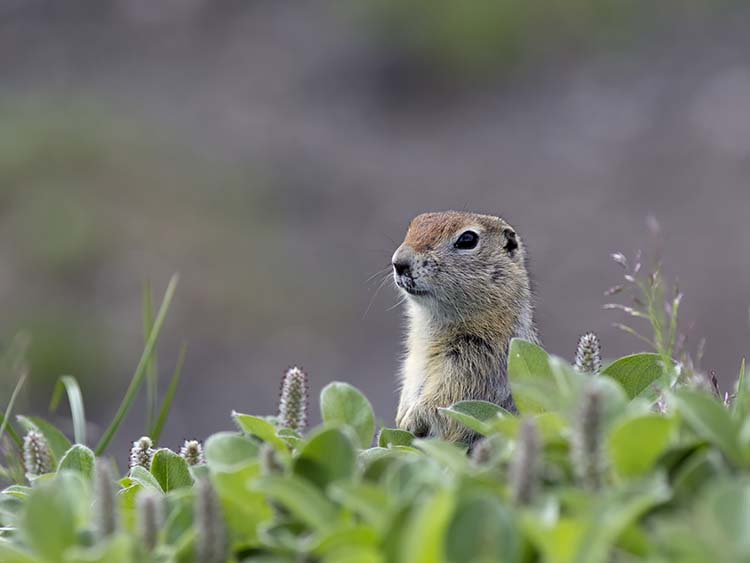
This snare is designed to trap small groundhogs, small opossums, rabbits, squirrels, and chipmunks.
Let’s get started.
What You’ll Need
- Two sticks
- 18 to 20 gauge wire
- Bait (if you have any)
- A knife
- Pliers
- A pencil or thin stick (optional but recommended)
Note: There are laws regarding trapping. Check the local laws in your area.
Steps
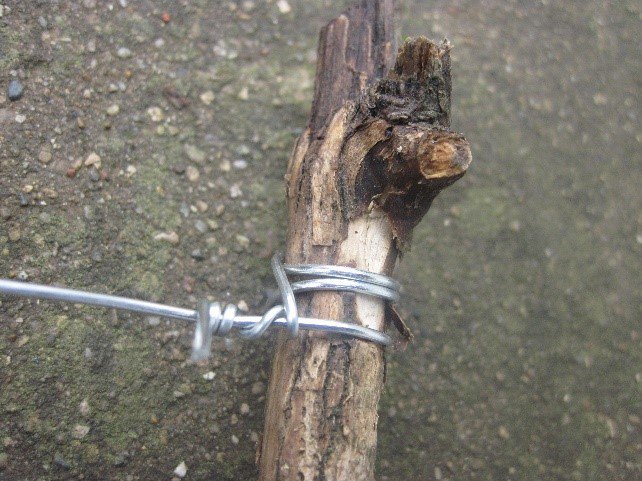
1. Collect two sticks about 18 inches long. Sharpen one end of each stick using your knife.

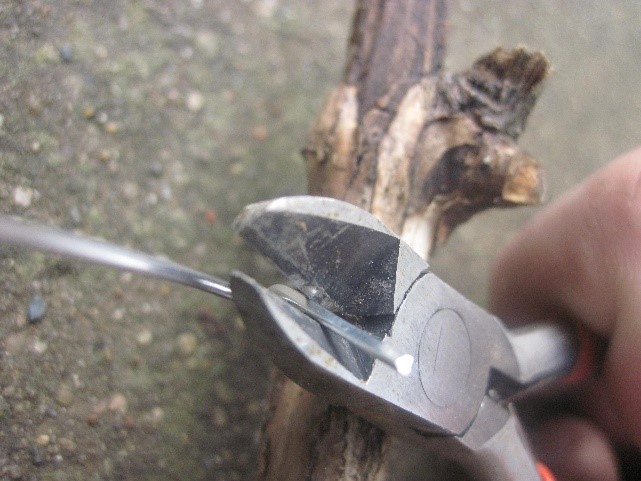
2. Cut 18 inches of wire using the pliers, then loop one end of the wire around the top of the stick. Twisty tie the wire to tie it, making sure it is tight around the stick. Then do the same with the other side of the wire to the other stick. Cut off any extra wire.
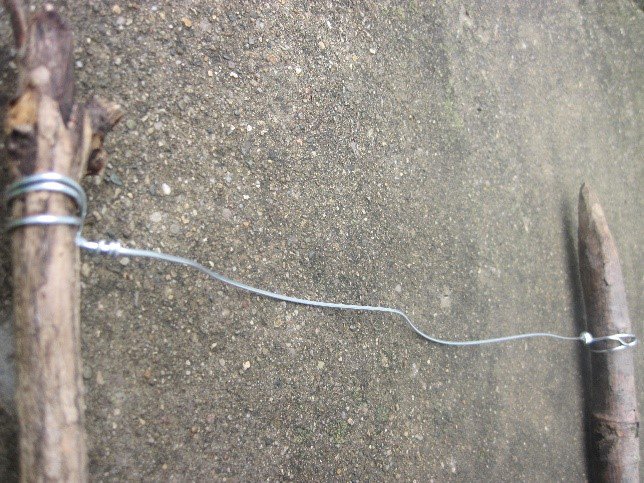
The length from one stick to the other should be about 12 inches or slightly less.
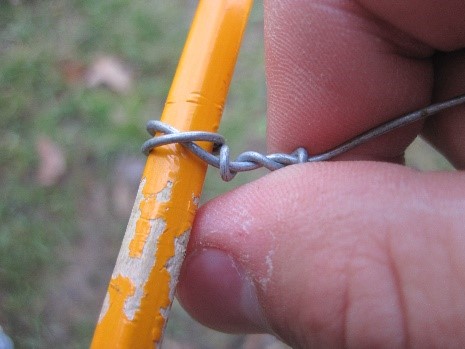
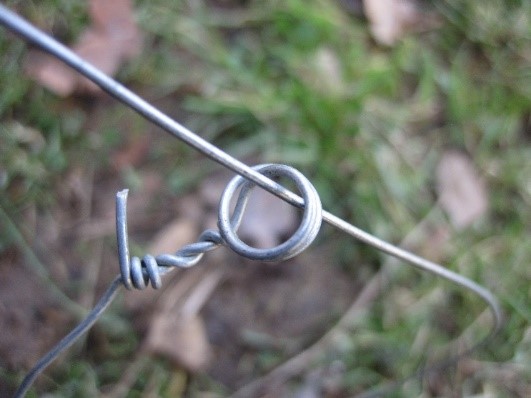
3. After you have the “structure” of your trap made, then you can make the snare. Using your pliers, cut about 8 to 12 inches of wire. Grab your pencil or a thin stick and the wire. Loop the wire around the pencil twice. Twisty tie the loop to the other part of the wire. Pull the pencil out. Put the normal end of the wire through the loop, and make that loop 2 ½ to 4 inches in diameter, depending on the size of your targeted animal.
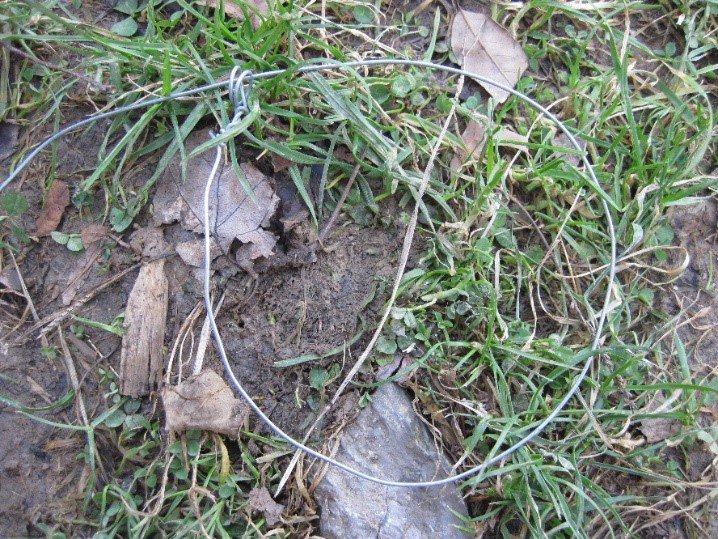
4. Attach your snare onto the middle of the trap structure and tie it on. Make sure it is tight.
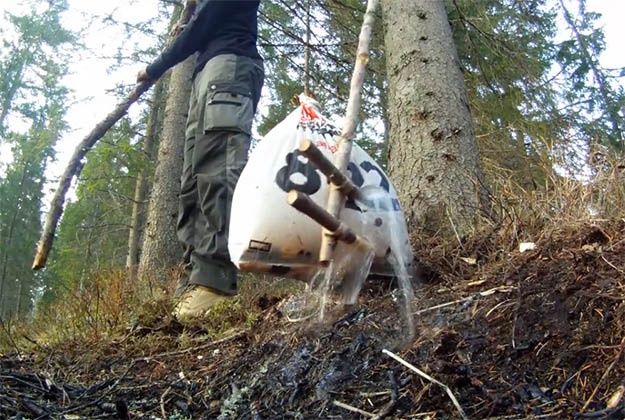
5. Search for any animal trails. Animal trails can be found easily. Signs of an animal trail may include scat, footprints, trampled grass and fur. Set your run-through snare in animal trail. Block off all the excess of the trail with leaves, sticks, and/or grass, that way it will direct the animal into the snare.
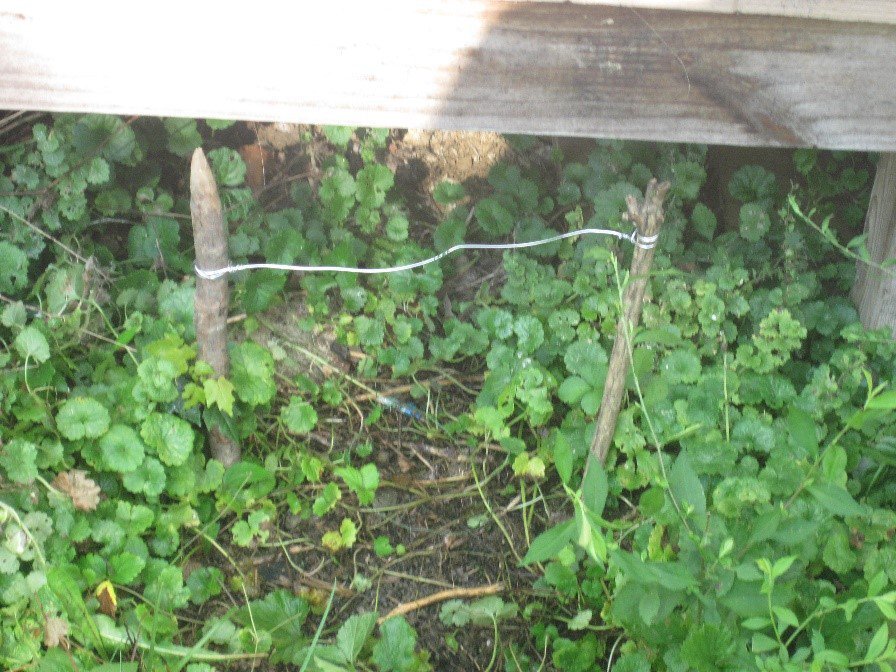
I have chosen to use green floral wire, hence the snare is not visible in this image.
That’s it — you’ve completed your run-through snare. Now all that’s left to do is to sit back and wait.
Have you tried to make your own run-through snare? Tell us about it in the comments!
Never stop…no matter how hard it gets. Keep trapping for your dear life!
Want to learn more about trapping? Check out the rest of our series below:


-
 Do It Yourself7 months ago
Paracord Projects | 36 Cool Paracord Ideas For Your Paracord Survival Projects
-
 Do It Yourself9 months ago
How To Make Paracord Survival Bracelets | DIY Survival Prepping
-
 Do It Yourself9 months ago
21 Home Remedies For Toothache Pain Relief
-
 Do It Yourself10 months ago
Survival DIY: How To Melt Aluminum Cans For Casting
-
 Exports8 months ago
Are Switchblades Legal? Knife Laws By State
Pingback: Trap for Your Life Part 5: The Lift Pole Snare | SL