Do It Yourself
DIY PVC Bow Stand
Learn to Make Your Own PVC Bow Stand in an Afternoon with This Quick and Simple Tutorial
One of the more enjoyable aspects of archery, for me anyways, is the ability to constantly tinker with your gear. Whether it’s something simple like installing a pair of colorful string silencers or something more complex such as walk-back tuning your new rig there’s always something to keep us tinkerers busy.
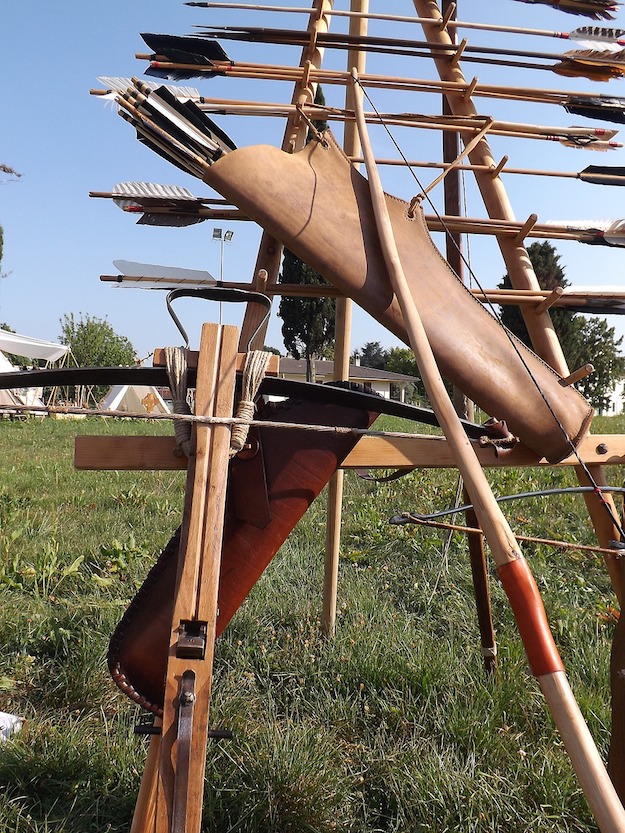
With the fall hunting seasons quickly approaching I’ve been doing quite a bit of backyard shooting lately and like many others I’ve been plagued by not having a good spot to hang my bow or hold my arrows. Strapping on the hip quiver and resting the bow on the ground or a piece of patio furniture just wasn’t cutting it any longer so I decided to build myself a PVC bow stand. What better way to spend an hour or so on a steamy Midwest weekend?
This 160lb Draw “Silent Hunter” Takes Down Game and Enemies Quickly, Easily, &
Without Ever Compromising Your Position.
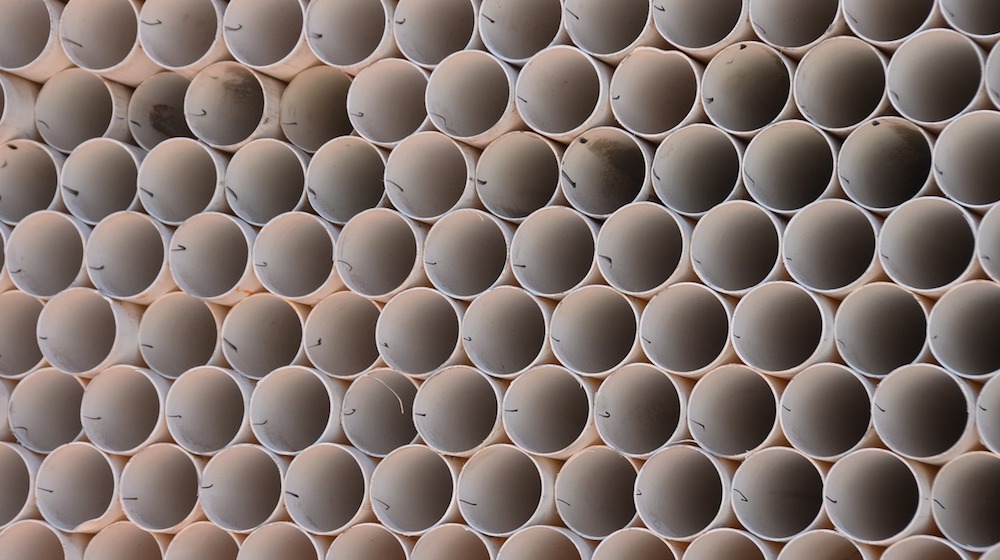
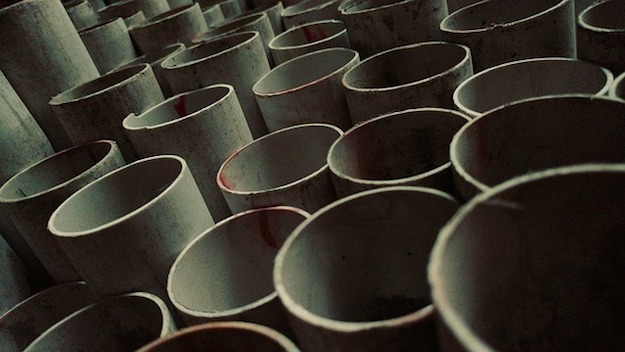
Now I’m certainly not the first guy to ever take on this endeavor, nor will I be the last. A quick Google search for “PVC bow stand” will yield plenty of results with a variety of ideas including different shapes, sizes and of course colors. For the purposes of my PVC bow stand build I went with a classic H configuration for the base and a T configuration for the bow support. I’m not entirely sure why I chose this method rather than some of the rectangular shaped bases I’ve seen but it works just as well. A quick trip to the local home improvement store and I had everything I needed for around $30. I used predominantly 1 1/2″ PVC for this job and its plenty sturdy to hold 2 bows and a pile of arrows.
Material list:
- 2 – 8′ sections of 1.5″ PVC pipe
- 4 – 1.5″ tees
- 2 – 1.5″ 90 degree elbows
- 2 – 2″ to 1.5″ reducer
- 1 – 5′ section of 2″ PVC pip
- 4 – 1.5″ caps
- 1″ self tapping screws (optional)
- PVC primer & cement (optional)
- Foam pipe insulation
- Super glue
Tool list:
- Tape measure
- Hacksaw or reciprocating saw (I call it a sawzall, but you get the point)
- Cordless drill (optional)
- Bench vice (optional)
Fortunately working with PVC pipe is relatively easy and just about anyone can do it. I like to put the pipe into my bench vice while cutting it as it makes it easier to have both hands free, however if you don’t have a vice it’s easy to enough to hold with one hand and cut with the other. I find that a cordless sawzall makes the cutting job a little easier and for some reason I can get straighter cuts. However a good old fashioned hacksaw makes quick work of the cuts if that’s all you have.
First things first I cut down all of my PVC piping and build the base on the garage floor. The base requires the following lengths of 1 1/2″ PVC pipe.
- 2 – 16″pieces
- 2 – 18″ pieces
- 2 – 8″ pieces
I used the 16″ pieces for the front of the stand and the 18″ pieces for the back. I personally wanted a little extra room between my bow and the arrows so there was no chance of them clanking into each other as I took them in and out. My bow stand is a little big so if you were looking to shave some weight and make the entire thing more compact you could safely trim 2-3 inches off each of the base legs. However I feel the width of the base is just about perfect with the 8″ cross braces which are connected in the middle by a tee.
Next I cut the piping for the vertical tee which holds the bows. This too is made from 1 1/2″ PVC pipe. The vertical support is 42″ tall and the hangers themselves are 12″ wide. Height-wise it feels great however again if you’re looking to trim a little weight or space the hangers could easily be trimmed to 9 or 10 inches without issue.
For the arrow holders I used the 90 degree elbows on the back of the base followed by the 2″ to 1.5″ reducer. This allowed me to make the vertical holders out of 2″ PVC which gives a little extra room for more arrows. These holders are 18″ tall and hold 6 arrows without a problem. I typically don’t practice with any more than that so it’s perfect for my needs. If you wanted to you could expand that out to 2.5″ or 3″ PVC to hold even more. Finally I capped the front support legs and the bow hangers and the PVC work was done.
In my particular case I want to be able to disassemble the stand for storage during the winter months so I opted to not glue a number of fittings. I did glue the legs of the base to the tees and also the hangers to the tee of the vertical support. I also glued the vertical support into the tee in the base. However I did not glue that tee or the two on the sides of the base. Instead I opted to run a 1″ self tapping screw through the tee and the pipe inside to hold the vertical post upright. This will allow me to remove those screws come winter and fold the support down.
I also opted not to glue the arrow holders on just in case I want to change them later to something larger, possibly to use a 45″ elbow to angle them back for easier arrow storage. Also, this allows me to remove the elbows for storage purposes.
The final piece to my puzzle was using a couple pieces of foam pipe insulation on the tops of the hangers. Although it’s probably not needed it will help protect the bows that are resting on it. I used some basic super glue to hold these in place.
All in all I’m pretty pleased with the way my PVC bow rack turned out. I’ve seen a few other folks out there come up with creative ideas for attaching small parts trays, can holders and other gizmos so I may continue to “upgrade” this stand as time goes on. While I’ve seen photos of some pretty fancy painted or camo stickered bow stands I’m going to stick with white for now. However I have a feeling my stand will be littered with the plethora of hunting and archery decals that are strewn about my garage looking for a new home.
If you have comments, questions or suggestions for improvement post them below!
Originally published on BowHunting.com.


-
 Do It Yourself7 months ago
Paracord Projects | 36 Cool Paracord Ideas For Your Paracord Survival Projects
-
 Do It Yourself9 months ago
How To Make Paracord Survival Bracelets | DIY Survival Prepping
-
 Do It Yourself9 months ago
21 Home Remedies For Toothache Pain Relief
-
 Do It Yourself10 months ago
Survival DIY: How To Melt Aluminum Cans For Casting
-
 Exports8 months ago
Are Switchblades Legal? Knife Laws By State
Nate
February 6, 2016 at 9:19 PM
Just built my archery stand using these instructions. What I changed on mine was instead of 1-1/2 tube on top to hold the bow I used reducers to install 3/4″ tubes. With 3/4″ tubes I slid on segments of a cut up water noodle giving a lot more cushion and easier to replace after the UV rays degrades the foam. I also used 3″ tubes for the quivers
Pingback: DIY Compound Bow | Survival Life
Pingback: 7 PVC Pipes Projects For Survival | Useful DIY Life Hacks
Pingback: 9 PVC Pipes Projects For Survival Uses - Survive!
Pingback: jam dinding kayu vintage
Pingback: 7 PVC Pipes Projects For Survival Uses – Sprent Brass
Pingback: 7 PVC Pipes Projects For Survival Uses – SurvivalHood
Pingback: 9 έξυπνες χρήσεις επιβίωσης για σωλήνες PVC - Ιστολόγιο