Do It Yourself
DIY Air Conditioner From Household Items
With spring here and summer just around the corner, its time to start preparing for high temperatures.
Heat waves cause serious illness and kill people in major cities every summer.
Whether the cause is power outages or lack of access to air conditioning, people fall victim to the heat and lack of preparedness.
Even in less dire circumstances, being stuck without air conditioning in the summer can be extremely uncomfortable and wreak havoc on your body.
With the know how provided by this DIY, you can , you can find quick relief and ensure your safety from dangerous heat waves.
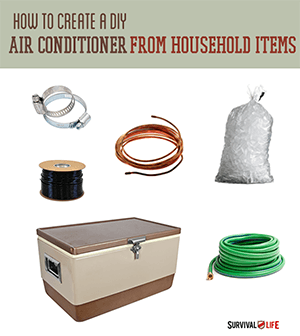
Materials:
Large Ice Chest
Ice
Water hose and access to running water
2 lengths of 1/4 inch vinyl tubing
1 length of 1/4 inch copper tubing
2 hose clamps
Box fan

Step 1.
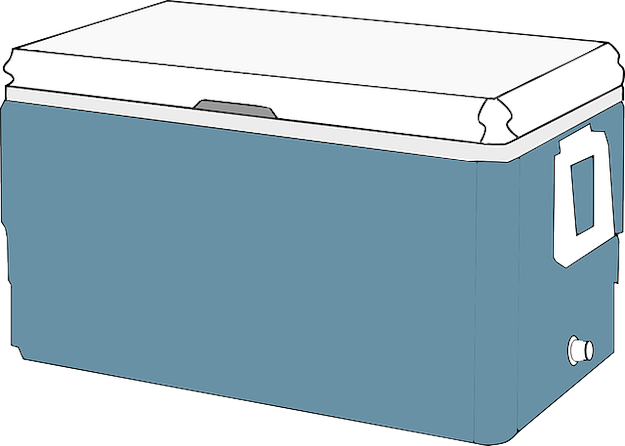
Fill up your biggest and most insulated ice chest/cooler with ice and water. Either place it in a high place or stack up some crates, boxes, etc. to create a sturdy platform for you cooler to sit on. When you’re all set up, run a water hose into the cooler and leave it running.
Step 2.
Connect a length of 1/4 inch vinyl tubing and 1/4 inch copper tubing with a hose clamp. Submerge the vinyl end of the tubing into your filled ice chest, weighing it down under the water with a small weight tied around the tube.
Step 3.
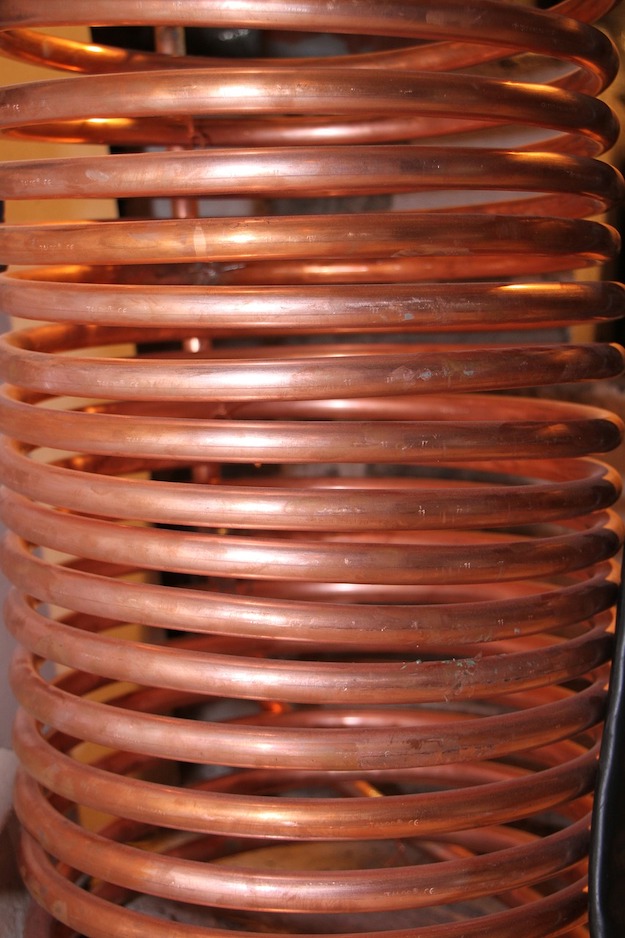
Connect your copper tubing along one end of a box fan(for ultimate summer preparedness, you’ll need one that doesn’t need to plug into the wall), running side to side along the face of the fan leaving a little space between the rows of tube. Fix into place with zip ties. This will create your “radiator”.
Step 4.
Warm air enters the fan, passing over your copper tubing full of ice cold water, causing the air to cool before continuing through the fan onto the other side.
Step 5.
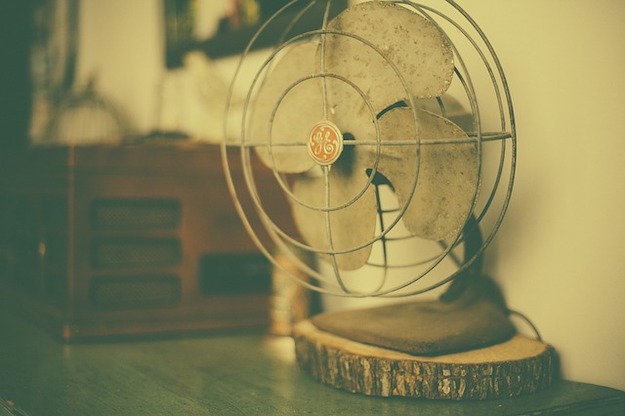
Cool air pumps out of the fan, creating air conditioning.
Step 6.
Take the end of your copper tubing and run it out and away from your fan, then add another length of vinyl tubing with a hose clamp. This will be your outflow. Either run it outdoors, somewhere with a sink, or somewhere you can use the water.
Extra Tip:
This whole operation relies on gravity! That’s why your cooler is propped up somewhere high. Therefore, your outflow must remain lower than your cooler at all times. Once you’re all set up, create suction on your outflow to get the cold air pumping and the air conditioner working!
Full Infographic:
Want more DIY survival projects? Check out these cool tutorials:
DIY Super Shelter
DIY Paracord Hammock Chair
DIY Portable Solar Generator
-

 Do It Yourself7 months ago
Paracord Projects | 36 Cool Paracord Ideas For Your Paracord Survival Projects
-
 Do It Yourself9 months ago
How To Make Paracord Survival Bracelets | DIY Survival Prepping
-
 Do It Yourself9 months ago
21 Home Remedies For Toothache Pain Relief
-
 Do It Yourself10 months ago
Survival DIY: How To Melt Aluminum Cans For Casting
-
 Exports8 months ago
Are Switchblades Legal? Knife Laws By State
Donald Depew
March 27, 2014 at 6:30 PM
and you end up cooler with a big old water bill?
Great Grey
March 28, 2014 at 5:04 AM
I would catch the output and reuse it two-three times before it got too warm.
Anonymous
September 14, 2017 at 10:35 PM
That’s what I was saying why wouldn’t u just run the output back into the cooler
Anonymous
August 6, 2018 at 8:32 PM
You could save it bit running the line back to the cooler would be hard because then got would need the water to go up
Peter Sunev
April 16, 2014 at 6:14 AM
That’s a great article. Is there some photos of this kind of air-conditioner in the real life.
Pingback: DIY Solar Powered Air Cooler | Survival Life - Survival Life | Preppers | Survival Gear | Blog
Pingback: DIY sunlight Powered Air Cooler | Man Shaved / Best Electric Shaver
Pingback: Diy air conditioner | Room Color Schemes
V.K.SETH
December 10, 2014 at 6:03 AM
Great Post.. thanks for share this blog…
Pingback: How to Make a Solar-powered Air Cooler | Survival Life
Pingback: Amazing! Stay Cool With This Solar Powered Air Cooler! [DIY] - Survive!
Pingback: Amazing! Stay Cool With This Solar Powered Air Cooler! [DIY]
Pingback: DIY Paracord Wallet | A Cool Addition to Your Everyday Carry
Pingback: Amazing! Stay Cool With This Solar Powered Air Cooler! [DIY] | Primitive technology
Pingback: Amazing! Stay Cool With This Solar Powered Air Cooler! [DIY] - Survival Patch
Pingback: Amazing! Stay Cool With This Solar Powered Air Cooler! [DIY] - Survival Gear Review
Gary Hamilton
July 23, 2019 at 9:11 AM
What about the condensation on the outside of the copper coil? If there is no electricity where do you get the ice? you could put a small fish tank pump in the line to return the water to the ice chest.