Do It Yourself
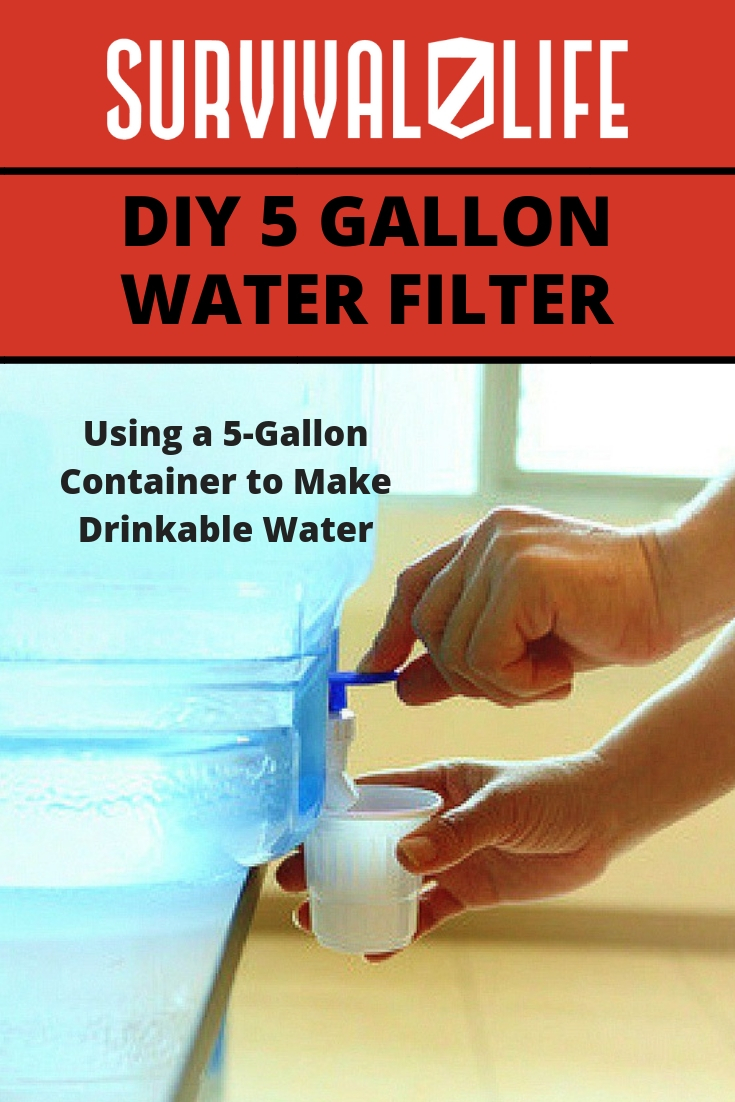
DIY 5-Gallon Water Filter
Make your own alternative water filter with just $35 worth of materials from any local hardware store.
In this article:
How to Make Your Own DIY Water Filter
Affordable Homemade Water Filter
You will definitely need to know how to make a water filter to further improve your chances of survival. With this 5-gallon container-turned-water filter, you will no longer need to invest money on an expensive commercial water filter.
Why spend those extra dollars to have the best drinking water filter when you can have a homemade version that works just as well?
Materials Needed
Before you start, you must first gather your homemade water filter materials:
- Two five gallon buckets
- One five gallon bucket lid
- Ceramic candle filter
- Electric drill with 1/2 inch and 1 1/4 inch drill bits
It is amazing how these four materials can turn ordinary five gallon-sized buckets into a portable and reliable homemade water filtration system that definitely works. However, it is important to note that simply filtering the water would not rid it of all contaminants.
Make sure to add a bit of chlorine or bleach to water even after having filtered it.
How to Build Your Filter
Step 1: Use a Clean Bucket
Before even starting with your filter construction, clean your bucket thoroughly. If your bucket previously contained strong chemical substances, it might be best not to use it as a water filter. It is possible for the remnants of those toxic substances to seep into your drinking water.
Step 2: Drill a Half-Inch Hole
Use your power drill to drill a hole in the middle of the bucket’s bottom. The said hole must be half an inch in diameter.
It will be easy to locate the exact middle of your bucket as this is often marked at its center. Be precise while doing this to avoid leaking.
Step 3: Position the Candle Filter
After drilling a hole into your bucket, use this hole to secure your ceramic candle filter. You do this by placing the filter upright inside the bucket and inserting the bottom threaded part of the filter through the hole.
Step 4: Secure the Candle Filter
To secure the ceramic candle filter, place the knot at the filter’s threaded bottom, outside of the bucket. Following this, twist the knot to tighten it until it completely secures the filter. Take extra care not to tighten the filter too much as you might crack the bucket.
RELATED: Make A DIY Survival Water Filter | Survival Tips
Step 5: Replace the Lid on the Bucket
Now that the ceramic candle filter is secure in its place, cover your bucket with its lid. Use the right lid to avoid any leaking or filter malfunctions. Make sure the lid has been thoroughly cleaned as well or use a new one.
Step 6: Drill a Hole into the Lid
After securing the lid back onto the bucket, drill another hole into the middle of your lid. This hole must be approximately one inch in diameter, slightly larger than the previous hole.
You can use a power drill to get this step done quick and easy. If a power drill is inaccessible to you, you can also make use of a pocket knife. While using a knife, you must be careful not to break the bucket or lid.
Step 7: Repeat Steps 1-5
After drilling a hole into the lid, you are now done with half of your water filtration system. Repeat steps 1-5 on another bucket. Once you are done, place the other half of your water filter system on top of your setup.
Step 8: Pour Water into the System
Simply pour in the water you want to filter into the top component of the system. Allow the water to drip down to the bottom bucket. Following this, you will have drinkable water for you to store and use.
Watch this video by DoubleTapShooting to see the creation of this alternative water filter:
Now that you know how to make a homemade water filter, you should be more confident in your capacity to survive all crisis situations. Having an alternative water filtration plan during tough times is important. Without clean water, it is impossible to maintain good health for sure.
What else do you think can be made into a DIY water filter? Let us know in the comments section below!
Up Next: Emergency Water Part 2: Purification
Editor’s Note: This post was originally published in December 2015 and has been updated for quality and relevancy.
-
 Do It Yourself7 months ago
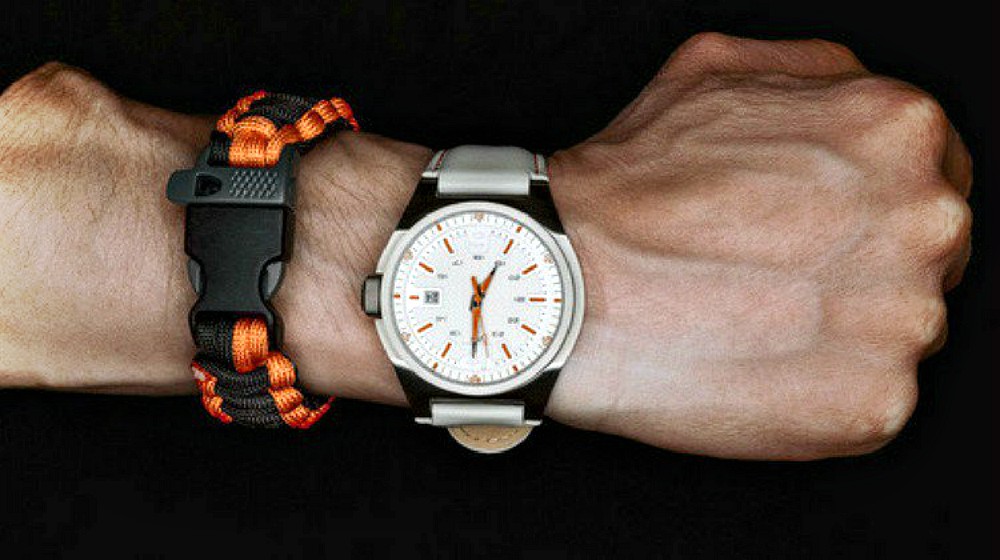
Paracord Projects | 36 Cool Paracord Ideas For Your Paracord Survival Projects
-
 Do It Yourself9 months ago
How To Make Paracord Survival Bracelets | DIY Survival Prepping
-
 Do It Yourself9 months ago
21 Home Remedies For Toothache Pain Relief
-
 Do It Yourself10 months ago
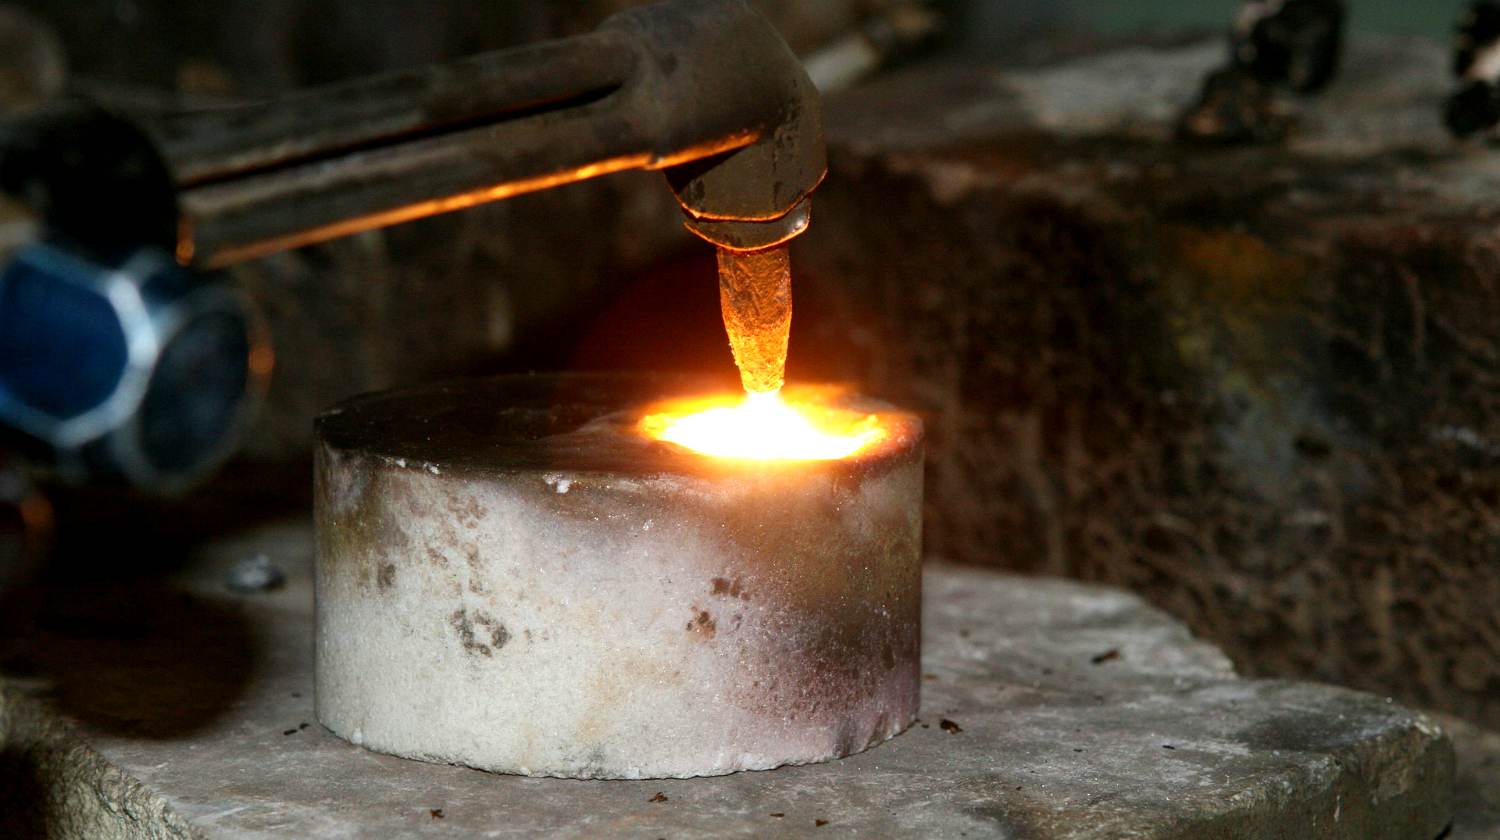
Survival DIY: How To Melt Aluminum Cans For Casting
-
 Exports8 months ago
Are Switchblades Legal? Knife Laws By State
Anonymous
January 27, 2018 at 9:31 AM
Great video — thank you
Bob May
January 27, 2018 at 9:51 AM
Good video overall, very informative.
Could this simple bucket system work with some charcoal, sand and gravel in the top bucket.
thanks
Al Shaw
January 27, 2018 at 10:38 AM
Great video and very clear instruction… Thanks….
Anonymous
January 27, 2018 at 12:44 PM
Have you ever thought about using air pressure to decrease filtration time?
CSM William H Ostenberg IV
January 27, 2018 at 1:49 PM
What about using a pump, like on my boat that pressurizes the fresh water hose and not the tank? It should suck the water from the tank, through the filter, through the pump, and on to the faucet.
Thank you
Pamela
January 27, 2018 at 10:50 AM
Very intriguing and practical. Makes perfect sense and the cost is more than reasonable. I’m going to make this, one never knows! Thanks!
Jerry Burkman
January 27, 2018 at 11:28 AM
Can you clean the filter? How many gallons can you filter without changing or cleaning the filter?
bob levander
January 27, 2018 at 11:55 AM
Very easy to use and very easy to make. Low cost also. Well done video, covered all questions I could think of.
Leonard Mayo
January 27, 2018 at 11:57 AM
Grey Lowe’s buckets are not food grade and should not be used for these. Too many chemicals can leach into the water. They also are not good for food storage even in Mylar bags. Lowe’s and Home Depot both sell food grade buckets. Lowe’s food grade buckets are white and have stickers saying they are food grade.
Charlie Taliaferro
February 3, 2018 at 1:06 AM
Very good points Leonard. Thanks for the tip.
Donald F. Millikan Jr.
January 27, 2018 at 12:47 PM
I’ll provide an honest opinion concerning a gravity feed water filtration system. I personally dont care for plastic containers. Unless you use a “food grade plastic”, you’re at risk of consuming the toxic chemicals used in processing the non-food grade plastic. There’s a distinct plastic taste with most any plastic used. The non-food grade plastic such as what you can find at your local hardware store is a somewhat porous material. After your first use you’ll never quite get it clean. I suppose that in a pinch you could settle for temporarily using plastic when nothing else is available. For these reasons I own a stainless steel system. With stainless steel there’s no toxins or nasty aftertaste. The stainless steel vessel is easy to clean. Cleaning both the vessel and your ceramic filters on a regular basis is critical. I reserve a gallon or two of filtered water for cleaning my system. I keep on hand several of the green Scotchbrite scrubbing pads. Don’t use soap, it leaves a residue behind that will clog the filters. I also keep on hand a food-grade plastic bottle, such as what’s used by bicyclests. With my ceramic filters removed from the filtration vessel while standing over the sink, I’ll pour filtered water over the filter and gently scrub the ceramic surface of the filter. This removes the calcium and other hard water deposites from the outside of your filter. The next step is to backflush your filter. This is what the squeeze bottle is for. Mine was purchased at a local bicycle shop. The pop up nipple on the bicyclest bottle just happens to fit over the nipple/tube that fits on the end of the filter that otherwise drains into your filtered water receiveing vessel. Starting with the bicycle bottle full of filtered water, place the bottle nipple over the filter nipple. Next holding the bottle fixed to the filter vertically, bottle on bottom, filter on top, squeez the bottle forcing the water up into the filter until you notice beads of water forming on the surface of the filter. Repeat this process a few times rinsing the outer surface of the filter each time. Rinse the upper and lower vessels using filtered water, then wipe clean with a clean paper towel. Reassemble your system.
Cleaning your ceramic filters properly will speed up the gravity feed. Using more than a single ceramic filter will extend the useful life of your filters and speed up the filtration process. I don’t recommend pressurising the vessel in order to speed up the filtration process. These ceramic filters are not designed for this pressure. This only speeds up the process by forcing microbic contaminates into your drinking water. For a pressurized system perhaps consider using a canister style filter such as the type used for a home filtration system.
Anonymous
January 28, 2018 at 11:49 AM
Now that’s good info trumps this other system by a mile
Anonymous
January 27, 2018 at 2:02 PM
This is really good advise, thank you.
Jeff O
January 27, 2018 at 5:15 PM
If you fill the 5 gallon bucket to the top you will increase the pressure. The taller the bucket with more water will increase the pressure. Just like cities use water towers to create the water pressure in their water systems that deliver to your home. This would be a passive system. Nothing wrong with adding the active system you mention in your video.
Ken
January 27, 2018 at 7:12 PM
Just a minor observation. When you were pouring the dirty water into your filter bucket I noticed several electric cords lying on the floor. If a spill had happened someone could have received a very nasty, or even deadly, shock. Take it from this HAM, water and electricity don’t mix!
Bill
May 4, 2018 at 9:03 PM
The article along with the excellent comments make this a good page to bookmark. If possible, a final boil stage would be helpful too.
Pingback: DIY 5-Gallon Water Filter | Life Off The Grid
Pingback: DIY 5-Gallon Water Filter – Ultimate Survival Alerts
Pingback: DIY 5-Gallon Water Filter - Survival Patch
Uercian
March 2, 2019 at 4:03 AM
Great stuff to share but i have a doubt do Can we use it as a regular water purifier?
Pingback: What Are Your Water Filter Choices? - Cooking in Quarantine
Pingback: 25 Ways To Get Clean Drinking Water In An Emergency - Primal Survival
Pingback: 25 Ways To Get Clean Drinking Water In An Emergency – Sprent Brass
Pingback: Ways To Get Clean Drinking Water In An Emergency – surviveurself
Pingback: 25 Ways To Get Clean Drinking Water In An Emergency – SurvivalHood
Pingback: Awesome Christmas Gifts for Preppers -
Pingback: What Are Your Water Filter Choices? – Bulletproof Survivors
Pingback: What Are Your Water Filter Choices? – Sprent Brass
Pingback: PREPPER SUPPLIES12 Awesome Christmas Survival Gifts for Preppers - NEWS20CLICK